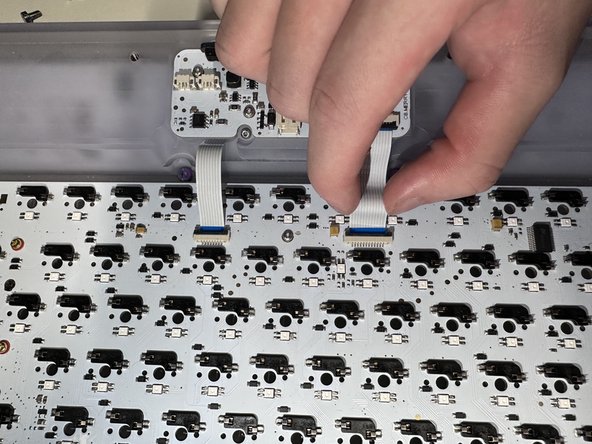
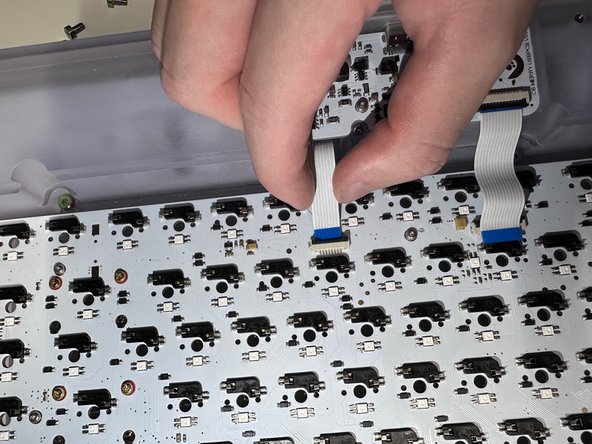
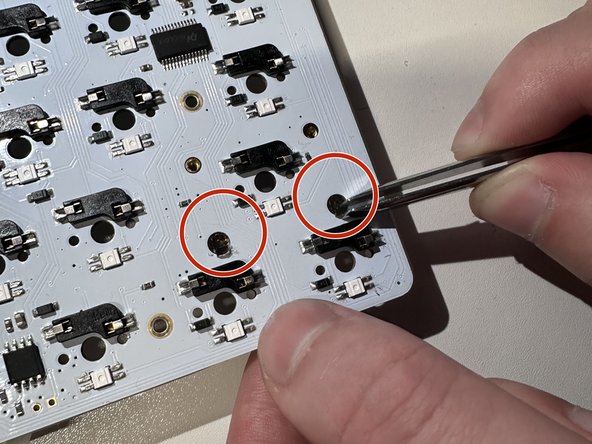
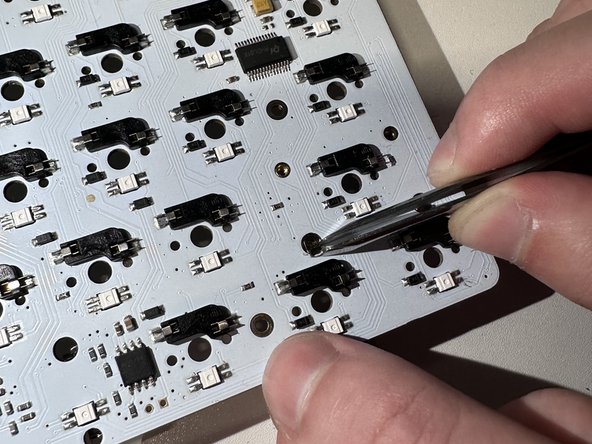
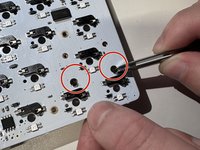
Aller au contenu principal

Angry Miao Xmas Key Switch Replacement

Ce dont vous avez besoin

  1. Angry Miao Xmas Key Switch Replacement, Key Switch: étape 1, image 1 de 3 Angry Miao Xmas Key Switch Replacement, Key Switch: étape 1, image 2 de 3 Angry Miao Xmas Key Switch Replacement, Key Switch: étape 1, image 3 de 3
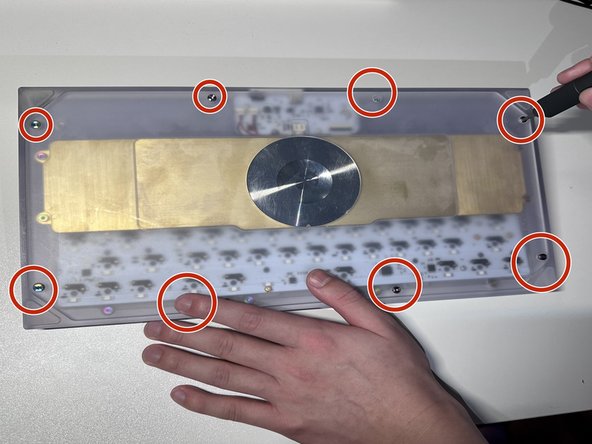
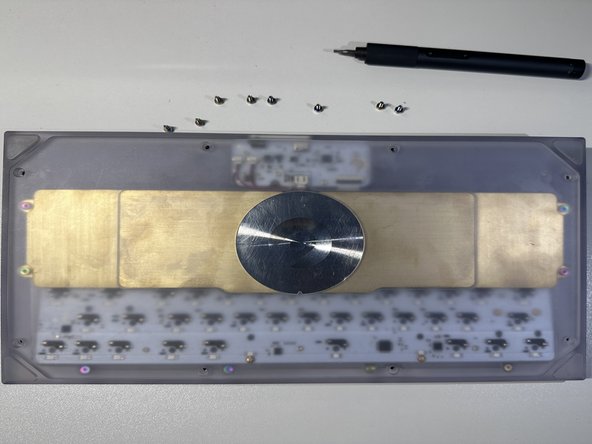
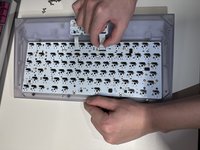
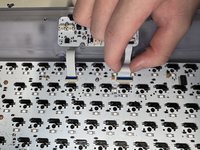
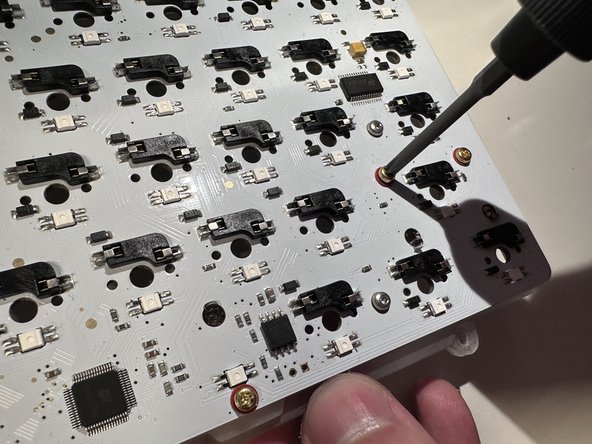
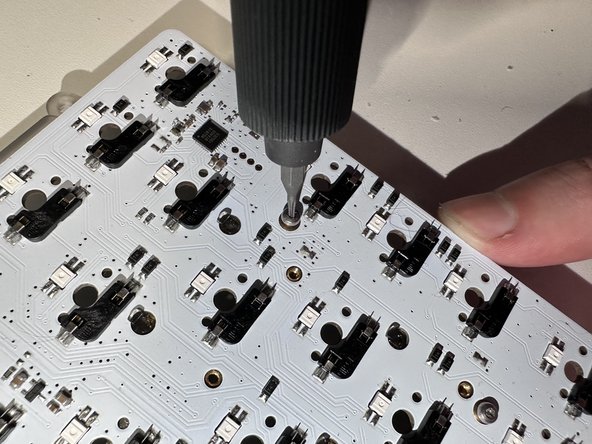
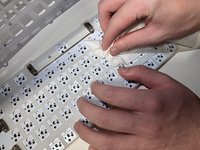
    • Facing the keyboard downwards, remove eight 26 mm screws holding the keyboard together.

    • Rotate the screws in a counterclockwise motion to unscrew.

  2. Angry Miao Xmas Key Switch Replacement: étape 2, image 1 de 1
    • Remove the 4 screws of the brass weight in the same counterclockwise motion as done in previous steps.

  3. Angry Miao Xmas Key Switch Replacement: étape 3, image 1 de 2 Angry Miao Xmas Key Switch Replacement: étape 3, image 2 de 2
    • Carefully disconnect the brass battery from the top housing by removing the 3 cables.

  4. Angry Miao Xmas Key Switch Replacement: étape 4, image 1 de 3 Angry Miao Xmas Key Switch Replacement: étape 4, image 2 de 3 Angry Miao Xmas Key Switch Replacement: étape 4, image 3 de 3
    • When flipped upside down, the back of keyboard will look like this.

    • Remove the brass weight, then disconnect the keyboard PCB by removing the 2 ribbons from the latch holding it down.

  5. Angry Miao Xmas Key Switch Replacement: étape 5, image 1 de 1
    • Remove the 2 screws attached on top and take PCB kit out.

  6. Angry Miao Xmas Key Switch Replacement: étape 6, image 1 de 3 Angry Miao Xmas Key Switch Replacement: étape 6, image 2 de 3 Angry Miao Xmas Key Switch Replacement: étape 6, image 3 de 3
    • Remove the rest of the screws in the same way which will separate the plate, mute mount, and PCB.

  7. Angry Miao Xmas Key Switch Replacement: étape 7, image 1 de 3 Angry Miao Xmas Key Switch Replacement: étape 7, image 2 de 3 Angry Miao Xmas Key Switch Replacement: étape 7, image 3 de 3
    Outil utilisé dans cette étape :
    Tweezers
    $4.99
    • Clean the PCB.

    • Pull out the cover by using tweezers.

  8. Angry Miao Xmas Key Switch Replacement: étape 8, image 1 de 1
    • Install the new key switches by pressing on the PCB.

Conclusion

To reassemble your device, follow these instructions in reverse order.

Une autre personne a terminé cette réparation.

Qiu Yunfan

Membre depuis le 02/02/23

169 Réputation

1 tutoriel rédigé

0 commentaires de tutoriel

Ajouter un commentaire

Nombre de vues :

Dernières 24 heures : 0

7 derniers jours : 6

30 derniers jours : 22

Total : 240