Aller au contenu principal

Anker 2.4G Wireless Mouse LED Replacement

Ce dont vous avez besoin

  1. Anker 2.4G Wireless Mouse LED Replacement, LED: étape 1, image 1 de 1
    • Use a spudger to gently pry off the stickers to reveal the location of the four screws.

  2. Anker 2.4G Wireless Mouse LED Replacement: étape 2, image 1 de 1
    • Remove the four screws to continue.

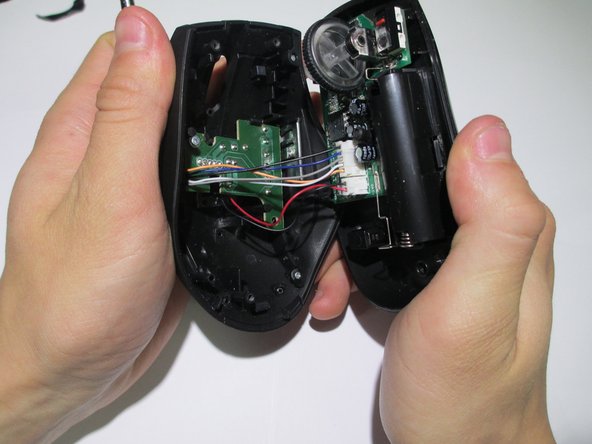
  3. Anker 2.4G Wireless Mouse LED Replacement: étape 3, image 1 de 2 Anker 2.4G Wireless Mouse LED Replacement: étape 3, image 2 de 2
    • Pry the center of the mouse apart using a spudger to separate the upper and lower housing of the boards.

  4. Anker 2.4G Wireless Mouse LED Replacement: étape 4, image 1 de 1
    • Remove the wires from the white crimp headers. This will separate the upper and lower housing units of the mouse.

    • Pull as far up on the wire as possible, but be careful to avoid ripping the wires.

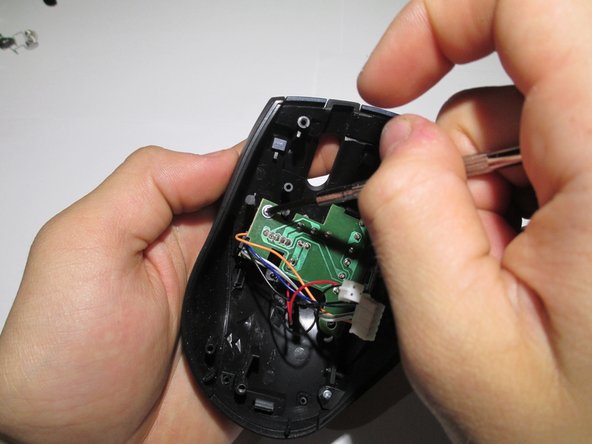
  5. Anker 2.4G Wireless Mouse LED Replacement: étape 5, image 1 de 2 Anker 2.4G Wireless Mouse LED Replacement: étape 5, image 2 de 2
    • Take the upper housing of the mouse and remove the two screws that hold the board in place.

  6. Anker 2.4G Wireless Mouse LED Replacement: étape 6, image 1 de 1
    • Gently remove the circuit board from the mouse.

  7. Anker 2.4G Wireless Mouse LED Replacement: étape 7, image 1 de 1
    • To remove the LED, flip the board over and desolder the wires.

    • Replace LED with a new LED and resolder into place.

Conclusion

To reassemble your device, follow these instructions in reverse order.

Colin

Membre depuis le 02/10/14

406 Réputation

3 tutoriels rédigés

Équipe

Cal Poly, Team 1-39, Maness Winter 2014 Membre de l'équipe Cal Poly, Team 1-39, Maness Winter 2014

CPSU-MANESS-W14S1G39

4 membres

16 tutoriels rédigés

0 commentaires

Ajouter un commentaire

Nombre de vues :

Dernières 24 heures : 0

7 derniers jours : 0

30 derniers jours : 5

Total : 2,873