Introduction
If your Anne Pro 2 keyboard is acting faulty and not registering the keys you touch, then use this guide to replace the keycaps on the keyboard. Be sure to test a few of the keycaps on your keyboard to confirm that the faulty part is coming from the keyboard’s keycaps.
The Anne Pro 2 keyboard is a high end gaming keyboard that is used widely across the world. The keyboard is unique in that it is a 60% keyboard, meaning it only has 60% of the normal amount of keys of a traditional keyboard. This creates an easier path to fixing the keyboard due to a reduction in keys. This guide will show you how to replace all keycaps of the Anne Pro 2 and also clean the keyboard of all dust and hair.
Before beginning, make sure to power off your keyboard completely and disconnect from any external power source.
Ce dont vous avez besoin
-
-
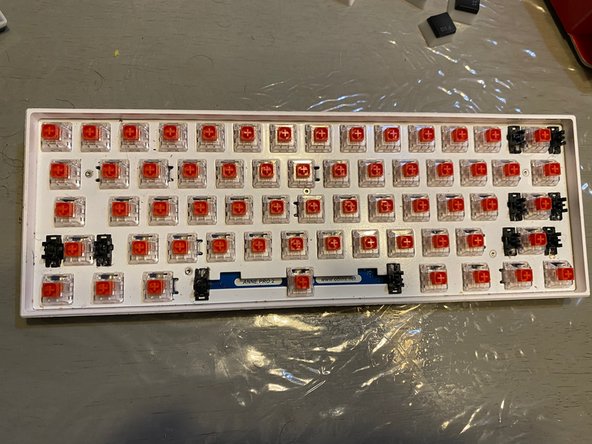
Set the keyboard down on a flat surface. Make sure it is turned off and is not connected to a power source.
-
-


Annulation : je n'ai pas terminé ce tutoriel.
Une autre personne a terminé cette réparation.
Équipe

University of Memphis, Team S4-G5, Kim Fall 2020 Membre de l'équipe University of Memphis, Team S4-G5, Kim Fall 2020
UM-KIM-F20S4G5
1 membre
2 tutoriels rédigés