Cette version peut contenir des modifications incorrectes. Passez au dernier aperçu vérifié.
Ce dont vous avez besoin
-
Cette étape n’est pas traduite. Aidez à la traduire
-
Remove the six 19 mm long screws with a #2 Phillips head screwdriver.
-
-
Cette étape n’est pas traduite. Aidez à la traduire
-
Release the catch by pushing it in using a plastic opening tool.
-
-
Cette étape n’est pas traduite. Aidez à la traduire
-
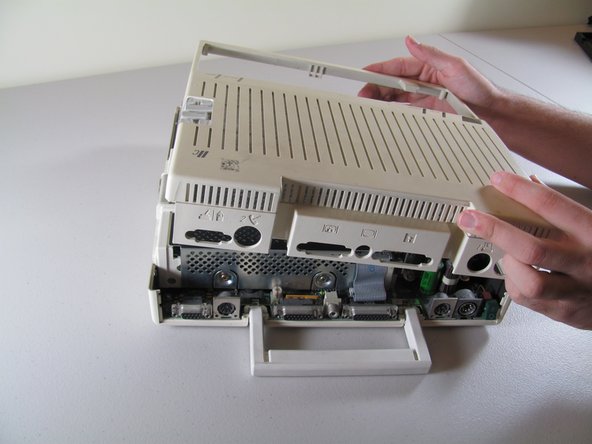
Slide the case toward the ports on the back, then grip under the catch and pull up while moving toward the ports to remove.
-
-
-
Cette étape n’est pas traduite. Aidez à la traduire
-
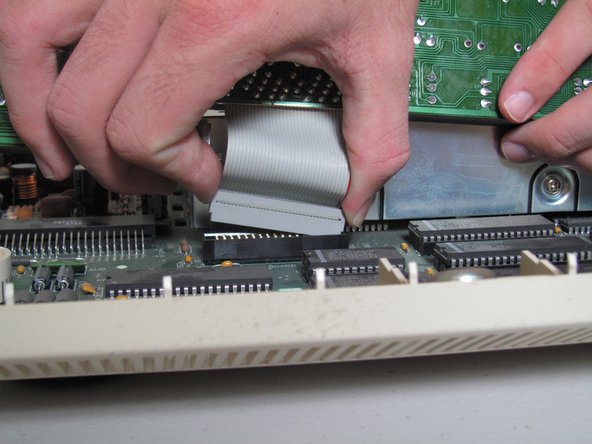
Tilt the keyboard up while detaching the ribbon connection by pulling it straight up. You may have to wiggle the connector sideways to loosen it.
-
-
Cette étape n’est pas traduite. Aidez à la traduire
-
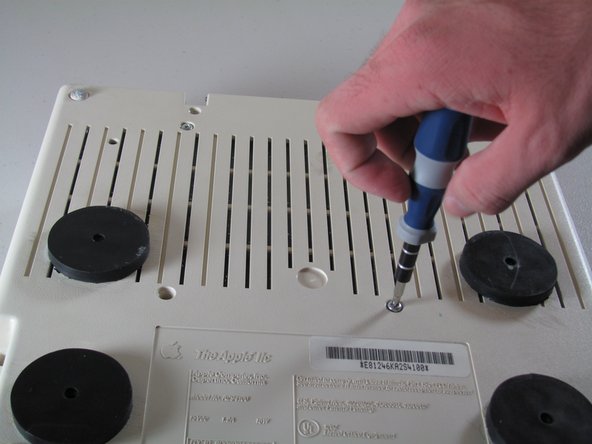
Carefully place device upside down to remove the four centered 21.1 mm screws that secure the floppy drive.
-
-
Cette étape n’est pas traduite. Aidez à la traduire
-
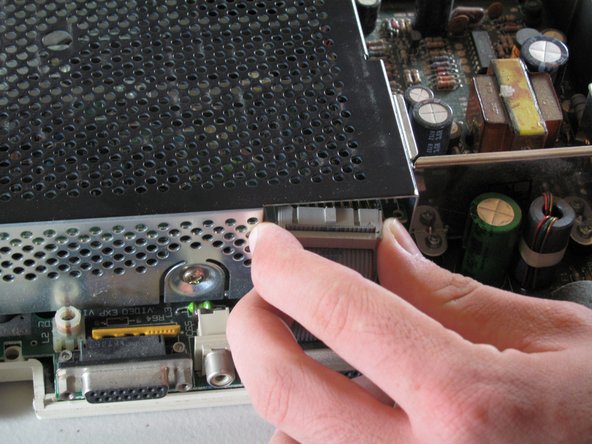
Carefully detach ribbon connector from floppy disk drive by pulling it out horizontally.
-
-
Cette étape n’est pas traduite. Aidez à la traduire
-
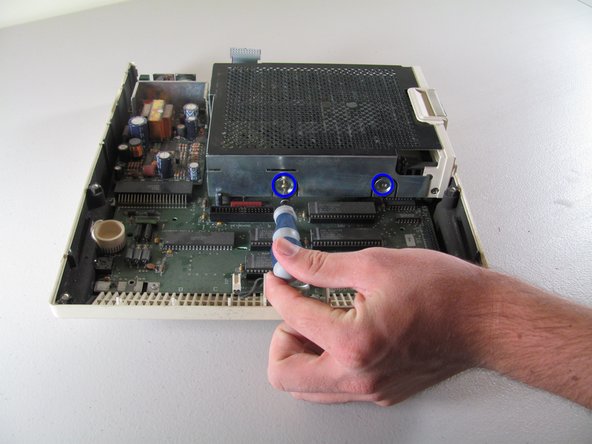
Unscrew the four 8.5 mm screws that attach the floppy drive cage. Two screws are located on the front and back of the cage.
-
-
Cette étape n’est pas traduite. Aidez à la traduire
-
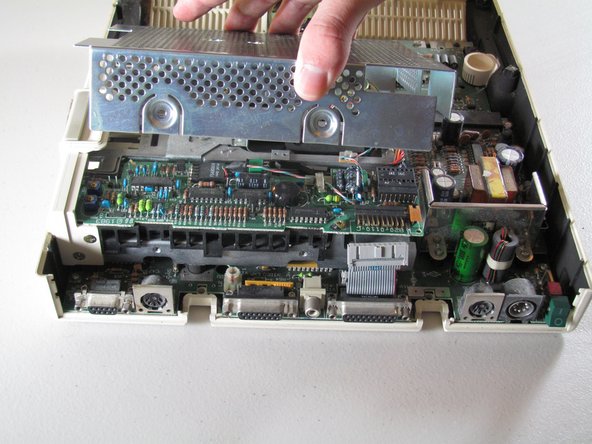
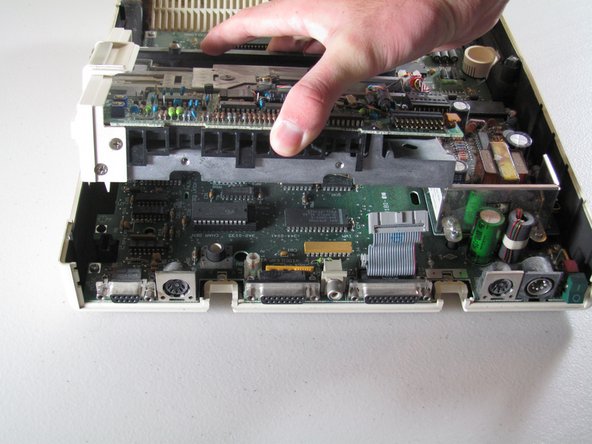
Carefully lift the floppy drive cage straight up to remove it.
-


Annulation : je n'ai pas terminé ce tutoriel.
8 autres ont terminé cette réparation.
Équipe

Cal Poly, Team 21-23, Maness Fall 2011 Membre de l'équipe Cal Poly, Team 21-23, Maness Fall 2011
CPSU-MANESS-F11S21G23
4 membres
13 tutoriels rédigés