Aller au contenu principal

Apple Powerbook 5300 Trackpad Replacement

Ce dont vous avez besoin

  1. Apple Powerbook 5300 Trackpad Replacement, Battery: étape 1, image 1 de 1
    • Position the Powerbook towards you with the monitor closed.

    • Press the battery removal latch located on the right side of the front panel.

    • Gently slide the battery out.

    • The keyboard, front pane, and hard drive are connected to the laptop's logic board via a ribbon cable. Lift up slowly on each component with one hand and disconnect the ribbons from their ports on the logic board.

  2. Apple Powerbook 5300 Trackpad Replacement, Keyboard: étape 2, image 1 de 1
    • Turn the laptop over and remove the three T8 torx screws from the bottom panel.

  3. Apple Powerbook 5300 Trackpad Replacement: étape 3, image 1 de 1
    • Turn the laptop back over and open the monitor.

    • With the monitor facing towards you, gently pull up on the keyboard panel from the bottom.

    • With the keyboard turned over as pictured, carefully remove its ribbon cable from the connection port on the logic board. Use a spudger to lift the white plastic retainer about 1/16" to release the cable.

  4. Apple Powerbook 5300 Trackpad Replacement, Trackpad: étape 4, image 1 de 2 Apple Powerbook 5300 Trackpad Replacement, Trackpad: étape 4, image 2 de 2
    • To begin the replacement process, refer to the prerequisite guides listed in the details portion of the guide.

    • To begin, carefully grip the bottom portion of the computer as pictured.

    • Next, lift up on the front portion of the laptop.

    • Watch out for the ribbon cable. Damage to this cable may result in harm of computer peformance.

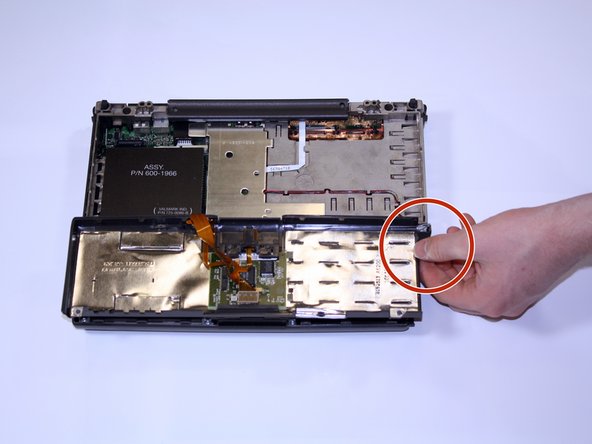
    • Carefully disconnect it by grasping the cable, pulling straight up and out of its connector.

  5. Apple Powerbook 5300 Trackpad Replacement: étape 5, image 1 de 2 Apple Powerbook 5300 Trackpad Replacement: étape 5, image 2 de 2
    • While holding the mouse button in place, unscrew the two screws (Torx #8 ).

    • Then slide the button out, maintaining hold of the cable as pictured.

  6. Apple Powerbook 5300 Trackpad Replacement: étape 6, image 1 de 2 Apple Powerbook 5300 Trackpad Replacement: étape 6, image 2 de 2
    • Unscrew the last torx #8 screw holding the trackpad assembly in place.

    • Now the entire trackpad will lift out of place.

    • Disconnect all ribbon cables from their connectors.

    • Note: refer to the first picture for a reference for reassembly.

Conclusion

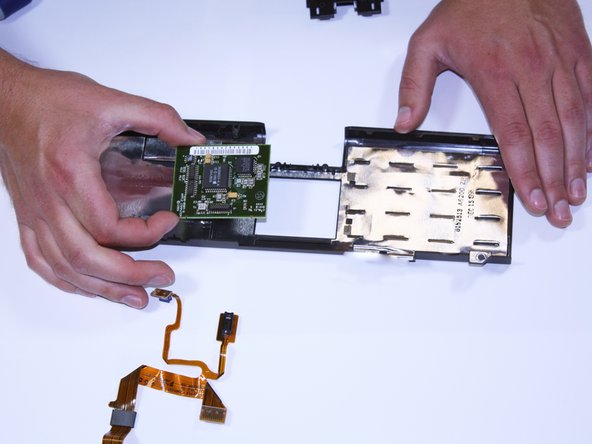
To reassemble your device, follow these instructions in reverse order.

Scott

Membre depuis le 04/26/11

155 Réputation

5 tutoriels rédigés

Équipe

Cal Poly, Team 25-30, Garner Spring 2011 Membre de l'équipe Cal Poly, Team 25-30, Garner Spring 2011

CPSU-GARNER-S11S25G30

4 membres

6 tutoriels rédigés

0 commentaires

Ajouter un commentaire

Nombre de vues :

Dernières 24 heures : 1

7 derniers jours : 3

30 derniers jours : 9

Total : 5,869