Aller au contenu principal

ArmorAll AA255 Motor Replacement

Ce dont vous avez besoin

  1. ArmorAll AA255 Motor Replacement, Lower Motor Housing: étape 1, image 1 de 1
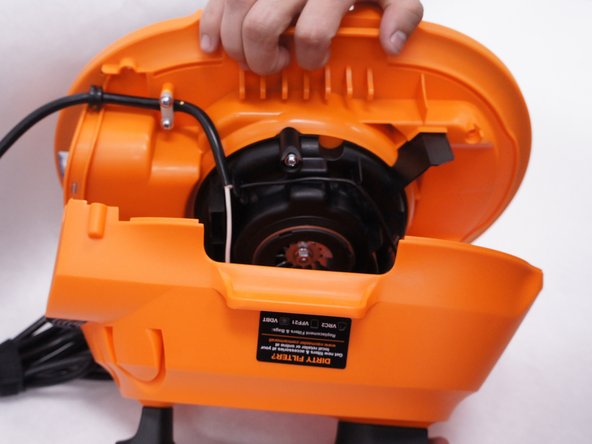
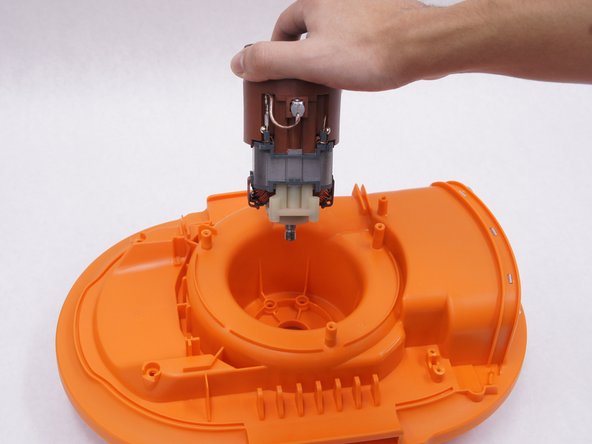
    • Remove the orange main housing unit from the vacuum bucket by pulling outward on the handle tabs while lifting upward as shown.

  2. ArmorAll AA255 Motor Replacement: étape 2, image 1 de 1
    • Remove the five 15mm PH2 screws.

  3. ArmorAll AA255 Motor Replacement: étape 3, image 1 de 1
    • Remove the 15 mm T20 screw. This screw is located nearest the power cord.

  4. ArmorAll AA255 Motor Replacement: étape 4, image 1 de 2 ArmorAll AA255 Motor Replacement: étape 4, image 2 de 2
    • Gently separate the upper and lower sections of the main housing.

  5. ArmorAll AA255 Motor Replacement, Motor: étape 5, image 1 de 3 ArmorAll AA255 Motor Replacement, Motor: étape 5, image 2 de 3 ArmorAll AA255 Motor Replacement, Motor: étape 5, image 3 de 3
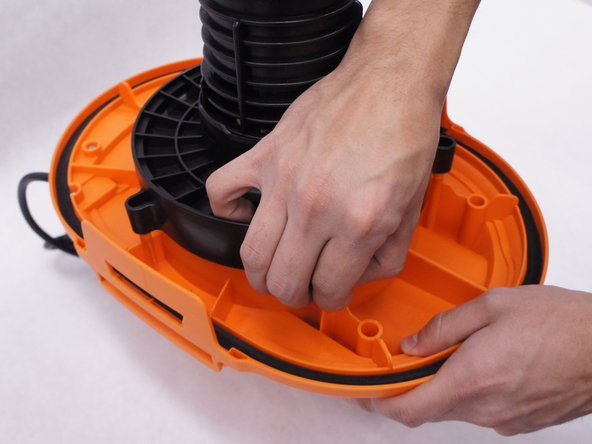
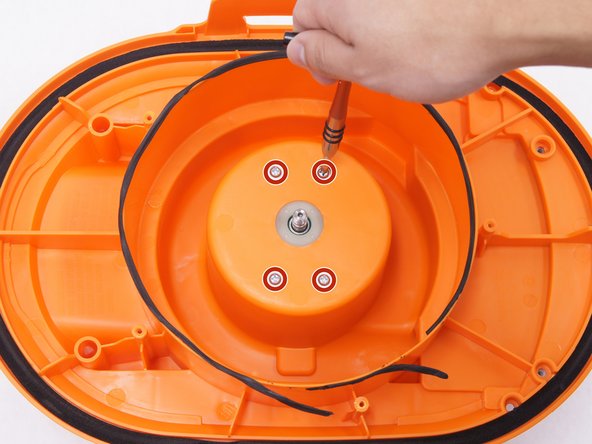
    • Use a PH2 screwdriver to remove the five 15mm screws on the ball cage under the main housing.

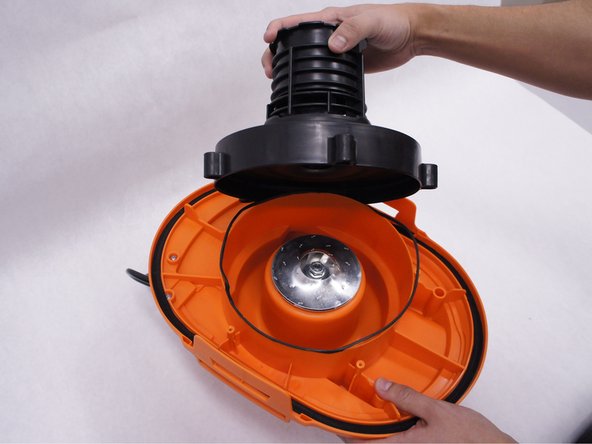
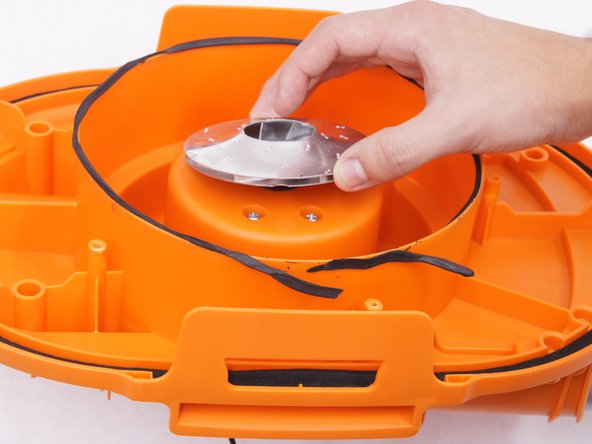
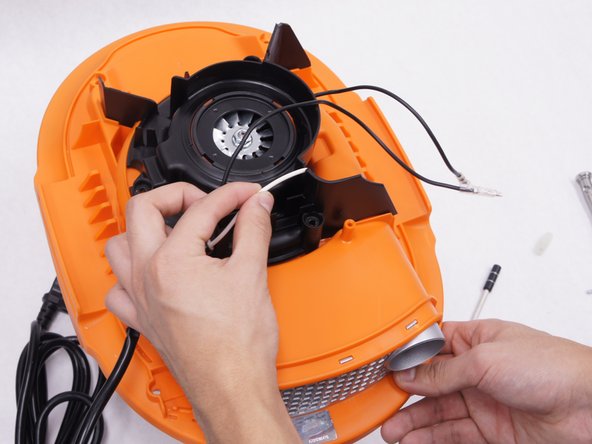
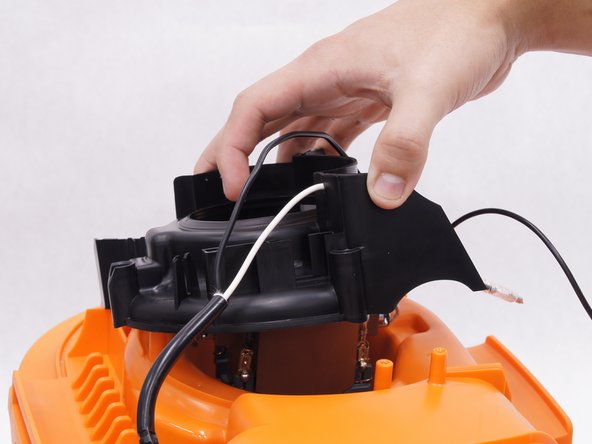
    • Pull the ball cage to remove it from the main housing.

  6. ArmorAll AA255 Motor Replacement: étape 6, image 1 de 3 ArmorAll AA255 Motor Replacement: étape 6, image 2 de 3 ArmorAll AA255 Motor Replacement: étape 6, image 3 de 3
    • Remove one 13mm nut from the main housing.

    • The metal ring under the nut has sharp edges. You may need to use a tool such as pliers to prevent injury.

    • Remove metal ring from the main housing.

    • Use a PH2 screwdriver to remove the four 12mm screws from the main housing.

  7. ArmorAll AA255 Motor Replacement: étape 7, image 1 de 3 ArmorAll AA255 Motor Replacement: étape 7, image 2 de 3 ArmorAll AA255 Motor Replacement: étape 7, image 3 de 3
    • Turn the whole body over to separate motor cover.

    • Use a PH2 screwdriver to remove the five 15mm screw.

    • Remove the white power wire from the motor cover.

    • Pull the motor cover from the main housing.

  8. ArmorAll AA255 Motor Replacement: étape 8, image 1 de 2 ArmorAll AA255 Motor Replacement: étape 8, image 2 de 2
    • Use a plastic opening tool to remove two cables from the motor. One white cable is from the power cord, and one black cable is from the switch.

    • When working with electronics, it's important to choose a tool that's ESD-safe to avoid accidental damage to the device. The regular black nylon spudger or a plastic opening tool should be used whenever possible.

    • You may need to mark the color of the wire on each terminal for reassembly.

  9. ArmorAll AA255 Motor Replacement: étape 9, image 1 de 2 ArmorAll AA255 Motor Replacement: étape 9, image 2 de 2
    • The motor is ready for replacement. Pull the motor to separate.

Conclusion

To reassemble your device, follow these instructions in reverse order.

6 autres ont terminé cette réparation.

YeaJun Yoo

Membre depuis le 02/11/16

302 Réputation

1 tutoriel rédigé

Équipe

IUPUI, Team 2-1, Baechle Spring 2016 Membre de l'équipe IUPUI, Team 2-1, Baechle Spring 2016

IUPUI-BAECHLE-S16S2G1

4 membres

4 tutoriels rédigés

4 commentaires

What is the motor product no? It will help if there is a link to buy the motor

Austin K - Réponse

Medida de los carboncitos que lleva el motor?

SERVANDO ARTEA FAVELA - Réponse

Buenas nochew necesito saber si existe a la venta la hélice o ventiladora que hace la succión de la aspiradora. Porfavor alguien puede ayudarme dejo mi correo erikazavala2882@gmail.com desde Honduras.

erikazavala2882 - Réponse

Part #for motor ???? Mine just the carbon brush is worn. Need replacement part # for motor or brushes ????

A Anderson - Réponse

Ajouter un commentaire

Nombre de vues :

Dernières 24 heures : 5

7 derniers jours : 17

30 derniers jours : 62

Total : 4,149