Aller au contenu principal

Asus F6A-X2 RAM Replacement

Ce dont vous avez besoin

  1. Asus F6A-X2 RAM Replacement, Battery: étape 1, image 1 de 1
    • Remove any power cords and turn the laptop off. Attempting to replace part of the laptop while power is running through it may cause electrocution or damage to the device.

    • Flip laptop face down and rotate so the battery is facing toward you.

    • The battery is not shown in this picture.

    • To remove the battery, place one finger on each of the two black slide tabs. Push each tab toward the center of the laptop to release the lock.

    • Slide the battery toward you and lift it out of the laptop.

  2. Asus F6A-X2 RAM Replacement, Back Access Panel: étape 2, image 1 de 2 Asus F6A-X2 RAM Replacement, Back Access Panel: étape 2, image 2 de 2
    • With the laptop facing down, rotate it so the battery pack is facing away from you.

    • Remove the six 1.5 mm Phillips #1 screws on the back panel of the laptop.

  3. Asus F6A-X2 RAM Replacement: étape 3, image 1 de 3 Asus F6A-X2 RAM Replacement: étape 3, image 2 de 3 Asus F6A-X2 RAM Replacement: étape 3, image 3 de 3
    • Insert a finger into one of the slots on the bottom panel.

    • Gently lift the upwards, and the back panel of the laptop will come off easily.

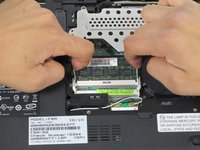
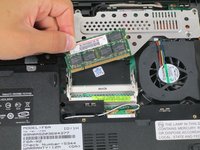
  4. Asus F6A-X2 RAM Replacement, RAM: étape 4, image 1 de 2 Asus F6A-X2 RAM Replacement, RAM: étape 4, image 2 de 2
    • Make sure to check the RAM specifications on the device page.

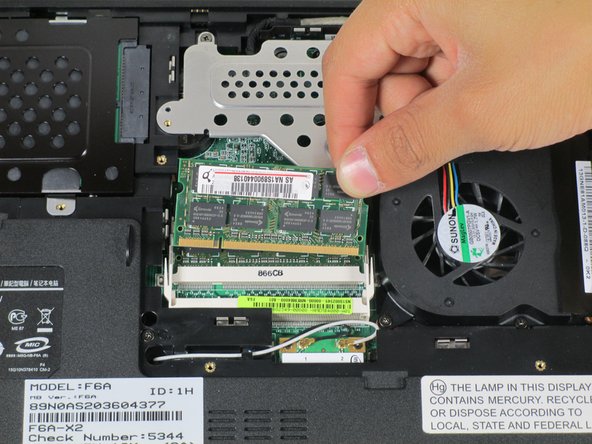
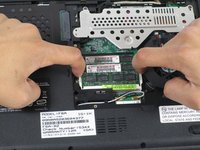
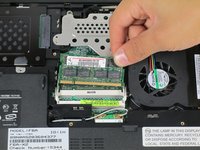
    • There are two white plastic tabs holding the RAM in place. Place two fingers on each of these tabs, and pull outward.

    • You will hear a pop and visibly see the RAM move upwards.

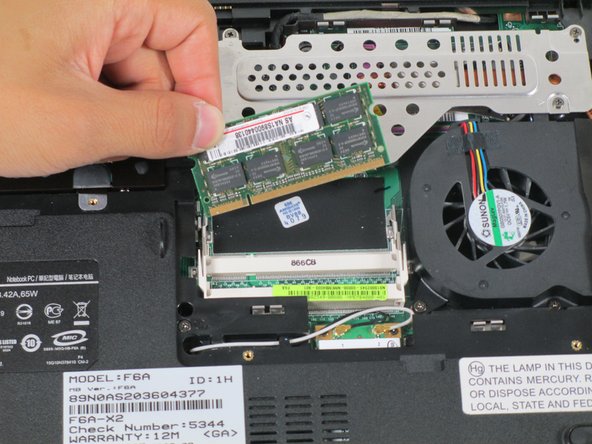
    • Slide the RAM towards the back end of the laptop (the end with the battery), and lift up to remove it.

  5. Asus F6A-X2 RAM Replacement: étape 5, image 1 de 2 Asus F6A-X2 RAM Replacement: étape 5, image 2 de 2
    • Repeat the process from the previous step to remove the bottom RAM.

Conclusion

To reassemble your device, follow these instructions in reverse order.

Une autre personne a terminé cette réparation.

Jonathan

Membre depuis le 04/24/14

1 174 Réputation

11 tutoriels rédigés

Équipe

Cal Poly, Team 10-56, Amido Spring 2014 Membre de l'équipe Cal Poly, Team 10-56, Amido Spring 2014

CPSU-AMIDO-S14S10G56

4 membres

12 tutoriels rédigés

Un commentaire

Tutorel simple et très clair.

Merci

alainbadinier - Réponse

Ajouter un commentaire

Nombre de vues :

Dernières 24 heures : 0

7 derniers jours : 3

30 derniers jours : 4

Total : 567