Aller au contenu principal

Asus G75VW-BHI7N07 Trackpad Buttons Replacement

Ce dont vous avez besoin

  1. Asus G75VW-BHI7N07 Trackpad Buttons Replacement, Trackpad Buttons: étape 1, image 1 de 3 Asus G75VW-BHI7N07 Trackpad Buttons Replacement, Trackpad Buttons: étape 1, image 2 de 3 Asus G75VW-BHI7N07 Trackpad Buttons Replacement, Trackpad Buttons: étape 1, image 3 de 3
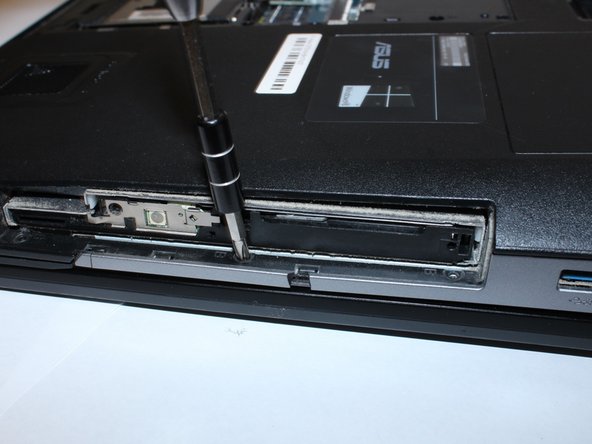
    • Remove the 5 (9 mm screws) around the outside edges of the back cover with the PH1 Phillips-head screwdriver.

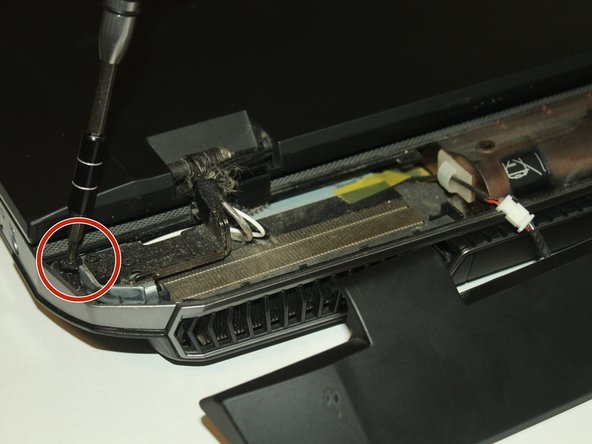
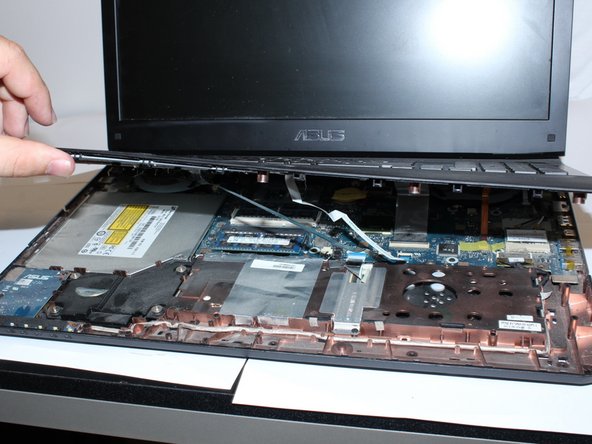
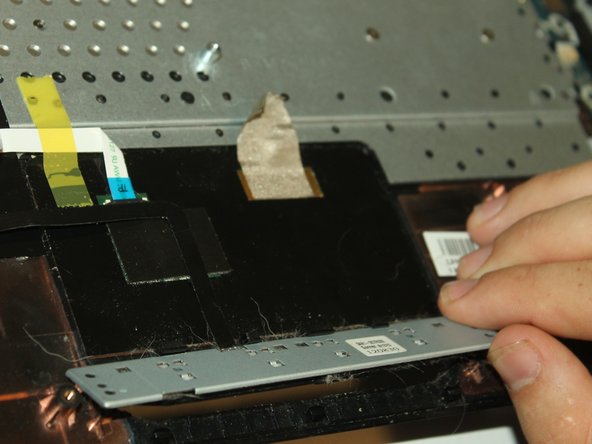
    • Lift off the back cover using the opening tool.

  2. Asus G75VW-BHI7N07 Trackpad Buttons Replacement: étape 2, image 1 de 3 Asus G75VW-BHI7N07 Trackpad Buttons Replacement: étape 2, image 2 de 3 Asus G75VW-BHI7N07 Trackpad Buttons Replacement: étape 2, image 3 de 3
    • Remove the 10 (9 mm) screws marked 'A' using the PH1 Phillips-head screwdriver.

    • Remove the battery by pressing the slide release button.

    • Remove 2 more (9 mm) 'A' marked screws within the battery compartment using the PH1 Phillips-head screwdriver.

  3. Asus G75VW-BHI7N07 Trackpad Buttons Replacement: étape 3, image 1 de 2 Asus G75VW-BHI7N07 Trackpad Buttons Replacement: étape 3, image 2 de 2
    • Remove the cover for the disc drive with the opening tool.

    • Remove the 6 (4 mm) 'B' marked screws with the PH1 Phillips-head screwdriver. (3 screws are in the battery compartment and 3 are under the disc drive cover)

  4. Asus G75VW-BHI7N07 Trackpad Buttons Replacement: étape 4, image 1 de 2 Asus G75VW-BHI7N07 Trackpad Buttons Replacement: étape 4, image 2 de 2
    • Take off the henge cover using the opening tool.

    • Remove the 2 black outside edge (9 mm) screws with the J0 Phillips screwdriver.

  5. Asus G75VW-BHI7N07 Trackpad Buttons Replacement: étape 5, image 1 de 3 Asus G75VW-BHI7N07 Trackpad Buttons Replacement: étape 5, image 2 de 3 Asus G75VW-BHI7N07 Trackpad Buttons Replacement: étape 5, image 3 de 3
    • Pry open the keypad platform with the opening tool.

    • You will need to lift the keypad platform with your hands.

    • Remove all electrical connections using your hands.

  6. Asus G75VW-BHI7N07 Trackpad Buttons Replacement: étape 6, image 1 de 2 Asus G75VW-BHI7N07 Trackpad Buttons Replacement: étape 6, image 2 de 2
    • Take the 2 (3 mm) screws out of the trackpad using the PH1 Phillips screwdriver.

    • Remove the trackpad buttons using your hands.

Conclusion

To reassemble your device, follow these instructions in reverse order.

Une autre personne a terminé cette réparation.

Tai Dean

Membre depuis le 09/08/17

173 Réputation

1 tutoriel rédigé

Équipe

0 commentaires

Ajouter un commentaire

Nombre de vues :

Dernières 24 heures : 0

7 derniers jours : 0

30 derniers jours : 15

Total : 1,333