Introduction
This guide will provide a step-by-step demonstration of how to remove a Asus Q552UB-BHI7T12 screen.
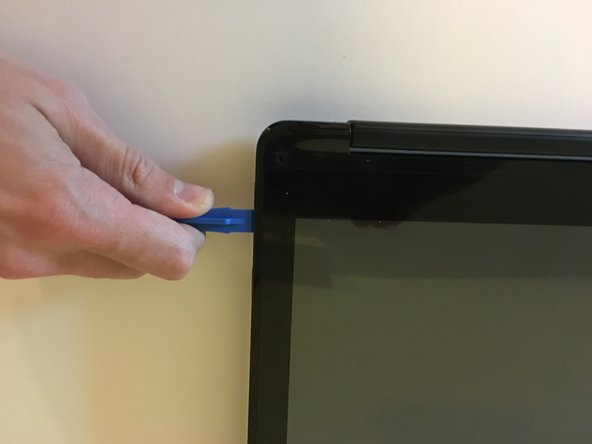
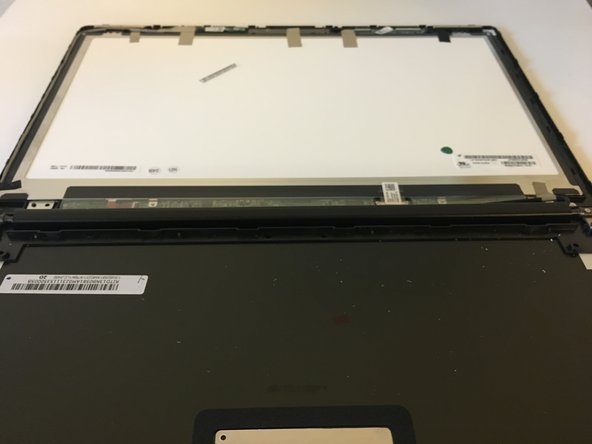
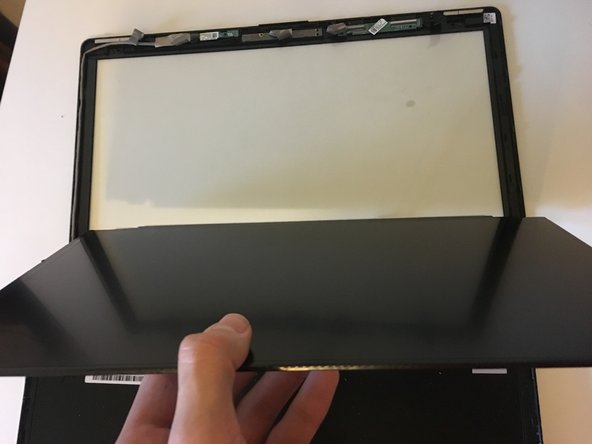
The process of removing the screen has multiple steps as demonstrated in the images below. In order to replace the screen, you will require both a Phillip's head screwdriver and an opening tool. This guide can also be used in reverse to model putting the screen back onto the laptop.
Before using this guide, remember to visit the Asus troubleshooting page to ensure that removing the screen is the appropriate solution to your system issues.
Ce dont vous avez besoin
-
-
Remove the two screw covers by hand or by using the pointed end of a spudger.
-
-


Follow these instructions in reverse order to reassemble your device.
Follow these instructions in reverse order to reassemble your device.
Annulation : je n'ai pas terminé ce tutoriel.
2 autres ont terminé cette réparation.
Équipe

University of North Texas, Team S6-G5, Thomas Fall 2017 Membre de l'équipe University of North Texas, Team S6-G5, Thomas Fall 2017
UNT-THOMAS-F17S6G5
4 membres
5 tutoriels rédigés
2 commentaires
Can you show the connection on motherboard for LCD cable?