Aller au contenu principal

Asus R510CA-OB01 Hard Drive Replacement

Ce dont vous avez besoin

  1. Asus R510CA-OB01 Hard Drive Replacement, Hard Drive: étape 1, image 1 de 1
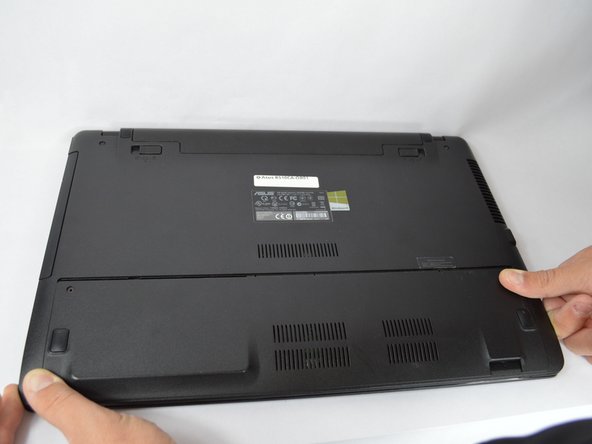
    • Shut down the computer and disconnect all external devices connected to it.

    • Turn the computer so that it is upside down. Position the computer with the front towards you.

  2. Asus R510CA-OB01 Hard Drive Replacement: étape 2, image 1 de 2 Asus R510CA-OB01 Hard Drive Replacement: étape 2, image 2 de 2
    • Loosen the two 12 mm screws on the bottom panel of your device using a Phillips size 0 bit.

  3. Asus R510CA-OB01 Hard Drive Replacement: étape 3, image 1 de 3 Asus R510CA-OB01 Hard Drive Replacement: étape 3, image 2 de 3 Asus R510CA-OB01 Hard Drive Replacement: étape 3, image 3 de 3
    • Use the grips to slide the panel off.

    • Remove the panel by lifting it off the device.

  4. Asus R510CA-OB01 Hard Drive Replacement: étape 4, image 1 de 3 Asus R510CA-OB01 Hard Drive Replacement: étape 4, image 2 de 3 Asus R510CA-OB01 Hard Drive Replacement: étape 4, image 3 de 3
    • Loosen the three 5 mm screws holding down the hard drive using a Phillips #00 bit.

  5. Asus R510CA-OB01 Hard Drive Replacement: étape 5, image 1 de 2 Asus R510CA-OB01 Hard Drive Replacement: étape 5, image 2 de 2
    • Slide the casing (hard drive bay) for the hard drive to the left.

    • Lift it to remove it from the device.

Conclusion

To reassemble your device, follow these instructions in reverse order.

Blanche Pinto

Membre depuis le 09/28/17

437 Réputation

4 tutoriels rédigés

Équipe

USF Tampa, Team S3-G4, Nance Fall 2017 Membre de l'équipe USF Tampa, Team S3-G4, Nance Fall 2017

USFT-NANCE-F17S3G4

2 membres

4 tutoriels rédigés

0 commentaires

Ajouter un commentaire

Nombre de vues :

Dernières 24 heures : 1

7 derniers jours : 5

30 derniers jours : 11

Total : 615