Introduction
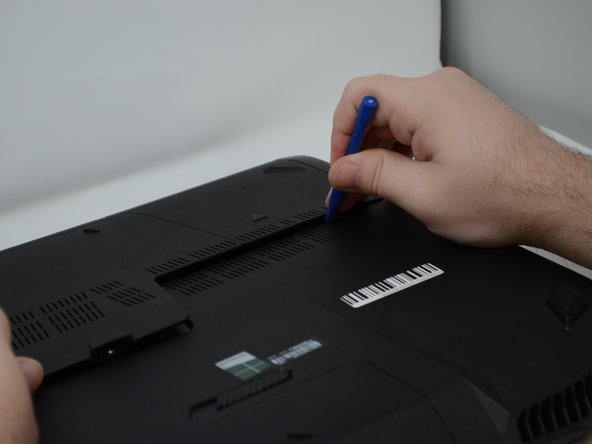
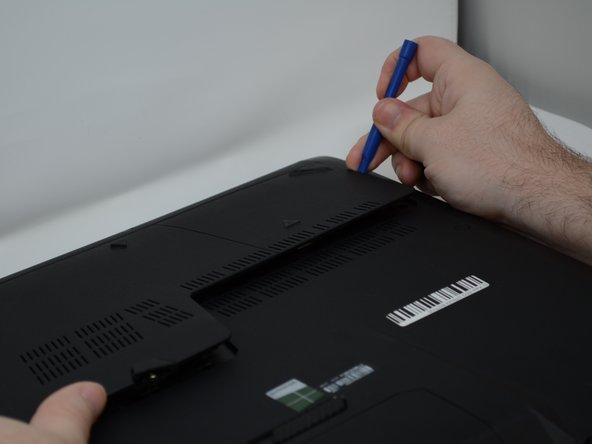
To access your hard drive, remove the back plate as shown in these steps.
Ce dont vous avez besoin
-
-
With the computer upside down, lift up on the rubber cap on the back plate to access the captive Phillips #2 screw.
-
-


To reassemble your device, follow these instructions in reverse order.
To reassemble your device, follow these instructions in reverse order.
Annulation : je n'ai pas terminé ce tutoriel.
Une autre personne a terminé cette réparation.
Équipe

Central Washington University, Team S1-G6, Pengilly Fall 2018 Membre de l'équipe Central Washington University, Team S1-G6, Pengilly Fall 2018
CWU-PENGILLY-F18S1G6
3 membres
5 tutoriels rédigés