Cette version peut contenir des modifications incorrectes. Passez au dernier aperçu vérifié.
Ce dont vous avez besoin
-
Cette étape n’est pas traduite. Aidez à la traduire
-
Place the computer upside down.
-
Using your thumbs, slide both latches away from each other (towards the outside).
-
Push the battery out with your fingers.
-
-
Cette étape n’est pas traduite. Aidez à la traduire
-
Remove the two screws using a Phillips #0 screwdriver.
-
-
-
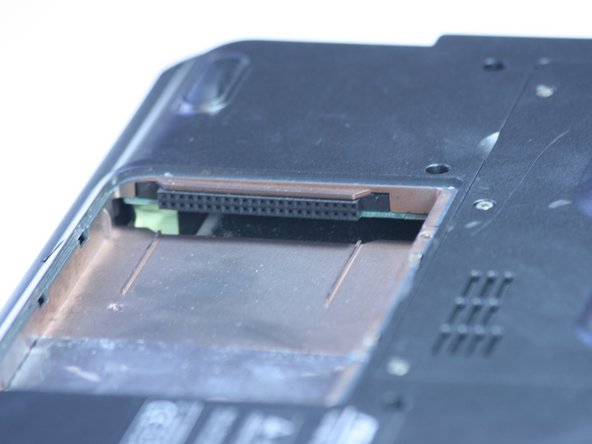
Cette étape n’est pas traduite. Aidez à la traduire
-
The highlighted area is where your hard drive would be. Slide it out away from its slot and pull it gently to remove.
-
-
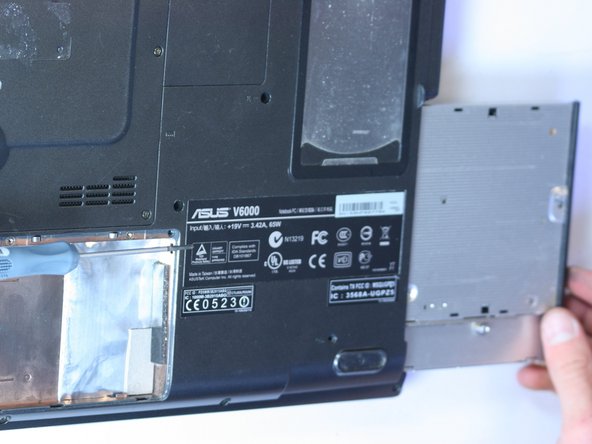
Cette étape n’est pas traduite. Aidez à la traduire
-
Remove the screw from the bottom right corner using a Phillips #0 screwdriver.
-
Insert a spudger into the hole to carefully push the CD/DVD drive out.
-


Équipe

Cal Poly, Team 2-9, Johann Summer 2010 Membre de l'équipe Cal Poly, Team 2-9, Johann Summer 2010
CPSU-JOHANN-R10S2G9
5 membres
10 tutoriels rédigés