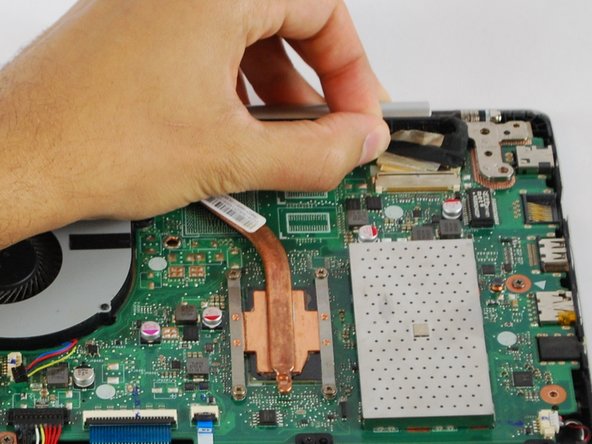
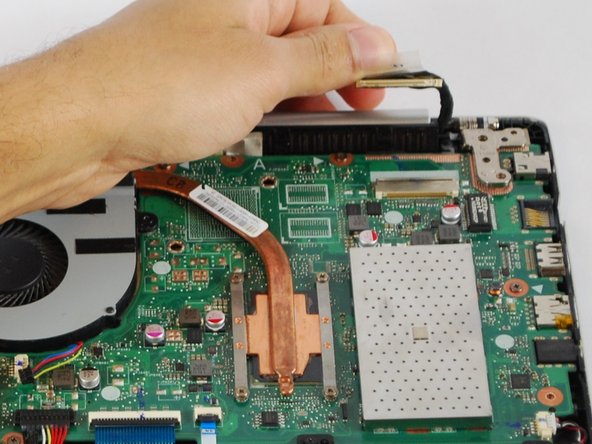
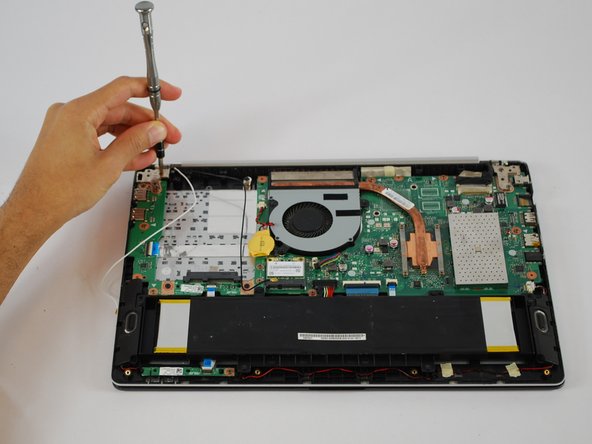
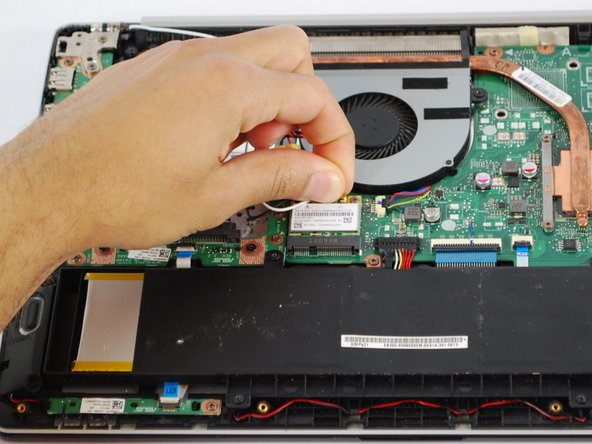
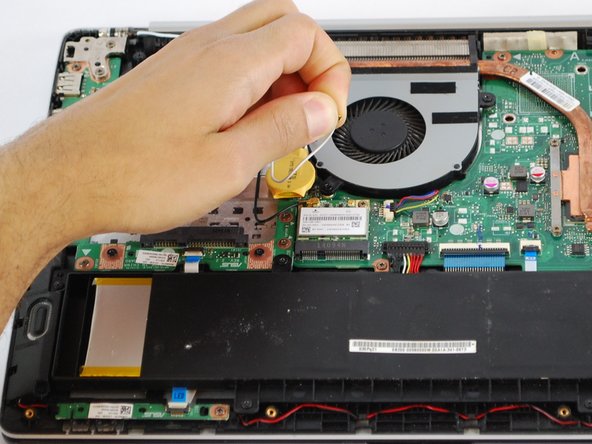
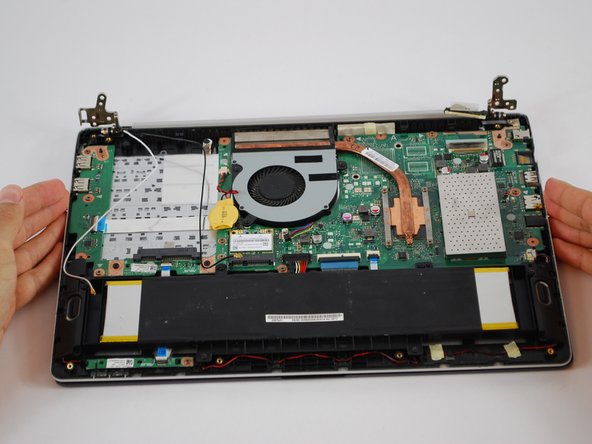
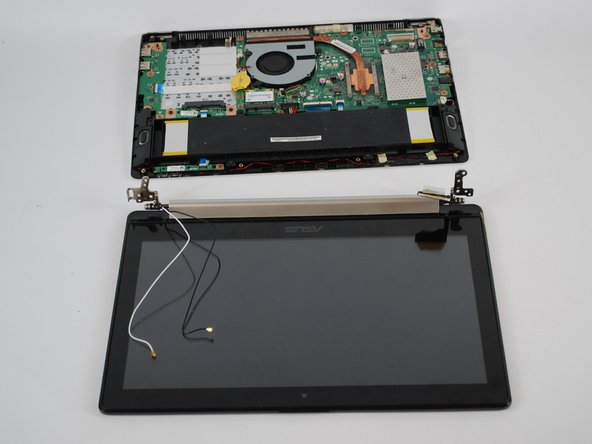
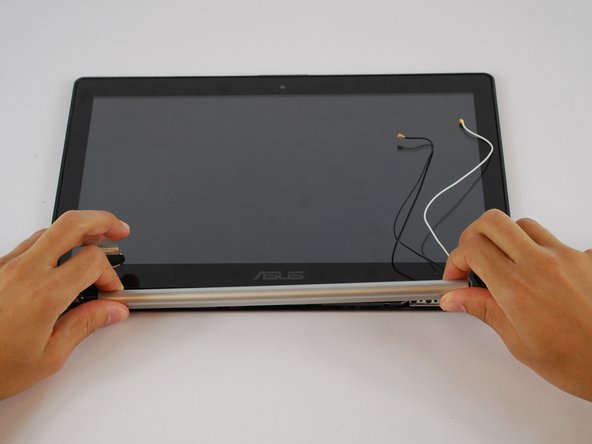
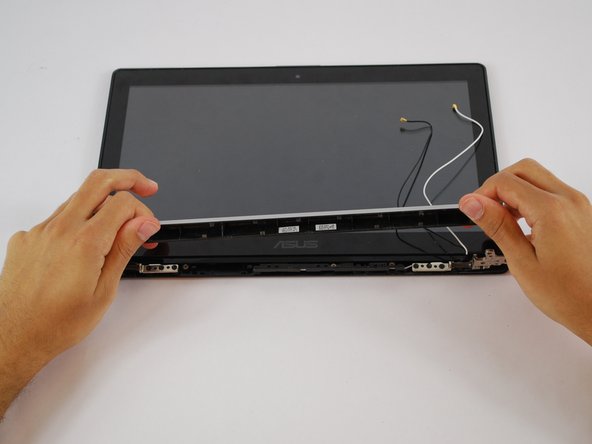
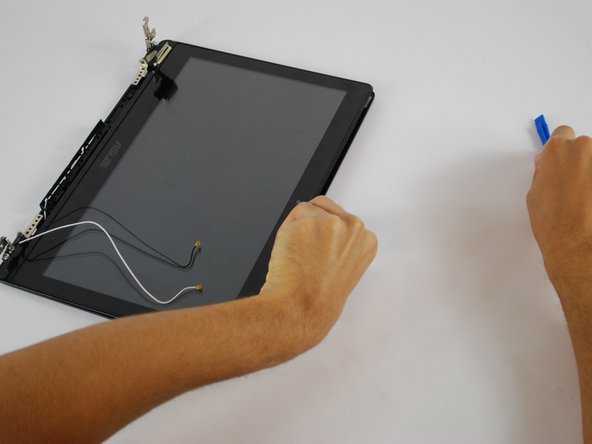
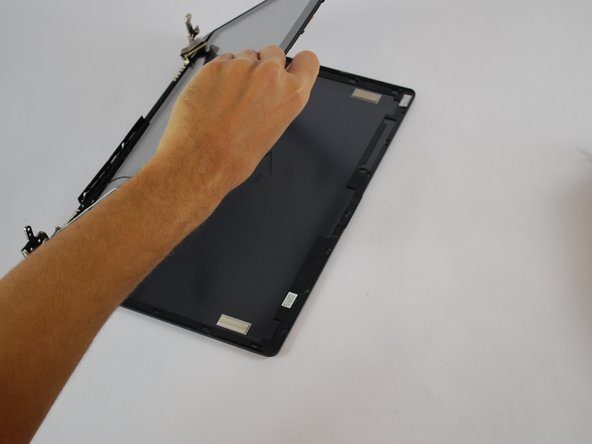
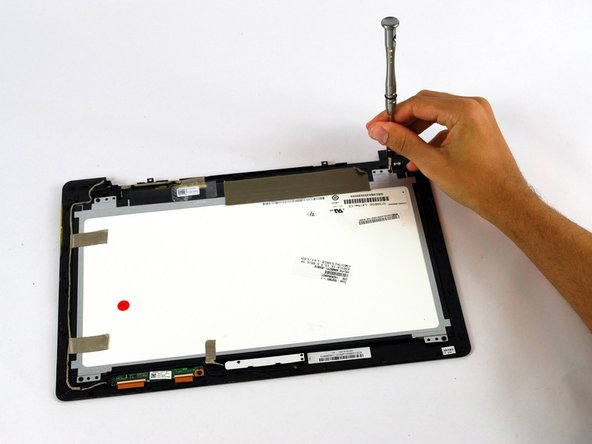
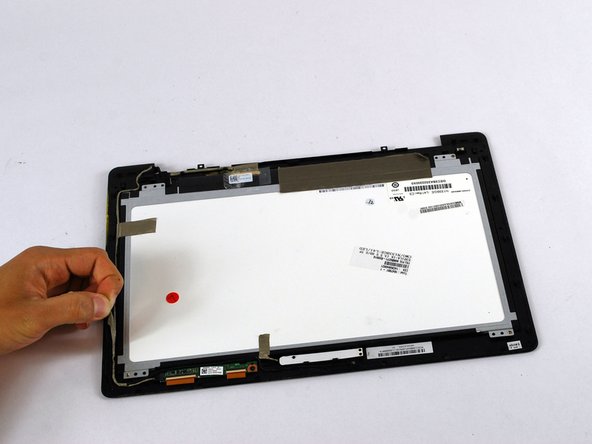
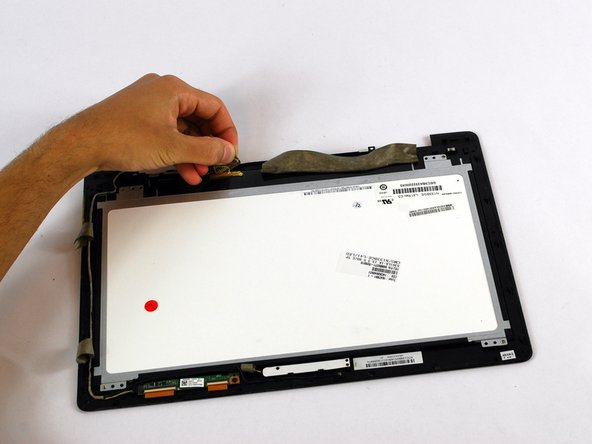
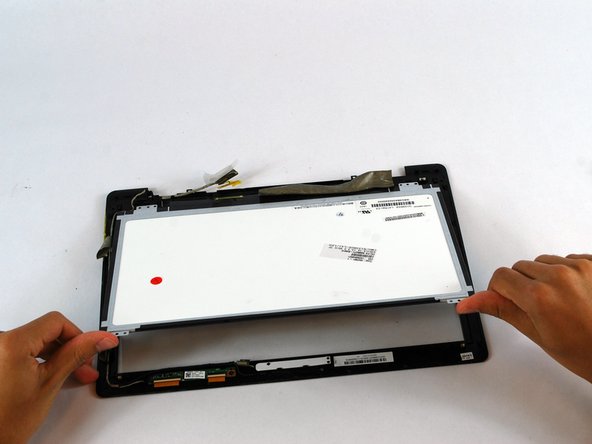
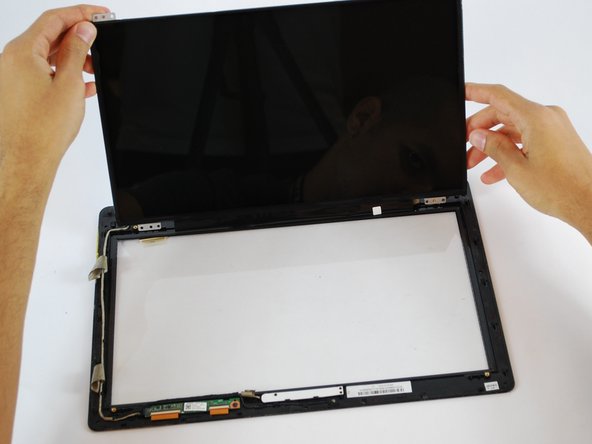
Aller au contenu principal

Asus Vivobook Q301LA-BHI5T02 Screen Replacement

Ce dont vous avez besoin

  1. Asus Vivobook Q301LA-BHI5T02 Screen Replacement, Back Cover: étape 1, image 1 de 1
    • Make sure the computer is turned off.

    • Flip the device over so that the back cover is facing you.

  2. Asus Vivobook Q301LA-BHI5T02 Screen Replacement: étape 2, image 1 de 2 Asus Vivobook Q301LA-BHI5T02 Screen Replacement: étape 2, image 2 de 2
    • Remove the four 5mm Phillips #1 screws from the top of the laptop.

    • Remove the two 6mm Phillips #1 screws from the sides of the laptop.

    • Remove the four 2mm Phillips #1 screws from the bottom of the laptop.

  3. Asus Vivobook Q301LA-BHI5T02 Screen Replacement: étape 3, image 1 de 3 Asus Vivobook Q301LA-BHI5T02 Screen Replacement: étape 3, image 2 de 3 Asus Vivobook Q301LA-BHI5T02 Screen Replacement: étape 3, image 3 de 3
    • Use a plastic opening tool to gently pry the bottom of the laptop up. Slowly slide it along the edges, twisting it every so often to pop the bottom of the laptop out of the clips holding it in place.

  4. Asus Vivobook Q301LA-BHI5T02 Screen Replacement: étape 4, image 1 de 1
    • Lift off the cover and remove the back cover from the device.

  5. Asus Vivobook Q301LA-BHI5T02 Screen Replacement, Screen: étape 5, image 1 de 3 Asus Vivobook Q301LA-BHI5T02 Screen Replacement, Screen: étape 5, image 2 de 3 Asus Vivobook Q301LA-BHI5T02 Screen Replacement, Screen: étape 5, image 3 de 3
    • Unplug the screen connector from the motherboard.

  6. Asus Vivobook Q301LA-BHI5T02 Screen Replacement: étape 6, image 1 de 2 Asus Vivobook Q301LA-BHI5T02 Screen Replacement: étape 6, image 2 de 2
    • Using a Phillips #1 Screwdriver unscrew the four 4 mm screws holding the screen holder onto the motherboard.

  7. Asus Vivobook Q301LA-BHI5T02 Screen Replacement: étape 7, image 1 de 3 Asus Vivobook Q301LA-BHI5T02 Screen Replacement: étape 7, image 2 de 3 Asus Vivobook Q301LA-BHI5T02 Screen Replacement: étape 7, image 3 de 3
    • Remove the two cables connecting to the wifi card.

  8. Asus Vivobook Q301LA-BHI5T02 Screen Replacement: étape 8, image 1 de 3 Asus Vivobook Q301LA-BHI5T02 Screen Replacement: étape 8, image 2 de 3 Asus Vivobook Q301LA-BHI5T02 Screen Replacement: étape 8, image 3 de 3
    • Remove the screen holder from the rest of the laptop.

    • Make sure when removing screen cover lift bottom of the laptop to about a 45° degree angle when removing it.

  9. Asus Vivobook Q301LA-BHI5T02 Screen Replacement: étape 9, image 1 de 2 Asus Vivobook Q301LA-BHI5T02 Screen Replacement: étape 9, image 2 de 2
    • Remove the bottom of the laptop from the screen.

  10. Asus Vivobook Q301LA-BHI5T02 Screen Replacement: étape 10, image 1 de 3 Asus Vivobook Q301LA-BHI5T02 Screen Replacement: étape 10, image 2 de 3 Asus Vivobook Q301LA-BHI5T02 Screen Replacement: étape 10, image 3 de 3
    • Remove the hinge cover by gently pulling to the right then upwards.

  11. Asus Vivobook Q301LA-BHI5T02 Screen Replacement: étape 11, image 1 de 1
    • Using a Phillips #1 Screwdriver unscrew the six 3 mm black screws and the three 2 mm copper screws that are keeping the screen in place.

    • Keep track of what screws go where.

  12. Asus Vivobook Q301LA-BHI5T02 Screen Replacement: étape 12, image 1 de 3 Asus Vivobook Q301LA-BHI5T02 Screen Replacement: étape 12, image 2 de 3 Asus Vivobook Q301LA-BHI5T02 Screen Replacement: étape 12, image 3 de 3
    • Push screen downwards then pull top of screen upwards and remove the screen.

  13. Asus Vivobook Q301LA-BHI5T02 Screen Replacement: étape 13, image 1 de 2 Asus Vivobook Q301LA-BHI5T02 Screen Replacement: étape 13, image 2 de 2
    • Using a Phillips #1 Screwdriver Unscrew the four 2 mm screws holding the screen onto the screen cover.

    • Use the PH0 bit screwdriver to unscrew the screws.

  14. Asus Vivobook Q301LA-BHI5T02 Screen Replacement: étape 14, image 1 de 3 Asus Vivobook Q301LA-BHI5T02 Screen Replacement: étape 14, image 2 de 3 Asus Vivobook Q301LA-BHI5T02 Screen Replacement: étape 14, image 3 de 3
    • Use a sharp object to remove tape from the back of the screen.

    • Careful when cutting the tape off, you can accidentally cut a wire

  15. Asus Vivobook Q301LA-BHI5T02 Screen Replacement: étape 15, image 1 de 3 Asus Vivobook Q301LA-BHI5T02 Screen Replacement: étape 15, image 2 de 3 Asus Vivobook Q301LA-BHI5T02 Screen Replacement: étape 15, image 3 de 3
    • Unplug the screen from the screen holder.

    • Don't pull the cable too hard or it can damage the connection.

  16. Asus Vivobook Q301LA-BHI5T02 Screen Replacement: étape 16, image 1 de 3 Asus Vivobook Q301LA-BHI5T02 Screen Replacement: étape 16, image 2 de 3 Asus Vivobook Q301LA-BHI5T02 Screen Replacement: étape 16, image 3 de 3
    • Take the screen off of the screen holder.

Conclusion

To reassemble your device, follow these instructions in reverse order.

4 autres ont terminé cette réparation.

Jorge Villarreal

Membre depuis le 10/02/17

397 Réputation

3 tutoriels rédigés

Équipe

USF Tampa, Team S10-G3, Thompson Fall 2017 Membre de l'équipe USF Tampa, Team S10-G3, Thompson Fall 2017

USFT-THOMPSON-F17S10G3

4 membres

6 tutoriels rédigés

0 commentaires

Ajouter un commentaire

Nombre de vues :

Dernières 24 heures : 1

7 derniers jours : 6

30 derniers jours : 34

Total : 3,458