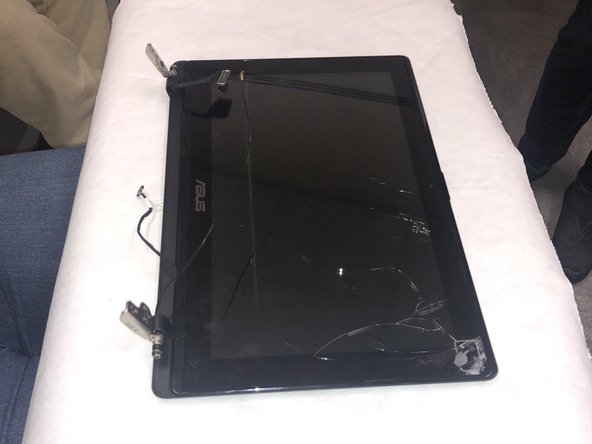
Aller au contenu principal

Asus X200MA Screen Replacement

Ce dont vous avez besoin

  1. Asus X200MA Screen Replacement, Back Panel: étape 1, image 1 de 1
    • Remove the following six screws:

    • Six 4 mm screws using a Phillips #0 screwdriver.

    • Remove the following one screw:

    • One 14 mm screw using a Phillips #0 screwdriver.

    • The 14mm screw goes in the center.

  2. Asus X200MA Screen Replacement: étape 2, image 1 de 1
    • Use a plastic or metal spudger to separate the keyboard from the back panel and lift the keyboard out of place.

  3. Asus X200MA Screen Replacement, Battery: étape 3, image 1 de 1
    • Take two rubber caps off the back side of the laptop.

  4. Asus X200MA Screen Replacement: étape 4, image 1 de 1
    • Remove the following two screws under the rubber caps.

    • Two 14 mm screws using the Phillips #0 screw driver.

  5. Asus X200MA Screen Replacement: étape 5, image 1 de 1
    • Flip up the following:

    • The two latches holding the two cables shown(white and black)

    • Pull the cables free from the latches

    • Lift the keyboard from the computer

  6. Asus X200MA Screen Replacement: étape 6, image 1 de 1
    • Remove the following screws from the inside of the laptop:

    • Two 4 mm screws using the Phillips #0 phillips screwdriver.

    • One 5 mm screw using the Phillips #0 Phillips screwdriver located in the center a little below the battery.

  7. Asus X200MA Screen Replacement: étape 7, image 1 de 1
    • Slide the battery up and out.

  8. Asus X200MA Screen Replacement, Screen: étape 8, image 1 de 1
    • Remove the following four 3 mm screws using the Phillips #0 screwdriver.

  9. Asus X200MA Screen Replacement: étape 9, image 1 de 2 Asus X200MA Screen Replacement: étape 9, image 2 de 2
    • Lift and separate the screen from the base plate.

  10. Asus X200MA Screen Replacement: étape 10, image 1 de 2 Asus X200MA Screen Replacement: étape 10, image 2 de 2
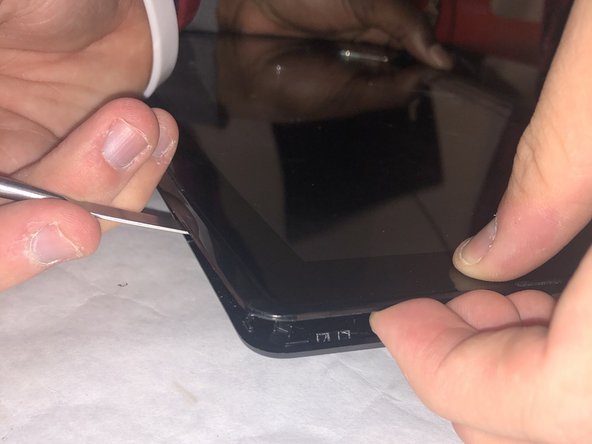
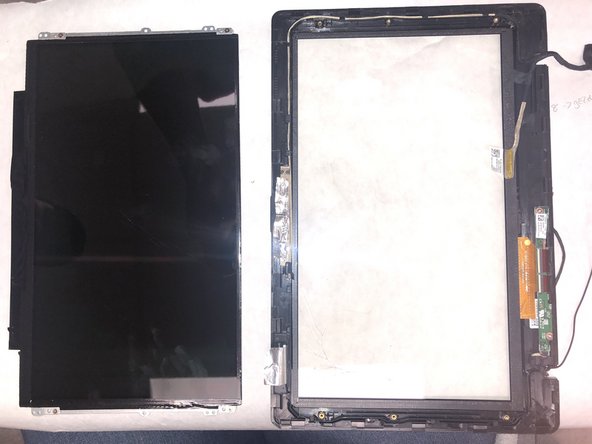
    • Insert the metal spudger into the side of the screen casing. Work the spudger around the perimeter of the casing in a rowing motion in order to release the plastic clips holding the casing together.

    • Place a finger in the space between the casing while undoing the clips to keep the casing from re-closing.

  11. Asus X200MA Screen Replacement: étape 11, image 1 de 1
    • Lift the half of the casing with the screen away from the other half of the casing and place the screen half on a work space by itself.

  12. Asus X200MA Screen Replacement: étape 12, image 1 de 1
    • Remove the following six 3 mm screws using the Phillips #0 screwdriver.

  13. Asus X200MA Screen Replacement: étape 13, image 1 de 3 Asus X200MA Screen Replacement: étape 13, image 2 de 3 Asus X200MA Screen Replacement: étape 13, image 3 de 3
    • Use the jimmy tool to peel the following stickers from the screen:

    • The silver sticker near the bottom.

    • The information sticker near the top.

  14. Asus X200MA Screen Replacement: étape 14, image 1 de 3 Asus X200MA Screen Replacement: étape 14, image 2 de 3 Asus X200MA Screen Replacement: étape 14, image 3 de 3
    • Lift the latch holding the component in place.

    • Remove the component by pulling in the direction of the arrows.

  15. Asus X200MA Screen Replacement: étape 15, image 1 de 2 Asus X200MA Screen Replacement: étape 15, image 2 de 2
    • Lift the screen from the casing and place the two next to one another.

Conclusion

To reassemble your device, follow these instructions in reverse order.

Alli Krininger

Membre depuis le 11/11/19

391 Réputation

3 tutoriels rédigés

Équipe

IUPUI, Team S2-G4, Stella Fall 2019 Membre de l'équipe IUPUI, Team S2-G4, Stella Fall 2019

IUPUI-STELLA-F19S2G4

4 membres

3 tutoriels rédigés

0 commentaires

Ajouter un commentaire

Nombre de vues :

Dernières 24 heures : 0

7 derniers jours : 5

30 derniers jours : 12

Total : 772