Aller au contenu principal

Asus X55C Fan/Heat Sink Cleaning and Thermal Past Application

Ce dont vous avez besoin

Vidéo d'introduction

  1. Asus X55C Fan/Heat Sink Cleaning and Thermal Past Application, Keyboard: étape 1, image 1 de 1
    • Switch off the laptop and remove the battery.

  2. Asus X55C Fan/Heat Sink Cleaning and Thermal Past Application: étape 2, image 1 de 3 Asus X55C Fan/Heat Sink Cleaning and Thermal Past Application: étape 2, image 2 de 3 Asus X55C Fan/Heat Sink Cleaning and Thermal Past Application: étape 2, image 3 de 3
    • The Keyboard is held by 5x locking clips.

    • Pick up a little the one side of the Keyboard and start opening the clips one by one.

    • Disconnect the Keyboard flex cable from the mother board and remove the KB.

    • Please SUBSCRIBE to my channel ツ

  3. Asus X55C Fan/Heat Sink Cleaning and Thermal Past Application, Motherboard: étape 3, image 1 de 2 Asus X55C Fan/Heat Sink Cleaning and Thermal Past Application, Motherboard: étape 3, image 2 de 2
    • Remove 3x Philips screws.

    • Disconnect the two small flex cables:

    • Power On button flex cable

    • Touch pad flex cable

  4. Asus X55C Fan/Heat Sink Cleaning and Thermal Past Application: étape 4, image 1 de 3 Asus X55C Fan/Heat Sink Cleaning and Thermal Past Application: étape 4, image 2 de 3 Asus X55C Fan/Heat Sink Cleaning and Thermal Past Application: étape 4, image 3 de 3
    • Unscrew the two Philips screws and remove the HDD / RAM Cover.

    • Remove three screws securing the hard drive caddy (hard drive assembly).

    • Slide the hard drive assembly to the left to disconnect it from the motherboard.

  5. Asus X55C Fan/Heat Sink Cleaning and Thermal Past Application: étape 5, image 1 de 2 Asus X55C Fan/Heat Sink Cleaning and Thermal Past Application: étape 5, image 2 de 2
    • Disconnect the two coaxial antenna cables from the Wi-Fi card.

    • Remove any Memory or Dummy card.

  6. Asus X55C Fan/Heat Sink Cleaning and Thermal Past Application: étape 6, image 1 de 3 Asus X55C Fan/Heat Sink Cleaning and Thermal Past Application: étape 6, image 2 de 3 Asus X55C Fan/Heat Sink Cleaning and Thermal Past Application: étape 6, image 3 de 3
    • The bottom cover is held by 10x Phillips screws. Remove them.

    • With a plastic tool separate the Upper cover and remove it.

  7. Asus X55C Fan/Heat Sink Cleaning and Thermal Past Application: étape 7, image 1 de 3 Asus X55C Fan/Heat Sink Cleaning and Thermal Past Application: étape 7, image 2 de 3 Asus X55C Fan/Heat Sink Cleaning and Thermal Past Application: étape 7, image 3 de 3
    • Disconnect:

    • The Microphone cable

    • The LCD Display flex cable

    • Remove 3x Pillips screws.

    • Lift the board first from the right edge.

    • There is another one cable, from the DC connector, connected to the underside of main board. We should spun the the board to disconnect the DC connector cable.
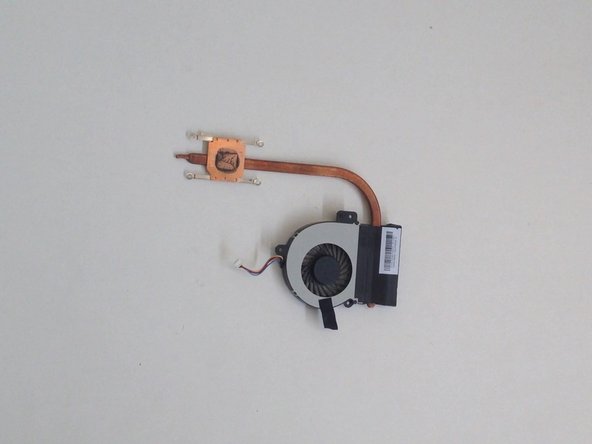
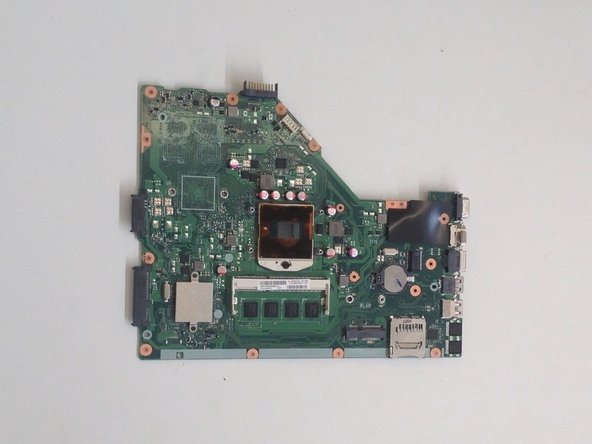
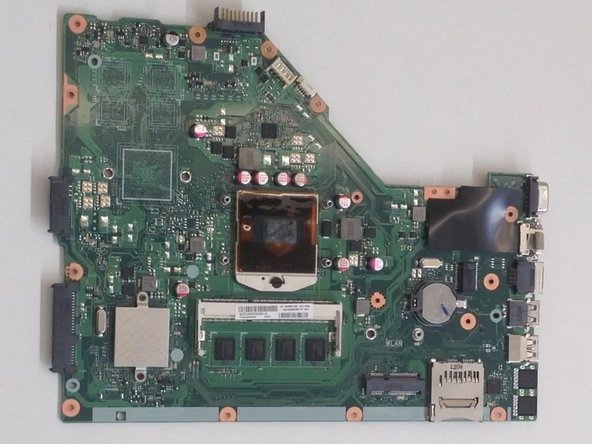
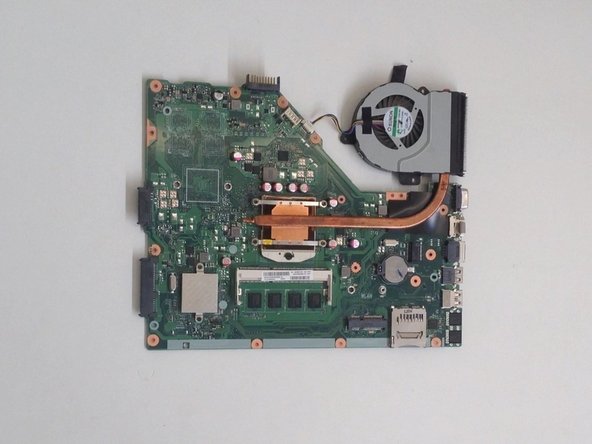
  8. Asus X55C Fan/Heat Sink Cleaning and Thermal Past Application: étape 8, image 1 de 2 Asus X55C Fan/Heat Sink Cleaning and Thermal Past Application: étape 8, image 2 de 2
  9. Asus X55C Fan/Heat Sink Cleaning and Thermal Past Application, Asus X55C Fan/Heat Sink Cleaning and Thermal Past Application: étape 9, image 1 de 3 Asus X55C Fan/Heat Sink Cleaning and Thermal Past Application, Asus X55C Fan/Heat Sink Cleaning and Thermal Past Application: étape 9, image 2 de 3 Asus X55C Fan/Heat Sink Cleaning and Thermal Past Application, Asus X55C Fan/Heat Sink Cleaning and Thermal Past Application: étape 9, image 3 de 3
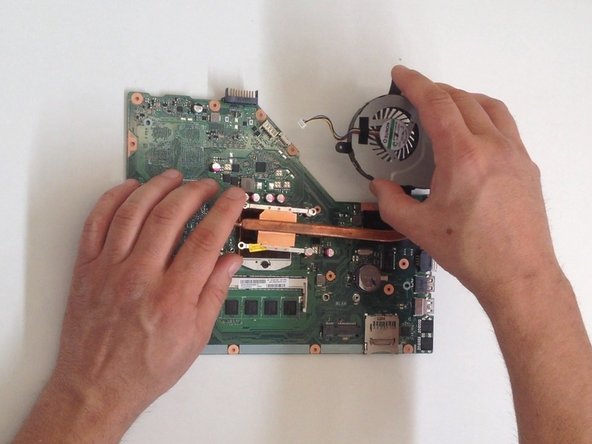
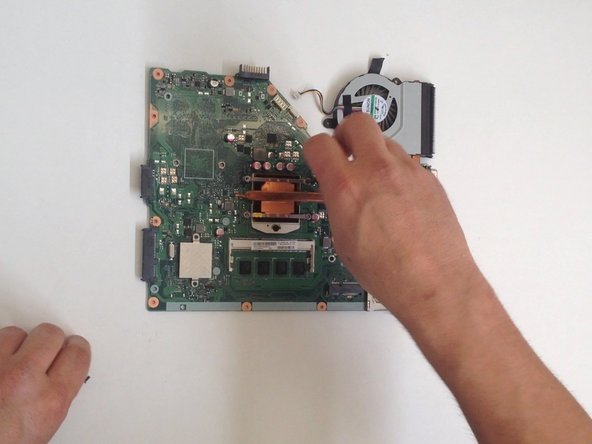
    • Disconnect the Fan cable from the Motherboard.

    • Remove the screws (4x Phillips screws) that hold the cooling system to the Motherboard

    • Remove the Cooling System carefully, if you don't want to break the CPU.

  10. Asus X55C Fan/Heat Sink Cleaning and Thermal Past Application: étape 10, image 1 de 3 Asus X55C Fan/Heat Sink Cleaning and Thermal Past Application: étape 10, image 2 de 3 Asus X55C Fan/Heat Sink Cleaning and Thermal Past Application: étape 10, image 3 de 3
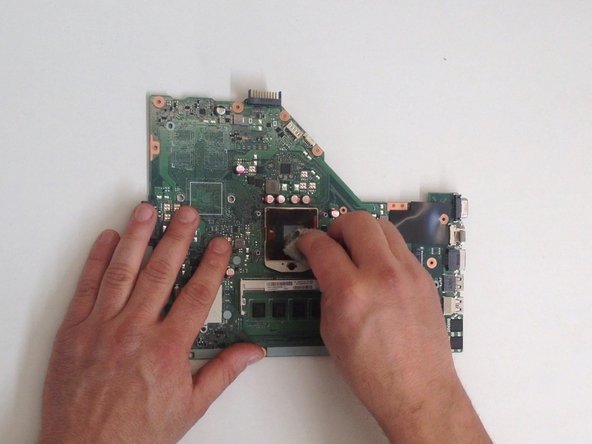
    • Use a lint-free cloth to clean the old thermal compound.

    • If the thermal compound is solidified, you can use a flat end of any plastic tool to scrape it off.

    • Use again cloth with isopropyl alcohol to clean the Thermal surface.

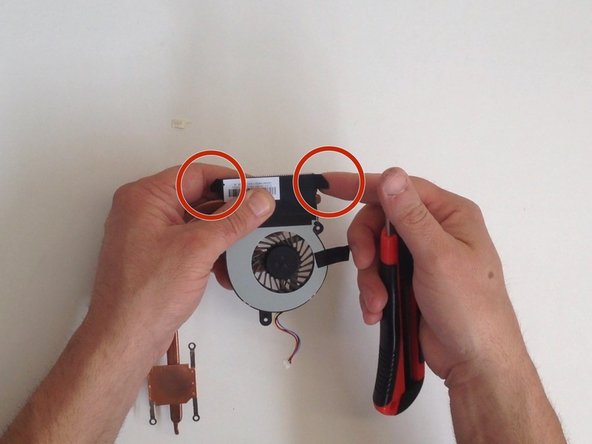
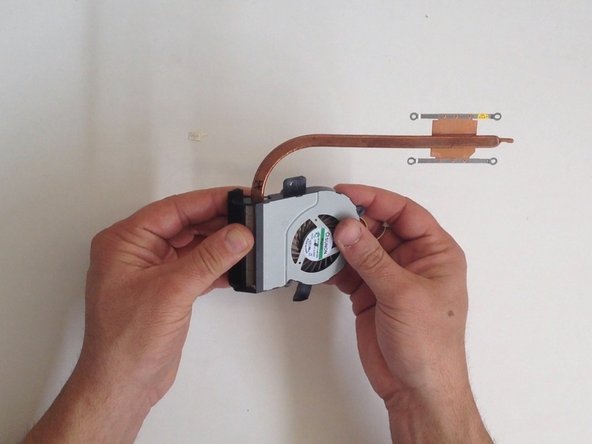
    • The Fan and Headsink are held together with a large black bar. Removing the tape at both ends, to separate the Fan from the Headsink.

    • Use a soft anti static brush and clean the Heatsink on the inside.

  11. Asus X55C Fan/Heat Sink Cleaning and Thermal Past Application: étape 11, image 1 de 3 Asus X55C Fan/Heat Sink Cleaning and Thermal Past Application: étape 11, image 2 de 3 Asus X55C Fan/Heat Sink Cleaning and Thermal Past Application: étape 11, image 3 de 3
    • Use the same technic to clean the surface of the processor from the old thermal compound

    • Be carefully,if you don't want to break the CPU.

  12. Asus X55C Fan/Heat Sink Cleaning and Thermal Past Application: étape 12, image 1 de 3 Asus X55C Fan/Heat Sink Cleaning and Thermal Past Application: étape 12, image 2 de 3 Asus X55C Fan/Heat Sink Cleaning and Thermal Past Application: étape 12, image 3 de 3
    • Dispense a small amount of thermal compound and gently smear it over the entire processor surface.

  13. Asus X55C Fan/Heat Sink Cleaning and Thermal Past Application: étape 13, image 1 de 3 Asus X55C Fan/Heat Sink Cleaning and Thermal Past Application: étape 13, image 2 de 3 Asus X55C Fan/Heat Sink Cleaning and Thermal Past Application: étape 13, image 3 de 3
    • Careful install the Cooling system with even pressure from all sides, and the bead that you placed on the surface will spread over the entire contact surface.

    • .

    • .

    • .

    • .

    • Did you do it successfully?

Conclusion

To reassemble your device, follow these instructions in reverse order.

6 autres ont terminé cette réparation.

ZFix

Membre depuis le 12/09/13

191 182 Réputation

330 tutoriels rédigés

Équipe

Master Techs Membre de l'équipe Master Techs

Community

322 membres

2 521 tutoriels rédigés

0 commentaires

Ajouter un commentaire

Nombre de vues :

Dernières 24 heures : 0

7 derniers jours : 2

30 derniers jours : 5

Total : 5,398