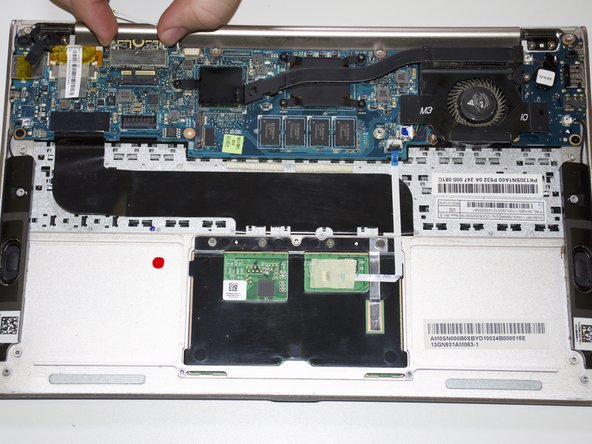
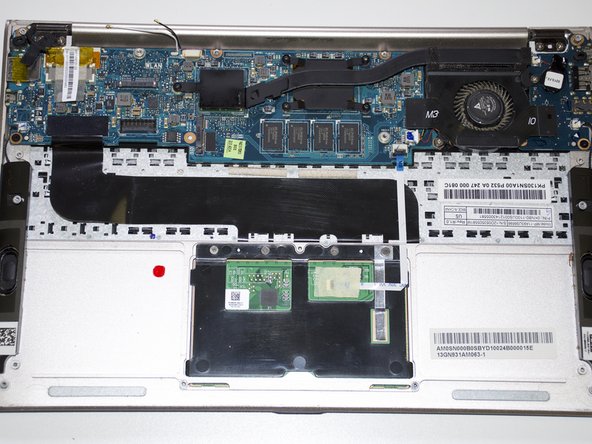
Aller au contenu principal

Asus Zenbook UX21e WiFi Card Replacement

Ce dont vous avez besoin

  1. Asus Zenbook UX21e WiFi Card Replacement, Battery: étape 1, image 1 de 3 Asus Zenbook UX21e WiFi Card Replacement, Battery: étape 1, image 2 de 3 Asus Zenbook UX21e WiFi Card Replacement, Battery: étape 1, image 3 de 3
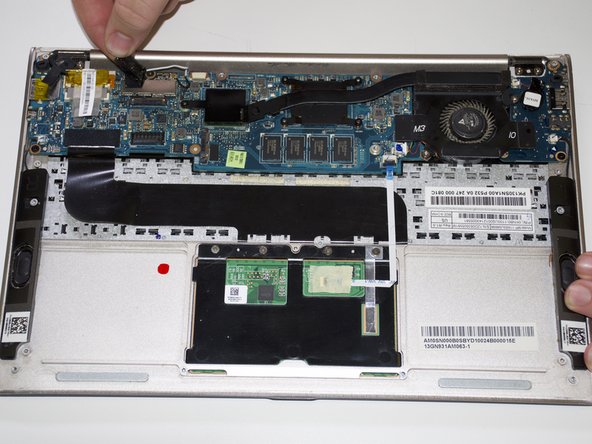
    • Using a T4 Torx screwdriver, unscrew the ten screws lining the bottom cover. Then, proceed to remove the bottom cover by sliding it out parallel toward the back of the computer.

    • There are two length of screws. Eight screws are 3mm and two are 5mm. The two 5mm screws always go into the two center holes along the back edge.

  2. Asus Zenbook UX21e WiFi Card Replacement: étape 2, image 1 de 3 Asus Zenbook UX21e WiFi Card Replacement: étape 2, image 2 de 3 Asus Zenbook UX21e WiFi Card Replacement: étape 2, image 3 de 3
    • Using an iFixit opening tool and your other hand, gently lift the connector up from the tape wrapped around the connector wires and pry the connector from the motherboard.

  3. Asus Zenbook UX21e WiFi Card Replacement: étape 3, image 1 de 1
    • Remove the battery by unscrewing the five 3mm screws using a Phillips #1 screwdriver.

    • One at each corner and one in the center.

  4. Asus Zenbook UX21e WiFi Card Replacement: étape 4, image 1 de 2 Asus Zenbook UX21e WiFi Card Replacement: étape 4, image 2 de 2
    • Lift the battery directly up and remove it from the device.

  5. Asus Zenbook UX21e WiFi Card Replacement, WiFi Card: étape 5, image 1 de 3 Asus Zenbook UX21e WiFi Card Replacement, WiFi Card: étape 5, image 2 de 3 Asus Zenbook UX21e WiFi Card Replacement, WiFi Card: étape 5, image 3 de 3
    • Remove black tape cover from WiFi Card by peeling it off.

  6. Asus Zenbook UX21e WiFi Card Replacement: étape 6, image 1 de 3 Asus Zenbook UX21e WiFi Card Replacement: étape 6, image 2 de 3 Asus Zenbook UX21e WiFi Card Replacement: étape 6, image 3 de 3
    • Lift up the black and white connecting cable. Move the cables out of way to clear space.

    • An iFixit tool can be used to remove the cables but it is not necessary.

  7. Asus Zenbook UX21e WiFi Card Replacement: étape 7, image 1 de 3 Asus Zenbook UX21e WiFi Card Replacement: étape 7, image 2 de 3 Asus Zenbook UX21e WiFi Card Replacement: étape 7, image 3 de 3
    • Unscrew the single 3mm with a Phillips #1 screwdriver at the front end of the WiFi card slot.

    • Remove the WiFi card by sliding the card parallel to the device toward the screen edge of the device. Once clear of the slot, lift up the WiFi card and remove it from the device.

Conclusion

To reassemble your device, follow these instructions in reverse order.

2 autres ont terminé cette réparation.

Zachary Eslick

Membre depuis le 04/23/18

756 Réputation

5 tutoriels rédigés

Équipe

Cal Poly, Team S22-G1, Maness Spring 2018 Membre de l'équipe Cal Poly, Team S22-G1, Maness Spring 2018

CPSU-MANESS-S18S22G1

3 membres

5 tutoriels rédigés

0 commentaires

Ajouter un commentaire

Nombre de vues :

Dernières 24 heures : 0

7 derniers jours : 0

30 derniers jours : 4

Total : 1,254