Aller au contenu principal

BLU Grand M2 Rear Camera Replacement

Ce dont vous avez besoin

  1. BLU Grand M2 Rear Camera Replacement, Confirm the Device: étape 1, image 1 de 2 BLU Grand M2 Rear Camera Replacement, Confirm the Device: étape 1, image 2 de 2
    • Check the front panel and confirm you are repairing the BLU Grand M2 (figure 1)

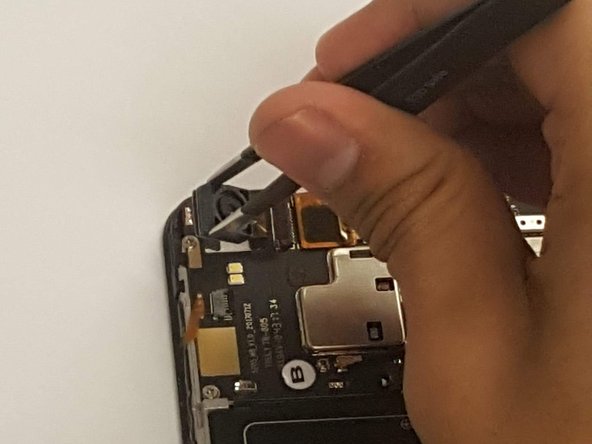
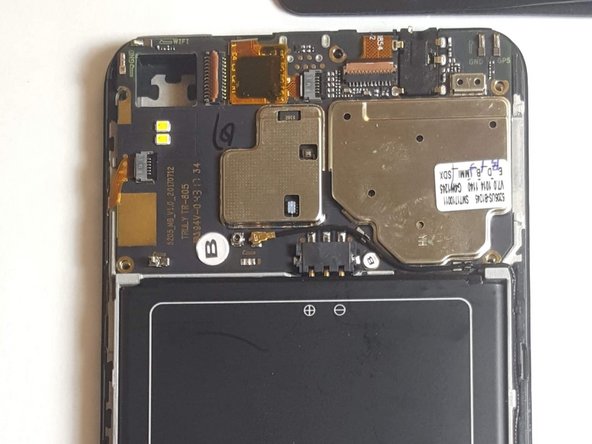
    • Turn the device over and identify the the rear-facing camera (figure 2) This is what you will be replacing

  2. BLU Grand M2 Rear Camera Replacement: étape 2, image 1 de 1
    • Locate the two torx screws at the bottom of the phone and remove them using the T2 Torx Screwdriver.

  3. BLU Grand M2 Rear Camera Replacement: étape 3, image 1 de 1
    • Use the suction and pry tools to carefully remove the black plate.

    • Be cautious!! Do not damage the phone display or inside components while using pry and suction tools.

  4. BLU Grand M2 Rear Camera Replacement: étape 4, image 1 de 1
    • Identify the back-panel camera in the left -hand corner of the open device. (Figure 1)

  5. BLU Grand M2 Rear Camera Replacement: étape 5, image 1 de 3 BLU Grand M2 Rear Camera Replacement: étape 5, image 2 de 3 BLU Grand M2 Rear Camera Replacement: étape 5, image 3 de 3
    • Use the Plastic Pry Tool to carefully to lift the tab on the right-hand side of the connector.

    • Carefully remove camera from housing using a pair of tweezers.

Conclusion

To reassemble your device, follow these instructions in reverse order.

Alan Rodriguez

Membre depuis le 09/10/18

311 Réputation

2 tutoriels rédigés

Équipe

Gateway, Team S1-G3, Luster Fall 2018 Membre de l'équipe Gateway, Team S1-G3, Luster Fall 2018

GCC-LUSTER-F18S1G3

4 membres

4 tutoriels rédigés

0 commentaires

Ajouter un commentaire

Nombre de vues :

Dernières 24 heures : 0

7 derniers jours : 0

30 derniers jours : 0

Total : 315