Introduction
Hello, I`ll be showing you how to disassemble the regulator, clean and relube it. This will fix problems with pressure not working properly, rising pressure when not using, pressure dips etc.
It is very important to purge all pressure from the regulator before you start to disassemble it. You can do this by sticking a philips head screwdriver in the female quick disconnect fitting.
Please wear latex gloves when cleaning and reassembling.
-
-
Turn your regulator upside down and use needle nose pliers to unscrew the bottom plate by turning it anticlockwise.
-
Be careful not to lose the parts that will fall out. They are not under pressure!
-
-
-
Remove the two Hex screws that lock the two parts of the regulator.
-
Remove the screw that is used to regulate the pressure.
-
-
-
-
Unscrew the bottom part from the regulator by turning it anticlockwise.
-
It is not under pressure.
-
Be careful not to lose any parts that may fall out. Especially the small O-ring.
-
-
-
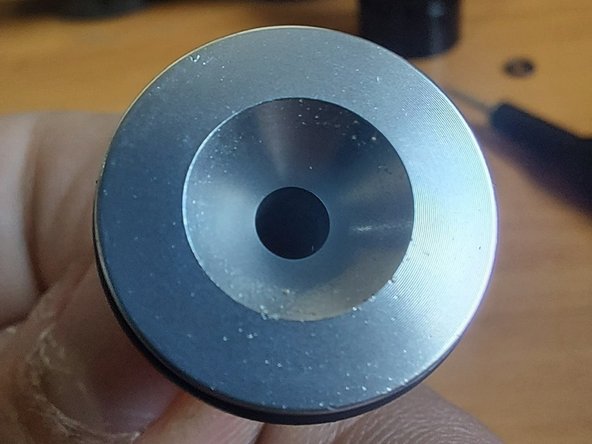
Lift up the tube.
-
Clean all the surfaces, threads and insides with a degreaser and a cloth that does not leave debris. I used medical gauze pads.
-
Use a silicon based lubricant (not petrol based) to lube the O-ring on the tube and the one (small one) from the bottom. There are a total of 2 O-rings in this regulator.
-
Use lubricant only on the O-rings and make sure it does not go or spill anywhere else. Do not spray lubricant directly as it will get vary messy and you do not want it anywhere else, besides on the rubber.
-


To reassemble your device, follow these instructions in reverse order.
To reassemble your device, follow these instructions in reverse order.
Annulation : je n'ai pas terminé ce tutoriel.
2 autres ont terminé cette réparation.
