
Beats Solo Pro Side panel Replacement

HelloMacOS et
Dernière mise à jour le 25 août 2023
Vues: 6 k
Afficher les statistiques :
- Dernières 24 heures :
- 3
- Sept derniers jours :
- 28
- Trente derniers jours :
- 148
- Total :
- 5 969
Commentaires: 1
1 commentaire de tutoriel.
Aller aux commentaires de tutorielTerminé: 5 6
5 personnes ont marqué ce tutoriel comme « terminé ». Serez-vous la prochaine ?
6 personnes ont marqué ce tutoriel comme « terminé ». Dont vous — super travail !
Favoris: 4 5
4 personnes ont mis ce tutoriel en favori (et s'y sont abonnées). Serez-vous la prochaine ?
5 personnes ont mis ce tutoriel en favori (et s'y sont abonnées) – dont vous !
Puces !
Une bonne utilisation des balises, de la couleur et/ou du format des puces donnera de la clarté à ce tutoriel !
Tutoriel réalisé par la communauté
Un membre tout à fait remarquable de notre communauté a réalisé ce tutoriel. Il n'a pas été créé par l'équipe iFixit.
Introduction
Allez à l'étape 1 ↓This guide will show you how to replace the side panel on your Beats Solo Pro
Ce dont vous avez besoin
Outils


-
-
-
Slide the headphones down to extend the hinge.
 Demander à FixBot
-
-
-
Once extended insert a prying the new gap to unclip the panel
-
Once unclipped repeat on the other side of the panel
-
The two clips are towards the top of the panel, as indicated by the location of the metal prying tool in the image.
-
-
-
-
Slide the panel down and lift away from the headphone just until its separated
-
-
-
If needed tighten the PH00 screw(if your side panel has came loose on it own you will need to do this to fix the issue)
-
-


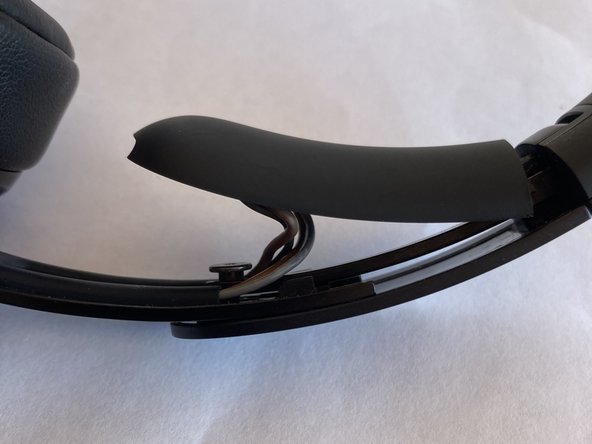
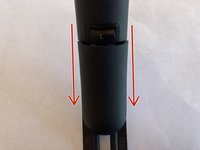
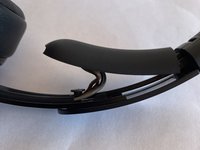

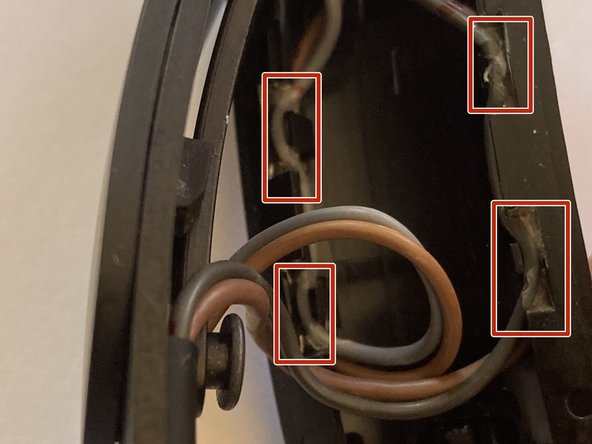
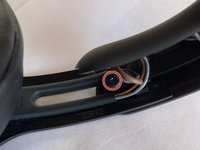
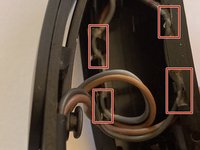
To reassemble complete steps in reverse:-)
Annulation : je n'ai pas terminé ce tutoriel.
5 autres ont terminé cette réparation.

1 commentaire de tutoriel
Muchas gracias por tus pasos a seguir.
Yo tengo un problema pero con el tornillo que esta tapado por los cables, al cual no puedo acceder para poderlo apretar contra la tapa exterior.
