Aller au contenu principal

Bissell OptiClean Cyclonic Vacuum Nozzle Replacement

  1. Bissell OptiClean Cyclonic Vacuum Nozzle Replacement, Nozzle: étape 1, image 1 de 1
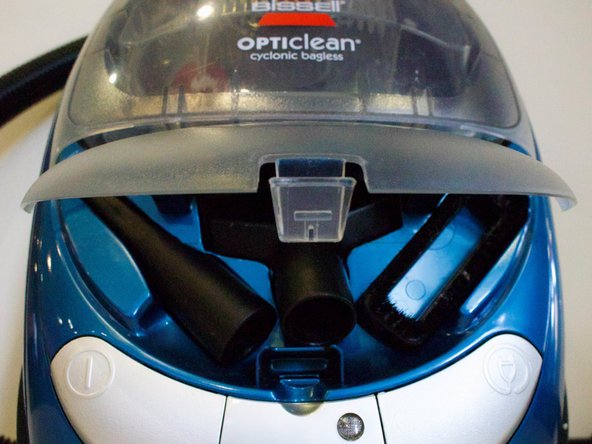
    • Place the vacuum upright and locate the nozzle attachment you want removed.

  2. Bissell OptiClean Cyclonic Vacuum Nozzle Replacement: étape 2, image 1 de 2 Bissell OptiClean Cyclonic Vacuum Nozzle Replacement: étape 2, image 2 de 2
    • Slide the attachment off of the end of the wand.

  3. Bissell OptiClean Cyclonic Vacuum Nozzle Replacement: étape 3, image 1 de 2 Bissell OptiClean Cyclonic Vacuum Nozzle Replacement: étape 3, image 2 de 2
    • The brush nozzle attachment has two parts, which can be separated and replaced.

    • The front of the vacuum has slots to hold up to two vacuum attachments. To store, simply place the attachment in the framed slots.

Conclusion

To reassemble your device, follow these instructions in reverse order.

Une autre personne a terminé cette réparation.

Jorden Carroll

Membre depuis le 01/18/18

227 Réputation

1 tutoriel rédigé

Équipe

Cal Poly, Team S12-G1, Banghart Winter 2018 Membre de l'équipe Cal Poly, Team S12-G1, Banghart Winter 2018

CPSU-BANGHART-W18S12G1

5 membres

5 tutoriels rédigés

Un commentaire

Ajouter un commentaire

Nombre de vues :

Dernières 24 heures : 0

7 derniers jours : 1

30 derniers jours : 2

Total : 210