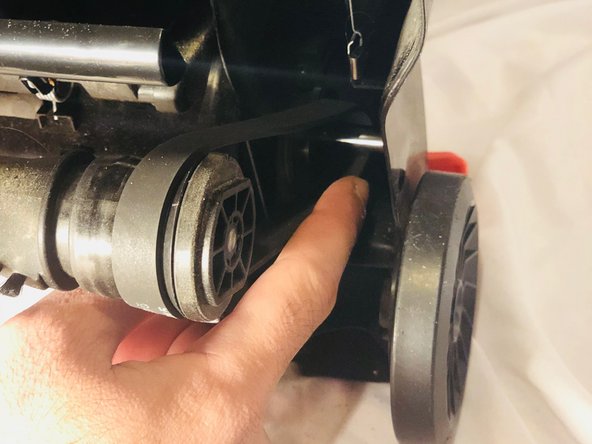
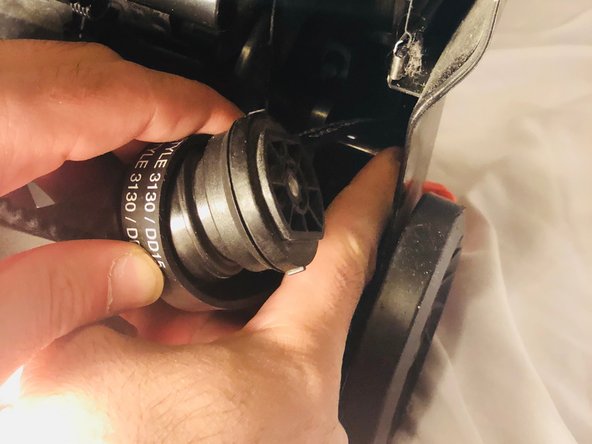
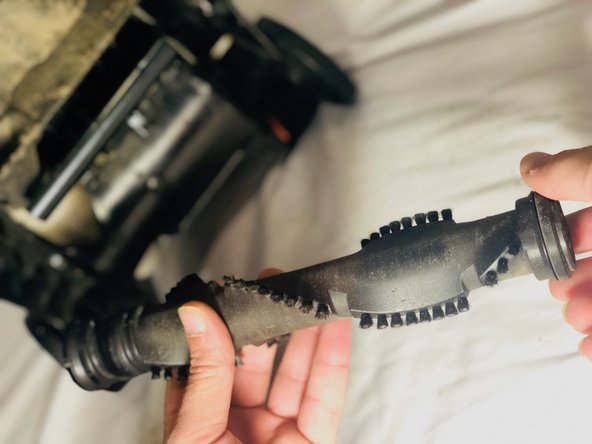
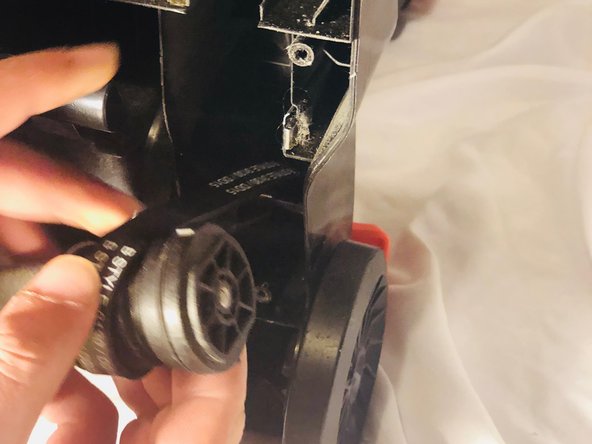
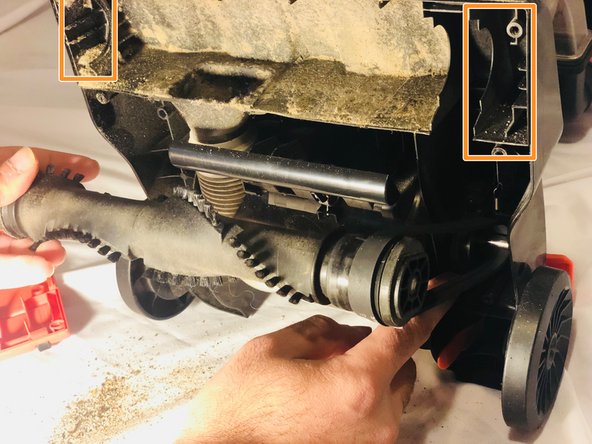
Aller au contenu principal

Bissell PowerForce Compact Belt Replacement

Ce dont vous avez besoin

  1. Bissell PowerForce Compact Belt Replacement, Belt: étape 1, image 1 de 3 Bissell PowerForce Compact Belt Replacement, Belt: étape 1, image 2 de 3 Bissell PowerForce Compact Belt Replacement, Belt: étape 1, image 3 de 3
    • Remove the 5 screws from the brush plate with the phillips screwdriver.

  2. Bissell PowerForce Compact Belt Replacement: étape 2, image 1 de 2 Bissell PowerForce Compact Belt Replacement: étape 2, image 2 de 2
    • Lift off the brush plate by grabbing both ends of the plate and lifting the plate up.

  3. Bissell PowerForce Compact Belt Replacement: étape 3, image 1 de 3 Bissell PowerForce Compact Belt Replacement: étape 3, image 2 de 3 Bissell PowerForce Compact Belt Replacement: étape 3, image 3 de 3
    • Grab the rotating brush at both ends.

    • Lift the rotating brush straight out of the vacuum.

    • Remove the belt from the motor pulley.

  4. Bissell PowerForce Compact Belt Replacement: étape 4, image 1 de 2 Bissell PowerForce Compact Belt Replacement: étape 4, image 2 de 2
    • Clear the bottom of the vacuum from any debris that may be blocking air flow.

    • Clean the rotating brush from any wrapped string or hair. You can use scissors if needed.

  5. Bissell PowerForce Compact Belt Replacement: étape 5, image 1 de 3 Bissell PowerForce Compact Belt Replacement: étape 5, image 2 de 3 Bissell PowerForce Compact Belt Replacement: étape 5, image 3 de 3
    • Check the new belt for any damage.

    • Place the belt on the rotating brush and then the motor pulley.

  6. Bissell PowerForce Compact Belt Replacement: étape 6, image 1 de 3 Bissell PowerForce Compact Belt Replacement: étape 6, image 2 de 3 Bissell PowerForce Compact Belt Replacement: étape 6, image 3 de 3
    • Pull the rotating brush with the belt hooked.

    • Place the ends of the rotating brush into the slots.

    • Rotate the brush a few times to center the belt.

Conclusion

To reassemble your device, follow these instructions in reverse order.

4 autres ont terminé cette réparation.

0 commentaires

Ajouter un commentaire

Nombre de vues :

Dernières 24 heures : 0

7 derniers jours : 4

30 derniers jours : 43

Total : 5,142