Aller au contenu principal

Bissell SmartClean 1605 Filter Replacement

Ce dont vous avez besoin

  1. Bissell SmartClean 1605 Filter Replacement, Filter: étape 1, image 1 de 1
    • Position the SmartClean so that the Bissell logo is facing towards you backwards.

  2. Bissell SmartClean 1605 Filter Replacement: étape 2, image 1 de 3 Bissell SmartClean 1605 Filter Replacement: étape 2, image 2 de 3 Bissell SmartClean 1605 Filter Replacement: étape 2, image 3 de 3
    • Remember to press down till the cover clicks when reassembling.

    • Press down on the cover with the diamonds and lift up.

  3. Bissell SmartClean 1605 Filter Replacement: étape 3, image 1 de 3 Bissell SmartClean 1605 Filter Replacement: étape 3, image 2 de 3 Bissell SmartClean 1605 Filter Replacement: étape 3, image 3 de 3
    • Flip the handle away from the cover.

    • Lift the handle up to open up the dust bin.

  4. Bissell SmartClean 1605 Filter Replacement: étape 4, image 1 de 3 Bissell SmartClean 1605 Filter Replacement: étape 4, image 2 de 3 Bissell SmartClean 1605 Filter Replacement: étape 4, image 3 de 3
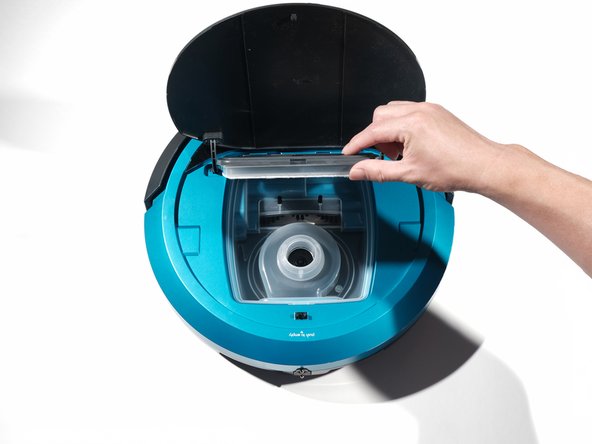
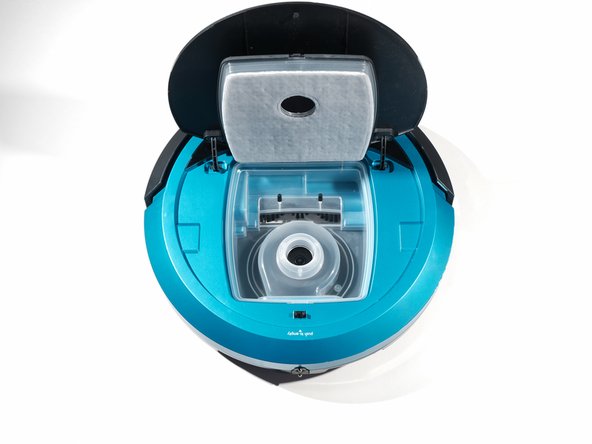
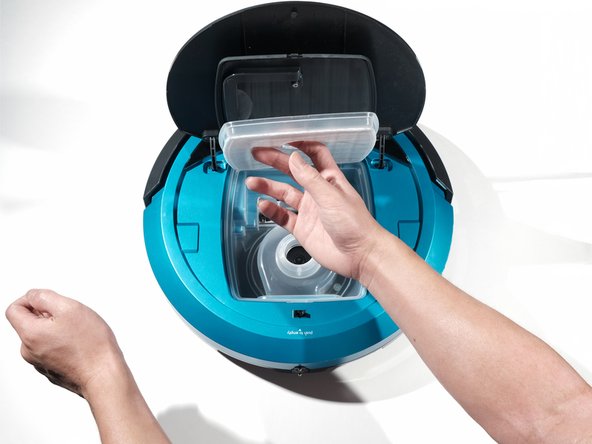
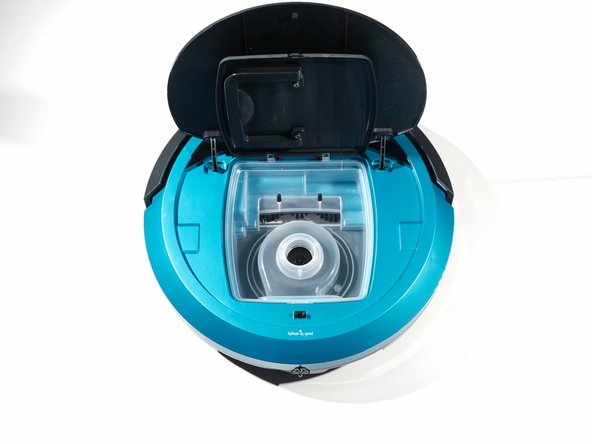
    • Use your finger to hook the filter through the opening near the center of the filter.

    • Gently yank the filter out with your fingers.

Conclusion

To reassemble your device, follow these instructions in reverse order.

Johnny

Membre depuis le 09/26/17

101 Réputation

1 tutoriel rédigé

Équipe

Cal Poly, Team S7-G4, Banghart Fall 2017 Membre de l'équipe Cal Poly, Team S7-G4, Banghart Fall 2017

CPSU-BANGHART-F17S7G4

5 membres

5 tutoriels rédigés

0 commentaires

Ajouter un commentaire

Nombre de vues :

Dernières 24 heures : 0

7 derniers jours : 2

30 derniers jours : 3

Total : 300