Introduction
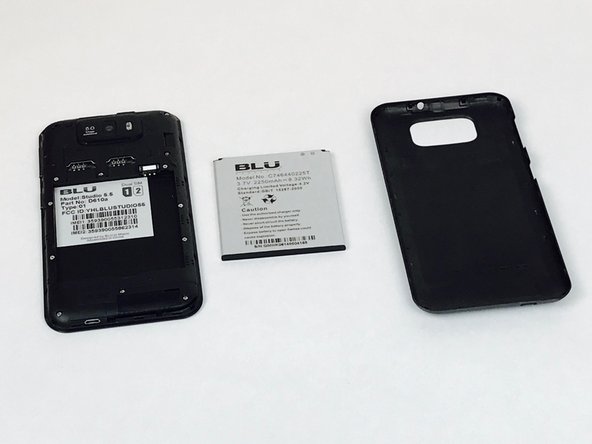
The volume controller in the BLU Studio 5.5 is a very simple component to replace. Even though there are a few steps that one must get through before actually accessing it. These include removing the battery and the back panel assembly. To successfully replace the volume controller follow the instructions below.
Ce dont vous avez besoin
-
-
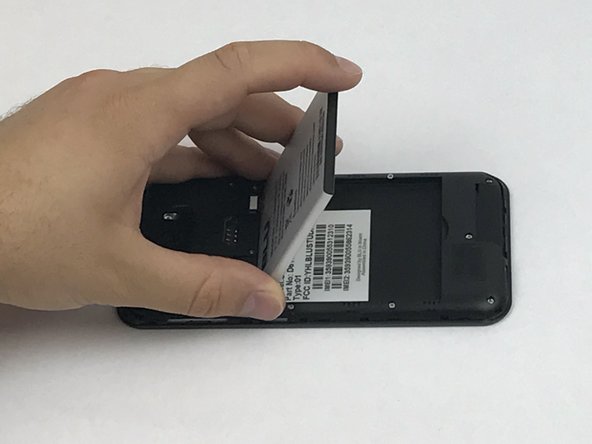
Locate the notch to remove the back panel at the lower left corner of the panel.
-
Insert the plastic opening tool or a fingernail into the notch.
-
Apply force upwards until back panel becomes loosened.
-
-
-
-
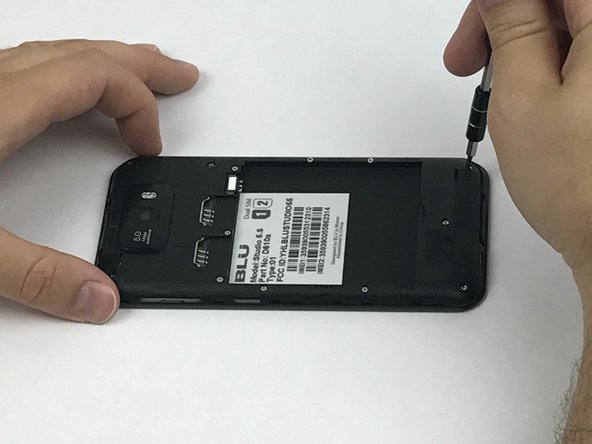
Locate all twelve screws along the back panel:
-
Seven 5mm screws.
-
Five 3.5mm screws.
-
Using a Phillips #000 screwdriver, remove all twelve screws.
-
-
-
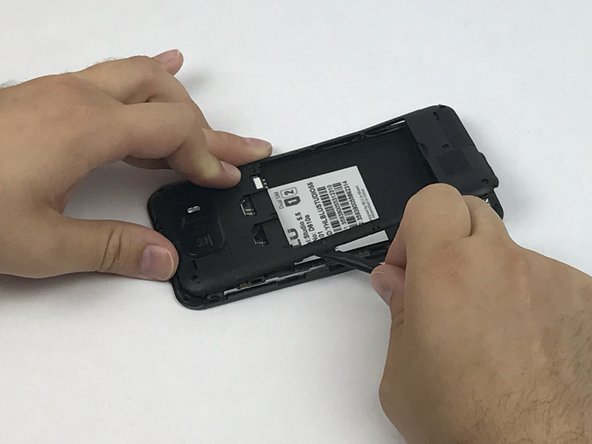
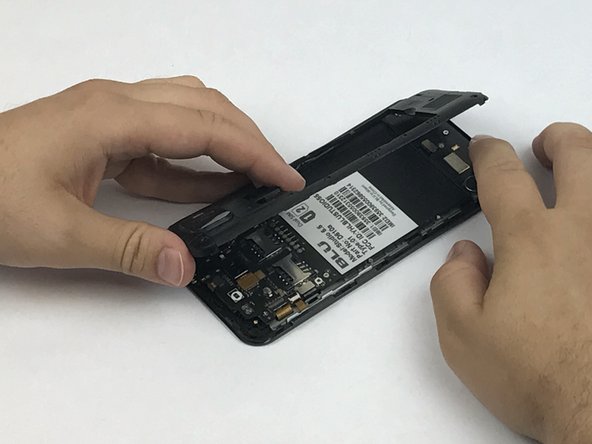
Now that all the screws have been removed, use a plastic opening tool to carefully pry at each of the corners until loosened.
-
Place the plastic opening tool inside the loosened panel and gently push upwards and move along the phone to remove the back panel.
-
Remove the panel as if you were turning the page of a book.
-
-
-
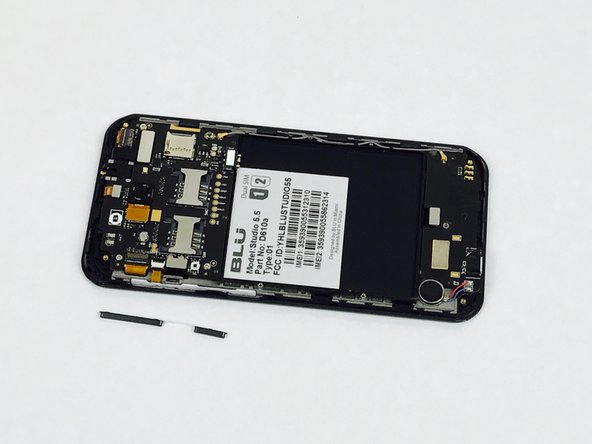
Once the back panel is removed, locate the volume controller.
-
Grab the volume controller with either your fingers or tweezers and gently remove from the phone.
-
Set replaced volume controller aside and gently insert replacement controller.
-


To reassemble your device, follow these instructions in reverse order.
To reassemble your device, follow these instructions in reverse order.
Équipe

USF Tampa, Team S1-G6, Nance Spring 2017 Membre de l'équipe USF Tampa, Team S1-G6, Nance Spring 2017
USFT-NANCE-S17S1G6
3 membres
8 tutoriels rédigés