Introduction
Disclaimer: I have practically zero knowledge of sewing and textile working, so I might be using bad practises in this guide, and there could be more optimal or easy ways to do this.
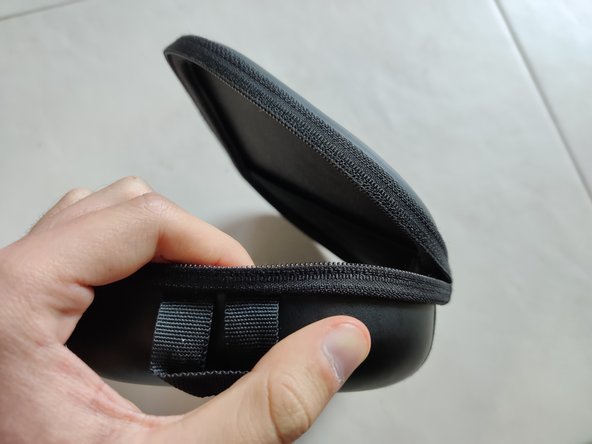
NB: The Q35 case has a non-standard zipper; the slider has the pull tab on the rear, so when the case is closed, the teeth are on the inside of the case (but the pull tab toward the exterior) to make the finish look nicer and also to prevent stuff getting caught in the teeth, when, for example, putting the case in a bag. This means if you want to have the same look, you either need to find the right sized tape and teeth for the Bose slider (I tried YKK brand size 3C which was too small, and size 5C, which was too big), or, buy the tape with a reversible slider. As I could not get my hands on either option easily, I just decided that I’d have the teeth on the outside, and used a regular YKK sized 5C tape and slider.
Ce dont vous avez besoin
-
-
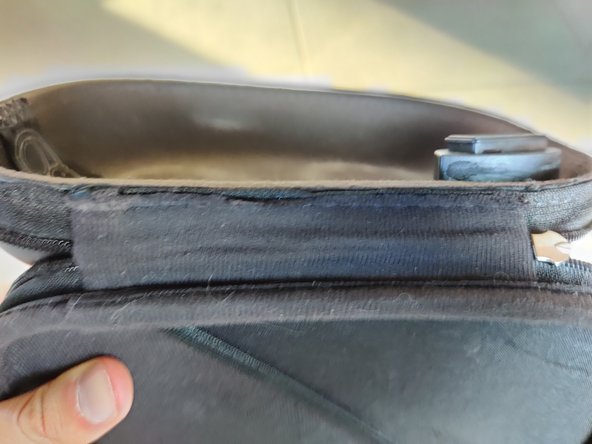
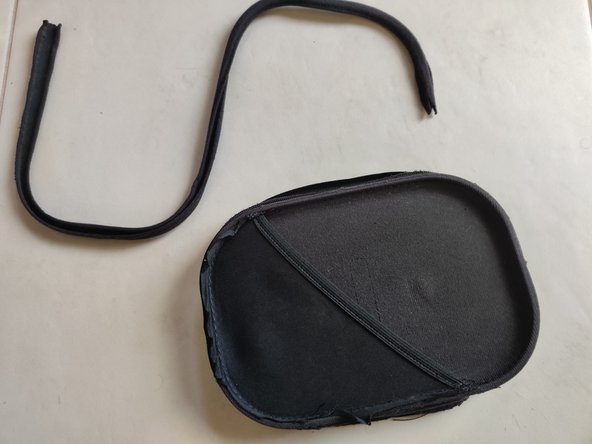
The zipper is damaged beyond repair, and needs to be completely replaced
-
-
-
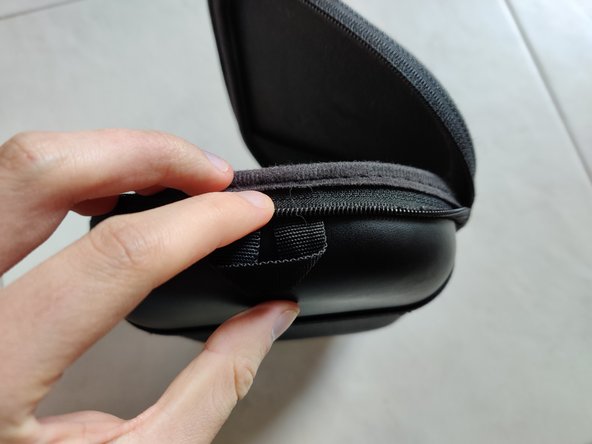
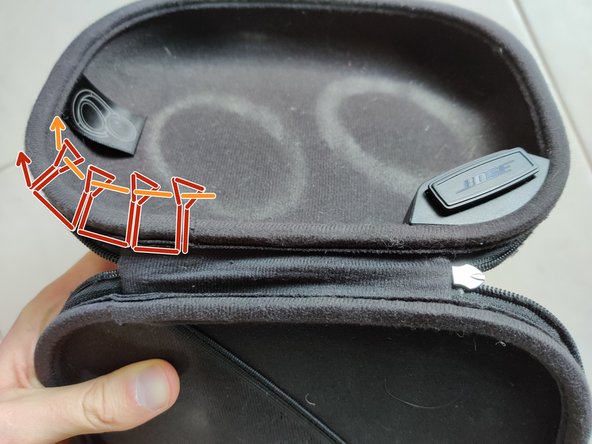
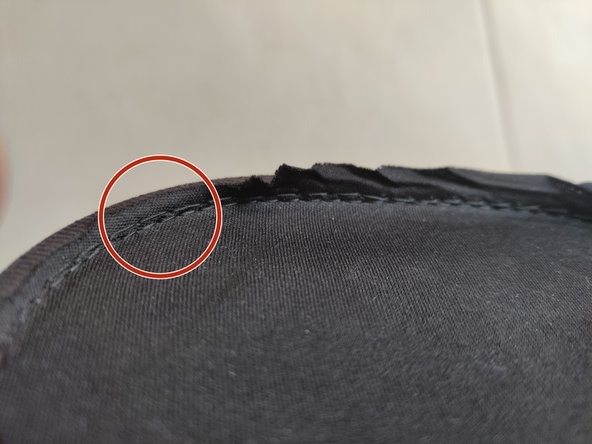
Take one side of the case and start close to the place where both sides of the case are joined
-
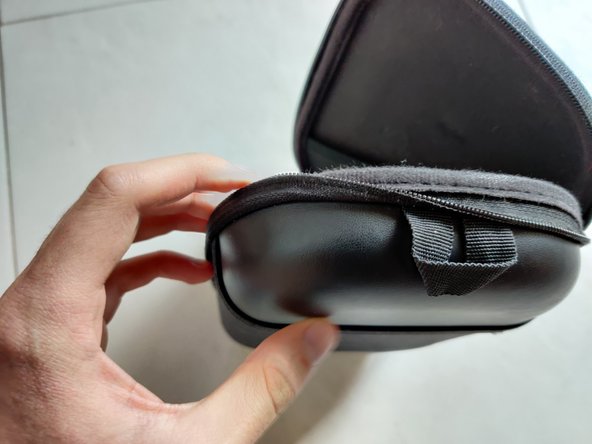
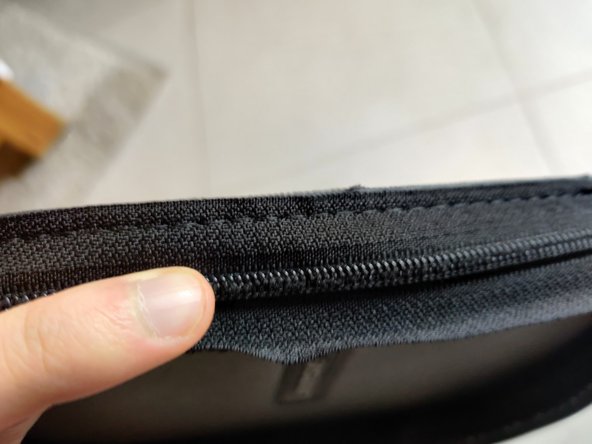
Push the fabric with the teeth out and down, exposing the seam
-
Work your way around this side of the case
-
-
-
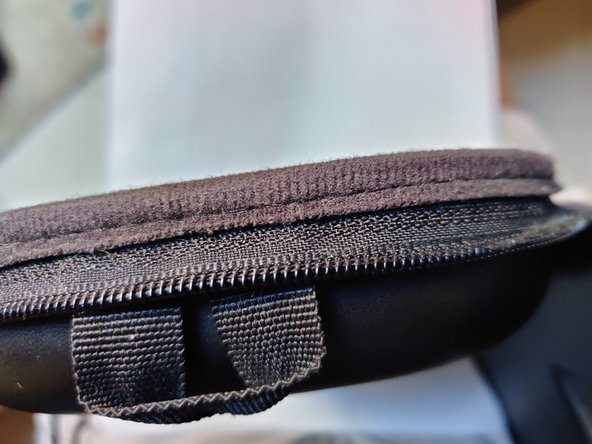
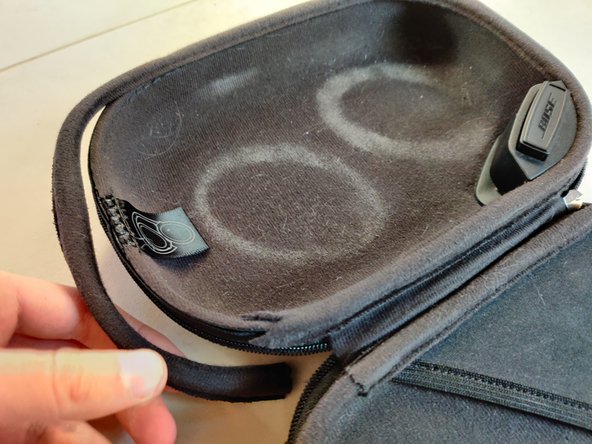
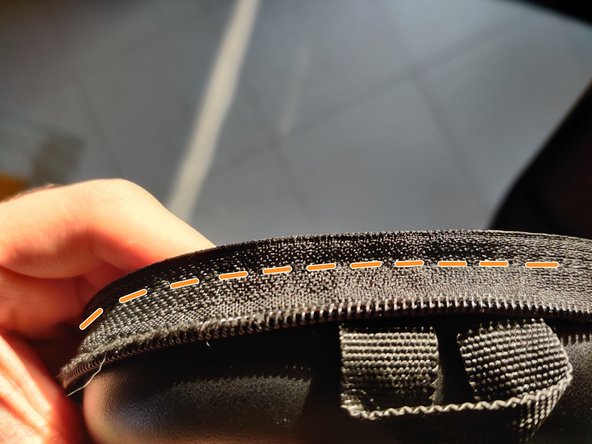
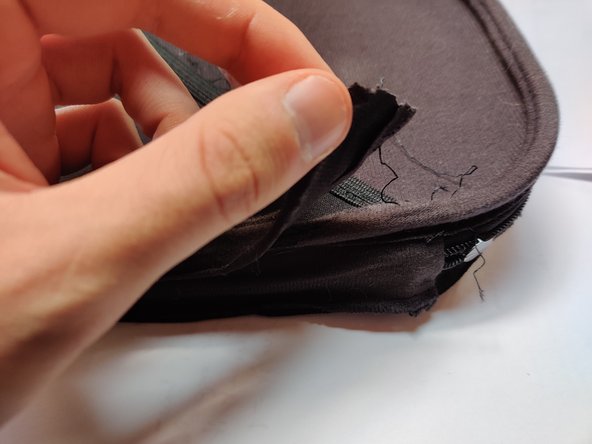
On each half, there is a soft piece of fabric that covers all the other seams and give the case a nice soft finish. The seam is visible on the outer part of the case, now that we pushed the teeth of the zipper down. It is held on by 2 threads
-
The first thread goes through the leather, makes a loop, and then goes back through the same hole. It then moves a few mm and repeats.
-
The second thread just goes through all the loops
-
-
-
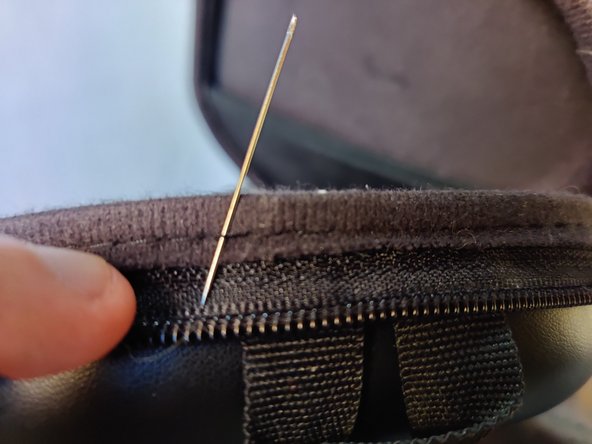
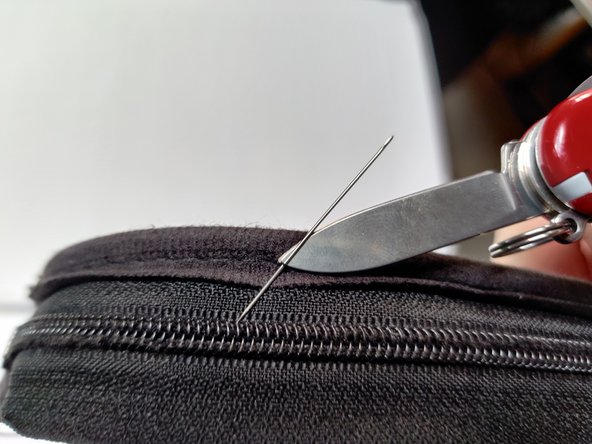
Start anywhere where you have a good visibility and access to the outer thread
-
Take a needle and work it behind the thread, to create some space
-
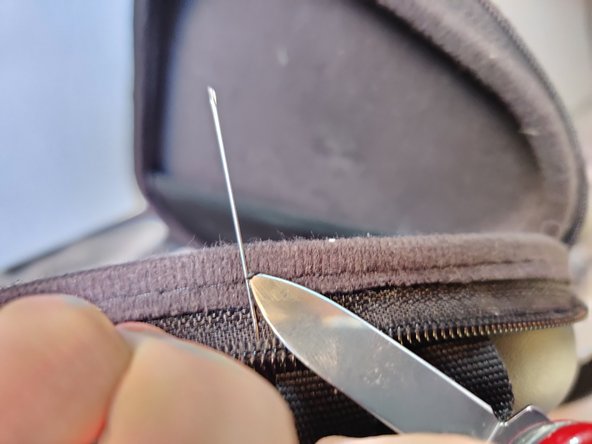
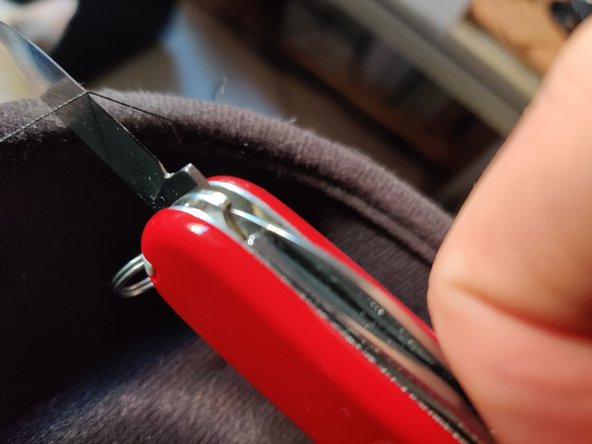
Insert the tip of a pair of scissors or the blade of a knife into the space and cut the thread
-
-
-
Moving to the next neighbouring stitch, use a pointy item to pull the thread out
-
-
-
-
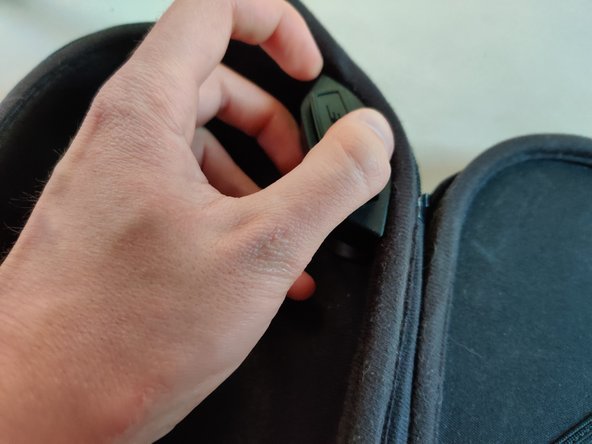
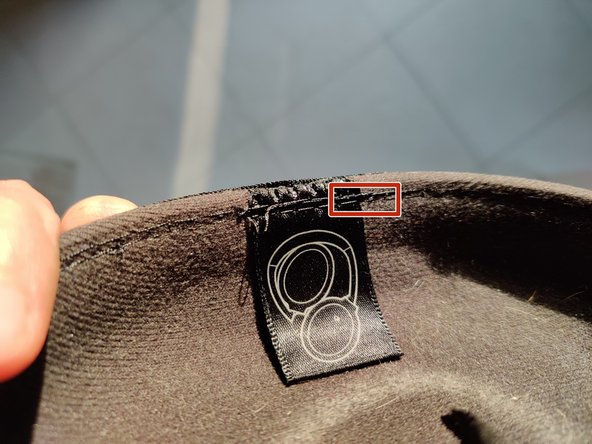
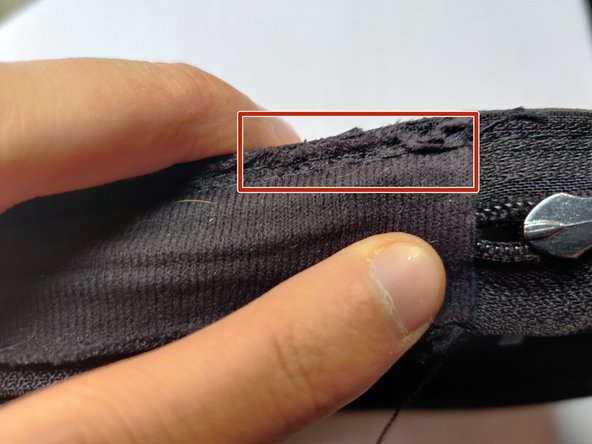
Once you get to the airplane adapter, you will encounter a problem
-
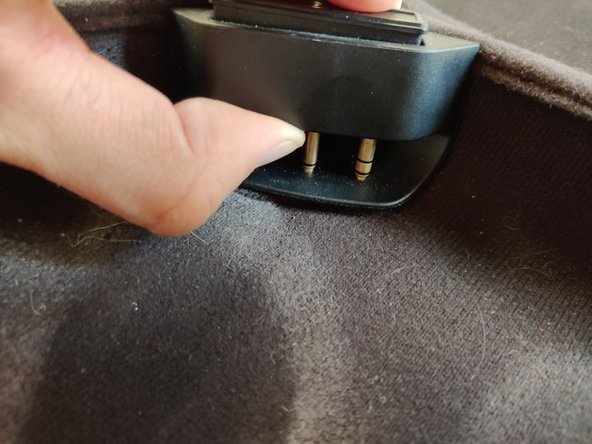
The airplane adapter socket is glued to the inner lining
-
You either remove it or you can just pull it away from the side of the case enough to work behind it. This requires a bit of force to remove the top layer of glue
-
-
-
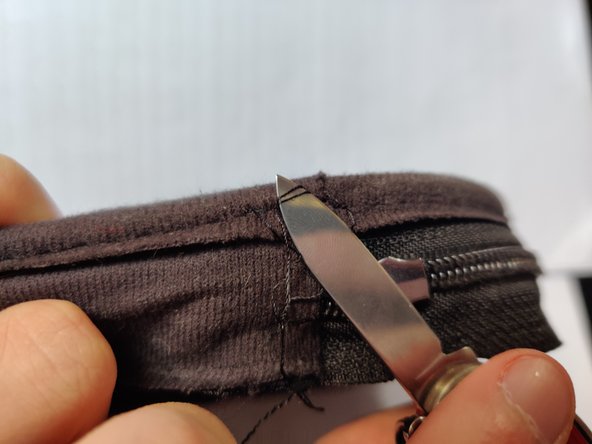
We now repeat the process on the other half of the case
-
Chose a spot on the seam and insert a needle to make space between the fabric and the thread
-
Insert a knife or scissors in the space and cut the thread
-
-
-
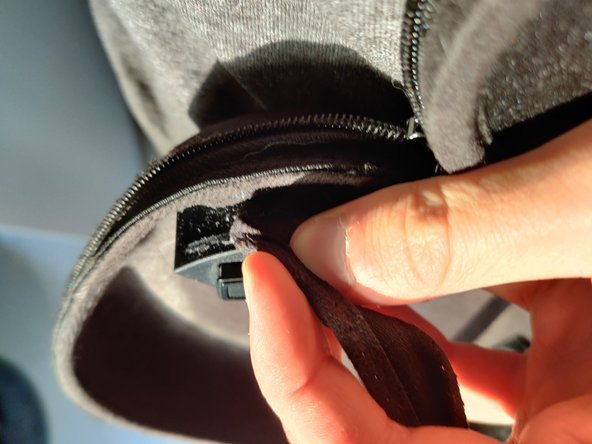
When getting to the place where the soft fabric overlaps, there will be a complicated mess of threads, and it will be simpler to cut them, and pull them out, rather than try to pull on them in the correct order
-


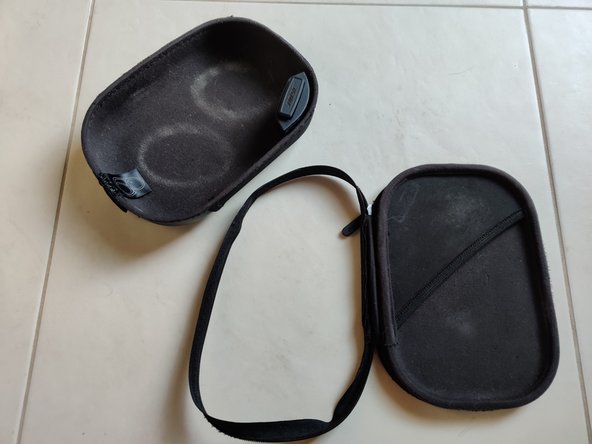


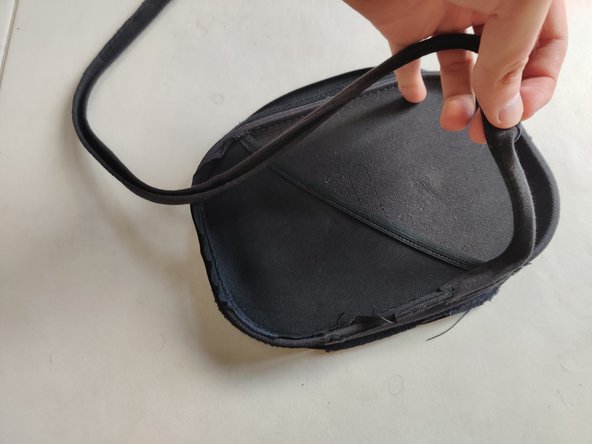


Your case should now be fixed.
Your case should now be fixed.