Aller au contenu principal

Bose SoundTouch 20 Amplifier Replacement

Ce dont vous avez besoin

  1. Bose SoundTouch 20 Amplifier Replacement, Amplifier: étape 1, image 1 de 2 Bose SoundTouch 20 Amplifier Replacement, Amplifier: étape 1, image 2 de 2
    • Remove the (6) six 1.5 cm Phillips screws holding on the bottom cover of the speaker using a Phillips #0 screwdriver.

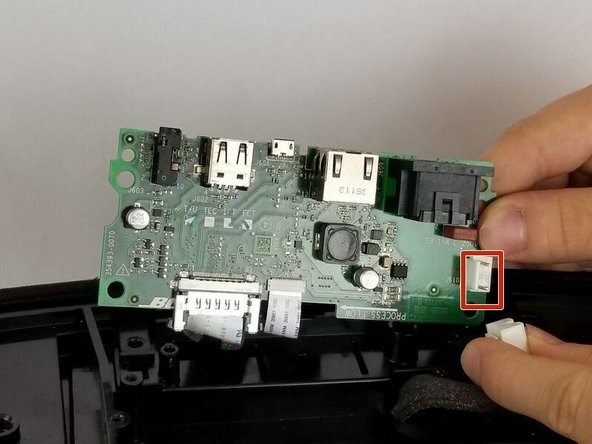
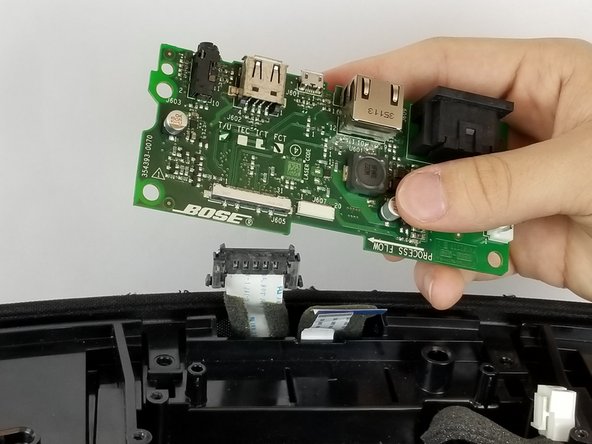
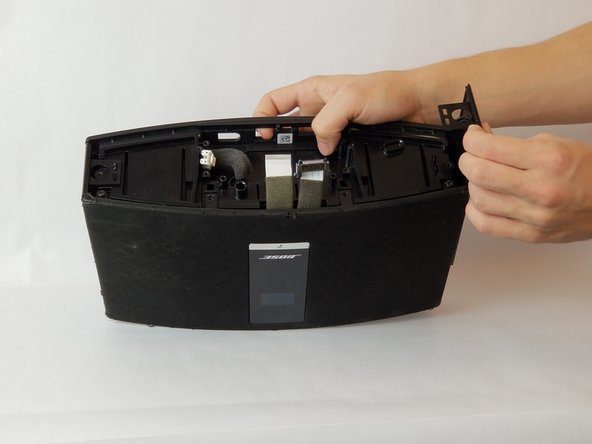
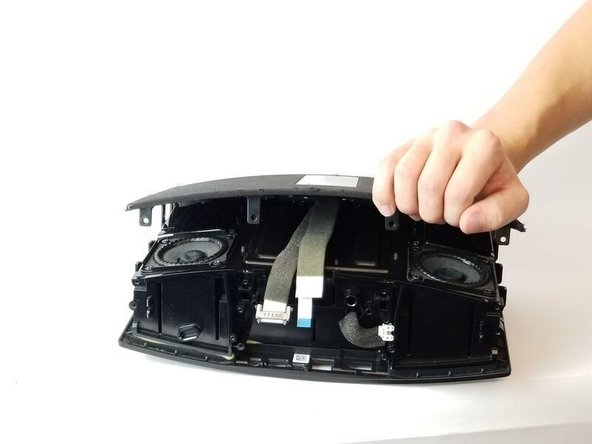
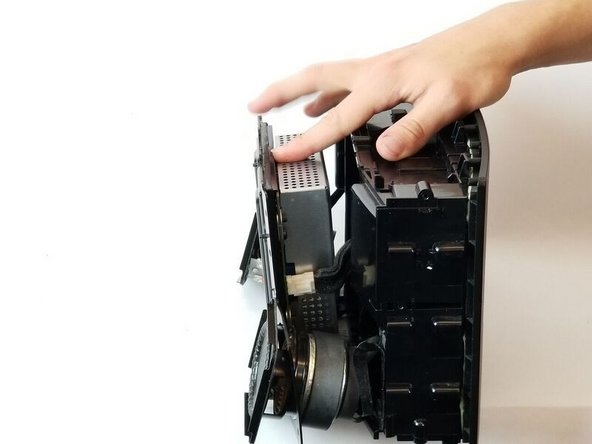
    • Lift the cover straight up and set the cover to the side.

  2. Bose SoundTouch 20 Amplifier Replacement: étape 2, image 1 de 2 Bose SoundTouch 20 Amplifier Replacement: étape 2, image 2 de 2
    • Gently pull the white ribbon from the connector on the top side of the motherboard.

    • Make sure to pull straight back so you don't bend or damage the ribbon.

  3. Bose SoundTouch 20 Amplifier Replacement: étape 3, image 1 de 2 Bose SoundTouch 20 Amplifier Replacement: étape 3, image 2 de 2
    • Remove the (4) four 1.5 cm screws connecting the motherboard to the speaker.

    • Remove the (2) two 1 cm screws connecting the motherboard to the speaker.

    • When lifting the board, be careful of the two ribbons located underneath the board. Don't lift the board straight up, instead tilt it towards the cables. As shown in picture 2.

  4. Bose SoundTouch 20 Amplifier Replacement: étape 4, image 1 de 2 Bose SoundTouch 20 Amplifier Replacement: étape 4, image 2 de 2
    • Remove the white cable by pressing on the side of the connector with a tab and pulling backwards.

  5. Bose SoundTouch 20 Amplifier Replacement: étape 5, image 1 de 2 Bose SoundTouch 20 Amplifier Replacement: étape 5, image 2 de 2
    • Gently pull the thinner white ribbon located towards the center of the board

    • Pull straight down to prevent bending or damaging the ribbon.

    • Squeeze the plastic sides of the plug and pull straight down to remove this ribbon.

    • After removing the two ribbons, completely remove the motherboard and set it to the side.

  6. Bose SoundTouch 20 Amplifier Replacement: étape 6, image 1 de 2 Bose SoundTouch 20 Amplifier Replacement: étape 6, image 2 de 2
    • To remove the side panel from the speaker, lift the top of the sides from the slots.

    • The sides will be bent up after removing from the slots, they do not come up right away.

    • After completing the previous step, pull gently straight up to remove the side.

    • Repeat on both sides of the speaker.

  7. Bose SoundTouch 20 Amplifier Replacement: étape 7, image 1 de 3 Bose SoundTouch 20 Amplifier Replacement: étape 7, image 2 de 3 Bose SoundTouch 20 Amplifier Replacement: étape 7, image 3 de 3
    • Remove the (2) two 1.5 cm screws circled in picture one.

    • Rotate the speaker to its side and remove the (2) two 1.5 cm screws circled in picture 2. Remove these screws on either side of the speaker.

  8. Bose SoundTouch 20 Amplifier Replacement: étape 8, image 1 de 2 Bose SoundTouch 20 Amplifier Replacement: étape 8, image 2 de 2
    • After lifting the cover, you will see two ribbons attaching the cover to the speaker. Gently remove these ribbons by pulling straight down.

    • Make sure to pull the ribbons straight out so you don't bend or damage the ribbon.

  9. Bose SoundTouch 20 Amplifier Replacement: étape 9, image 1 de 1
    • Remove the (14) fourteen 1 cm screws from the speaker.

    • Remove the (2) two 1.5 cm screws from the top left and right hand corners of the speakers, respectively.

  10. Bose SoundTouch 20 Amplifier Replacement: étape 10, image 1 de 3 Bose SoundTouch 20 Amplifier Replacement: étape 10, image 2 de 3 Bose SoundTouch 20 Amplifier Replacement: étape 10, image 3 de 3
    • Using a metal spudger or a prying tool, gently push forward to separate the cover from the speaker.

    • After lifting the cover, you will see two ribbons attaching the cover to the speaker. Gently remove these ribbons by pulling straight down.

  11. Bose SoundTouch 20 Amplifier Replacement: étape 11, image 1 de 1
    • Gently pull out the speaker from the placeholder by twisting and turning it.

    • The speaker is heavy and very magnetic.

  12. Bose SoundTouch 20 Amplifier Replacement: étape 12, image 1 de 1
    • The amplifier comes as one piece. Once the speakers are removed, the part is ready to be replaced.

Conclusion

To reassemble your device, follow these instructions in reverse order.

4 autres ont terminé cette réparation.

Patrick Lacoff

Membre depuis le 09/26/17

221 Réputation

1 tutoriel rédigé

Équipe

USF Tampa, Team S11-G3, Passmore Fall 2017 Membre de l'équipe USF Tampa, Team S11-G3, Passmore Fall 2017

USFT-PASSMORE-F17S11G3

4 membres

5 tutoriels rédigés

0 commentaires

Ajouter un commentaire

Nombre de vues :

Dernières 24 heures : 2

7 derniers jours : 14

30 derniers jours : 43

Total : 4,983