Il est possible que cette traduction ne reflète pas les dernières mises à jour du tutoriel source. Aidez à mettre à jour la traduction ou bien consultez le tutoriel source.
Introduction
Si votre taille-crayon ne parvient pas à tailler votre crayon ou taille votre crayon de manière inégale, il est peut-être temps de remplacer le coupe-crayon. Vous pouvez trouver des couteaux de remplacement
here.
Ce dont vous avez besoin
-
-
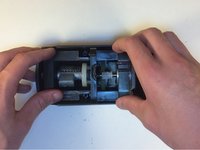
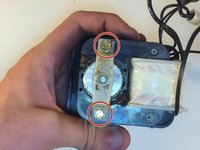
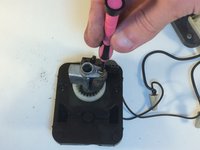
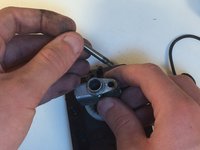
Retirez le plateau de l'avant du taille-crayon et videz les copeaux de crayons.
-
-


Pour remonter votre appareil, suivez ces instructions dans l'ordre inverse.
Pour remonter votre appareil, suivez ces instructions dans l'ordre inverse.
Annulation : je n'ai pas terminé ce tutoriel.
Une autre personne a terminé cette réparation.
Merci à ces traducteurs :
91%
[deleted] nous aide à réparer le monde ! Vous voulez contribuer ?
Commencez à traduire ›
Équipe

Cal Poly, Team 10-1, Green Fall 2015 Membre de l'équipe Cal Poly, Team 10-1, Green Fall 2015
CPSU-GREEN-F15S10G1
4 membres
7 tutoriels rédigés
6 commentaires
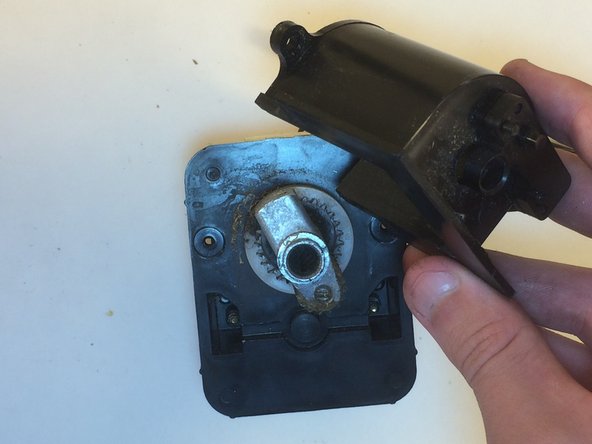
Great instructions on replacing the sharpener. My father took the model 18 apart but failed to document with pictures on the step by step breakdown. I'm left with out a crucial part of the re- installment. The question is in step 7, the piece right behind and below the screw driver is a plastic piece with two wires comming out of it. where does this piece fit? any help or redirection to a site that might have this info. direct reply at
thopper1@satx.rr.com
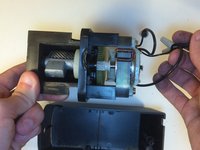
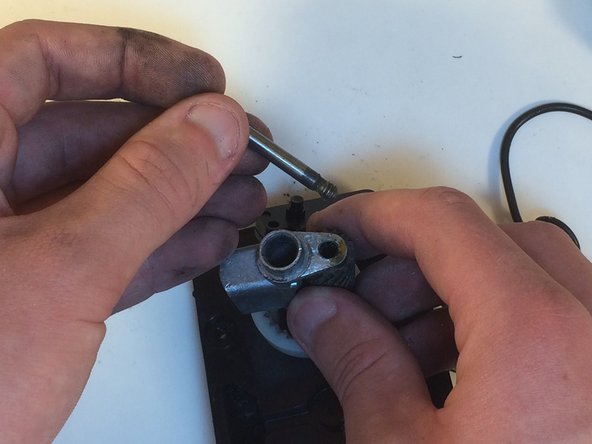
tah33 - that part is the switch that senses the pencil to turn on power. There is a plastic piece that goes over the top of the cutting mechanism to help guide all the shavings down into the shavings tray. The switch goes onto the front of that piece. If you look at step 4 it shows the switch mounted to the piece I am talking about, Randy (the author) calls it the protective case.
The link to purchase a new cutting blade brings you to Amazon, and it's not available. Any other place that FOR sure the part is available?