Introduction
Use this guide to replace a worn out tire ring for the bobbin winder of a Brother CS-80 sewing machine.
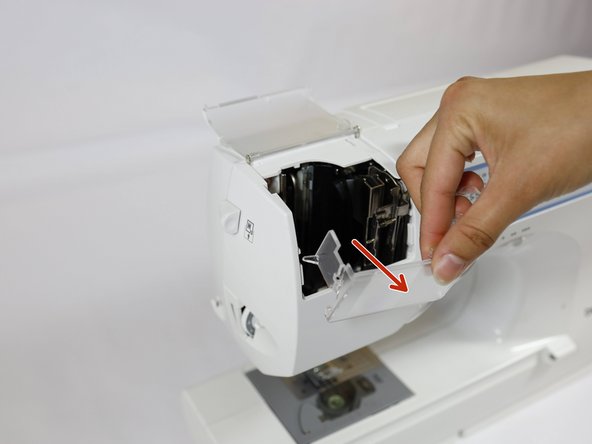
Over time and with constant usage, the bobbin winder tire ring in a Brother CS-80 sewing machine can wear out, break, or even disintegrate. You may need to replace your tire ring if your machine has issues with winding the bobbin correctly.
Ce dont vous avez besoin


To reassemble your sewing machine, follow the disassembly instructions in reverse order.
To reassemble your sewing machine, follow the disassembly instructions in reverse order.

Équipe

UC Davis, Team 1-5, Whithaus Spring 2024 Membre de l'équipe UC Davis, Team 1-5, Whithaus Spring 2024
UCD-WHITHAUS-S24S1G5
3 membres
1 tutoriel rédigé