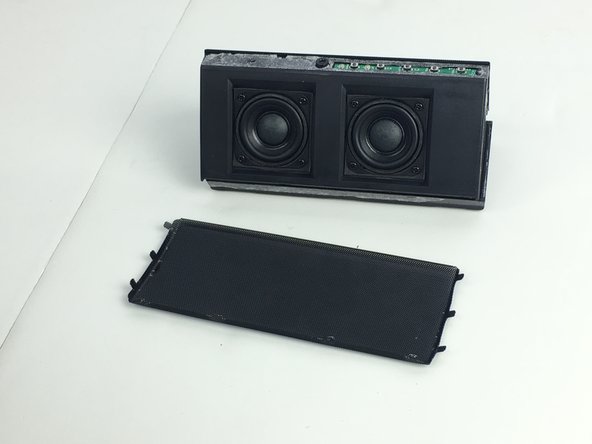
Aller au contenu principal

Cambridge SoundWorks OontZ Angle Plus Speaker Grill Replacement

Ce dont vous avez besoin

  1. Cambridge SoundWorks OontZ Angle Plus Speaker Grill Replacement, Rubber Casing: étape 1, image 1 de 1
    • Remove the six screw covers from the bottom of the device.

  2. Cambridge SoundWorks OontZ Angle Plus Speaker Grill Replacement: étape 2, image 1 de 1
    • Starting from the screw covers, remove the front and back casing of the device.

  3. Cambridge SoundWorks OontZ Angle Plus Speaker Grill Replacement: étape 3, image 1 de 1
    • Carefully pull off the casing covering the ends.

  4. Cambridge SoundWorks OontZ Angle Plus Speaker Grill Replacement: étape 4, image 1 de 1
    • Slowly remove the casing from the top of the device.

  5. Cambridge SoundWorks OontZ Angle Plus Speaker Grill Replacement, Speaker Grill: étape 5, image 1 de 1
    • Unscrew the five 11.5mm Phillips screws from the bottom plate.

  6. Cambridge SoundWorks OontZ Angle Plus Speaker Grill Replacement: étape 6, image 1 de 1
    • Carefully pull apart the bottom and top plates, using the blue plastic opening tool.

  7. Cambridge SoundWorks OontZ Angle Plus Speaker Grill Replacement: étape 7, image 1 de 1
    • Once the plates are separated, slowly pull the bottom plate away from the top plate.

    • There are wires connected to both plates, so be cautious while doing this step.

  8. Cambridge SoundWorks OontZ Angle Plus Speaker Grill Replacement: étape 8, image 1 de 1
    • Use the metal spudger to bend the three bendable clamps on the ends of the speaker cover.

    • Beware, the bending process requires patience and extra time.

  9. Cambridge SoundWorks OontZ Angle Plus Speaker Grill Replacement: étape 9, image 1 de 1
    • Next, use the metal spudger to bend the four bendable clamps on the bottom of the speaker cover.

    • This step also requires some time and patience.

  10. Cambridge SoundWorks OontZ Angle Plus Speaker Grill Replacement: étape 10, image 1 de 2 Cambridge SoundWorks OontZ Angle Plus Speaker Grill Replacement: étape 10, image 2 de 2
    • Finally, bend the speaker cover upward and it will slide out.

Conclusion

To reassemble your device, follow these instructions in reverse order.

Une autre personne a terminé cette réparation.

Farshad Mohebban

Membre depuis le 02/10/16

524 Réputation

4 tutoriels rédigés

Équipe

USF Tampa, Team 1-1, Nance Spring 2016 Membre de l'équipe USF Tampa, Team 1-1, Nance Spring 2016

USFT-NANCE-S16S1G1

4 membres

6 tutoriels rédigés

0 commentaires

Ajouter un commentaire

Nombre de vues :

Dernières 24 heures : 2

7 derniers jours : 5

30 derniers jours : 7

Total : 943