Introduction
If your camera's motion detection is creating a lot of false positives, this guide will show you how to replace the infrared blocking filter.
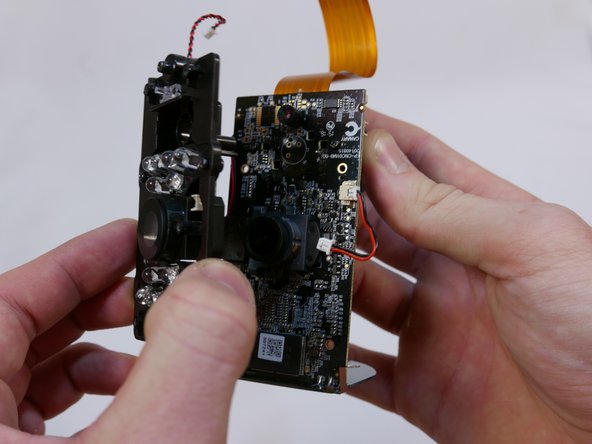
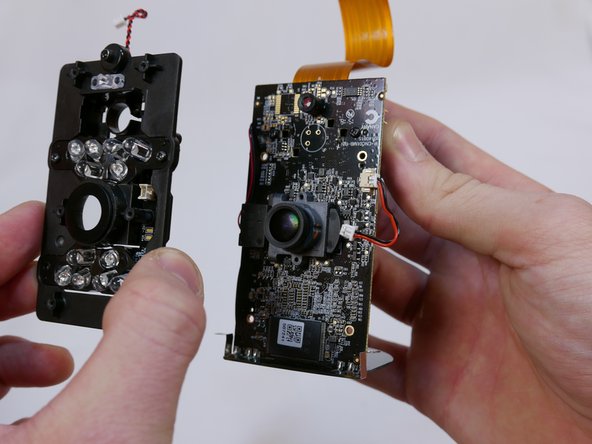
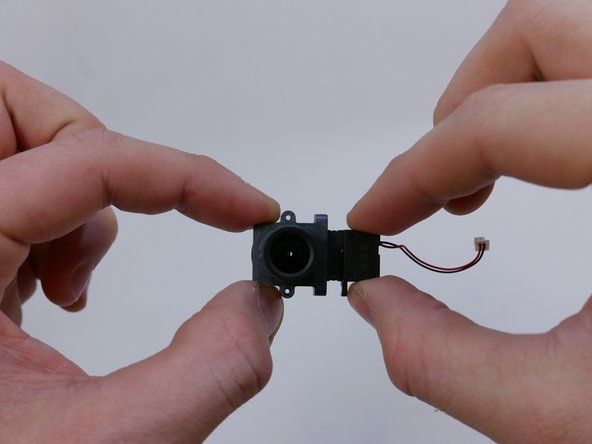
The filter is responsible for blocking infrared light that comes into the camera lens. Once you have removed the lens assembly, you can remove the filter.
The glass filter is located inside a self-contained unit with a battery and cannot be removed from the unit without damaging it. It sits within the camera lens holder. Although the lens holder has two slots, only one screw actually anchors the filter to the lens holder.
A Phillips #0 screwdriver is required for the single screw.
Ce dont vous avez besoin
-
-
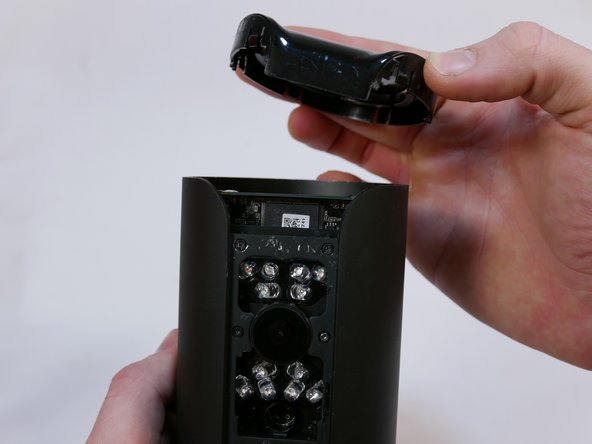
Grip the rubber ring with your fingers and pull up.
-
Rotate the Canary as you pull out one tab at a time.
-
-
-
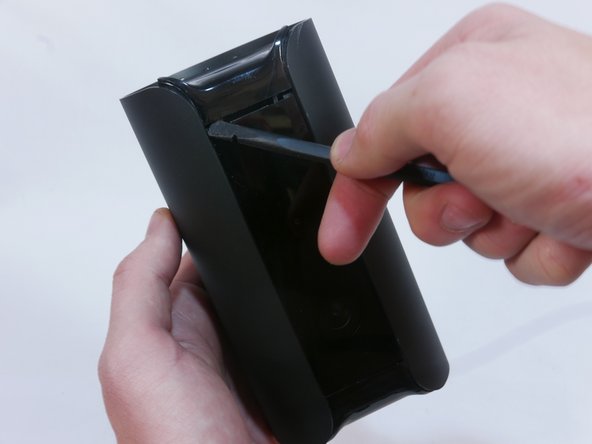
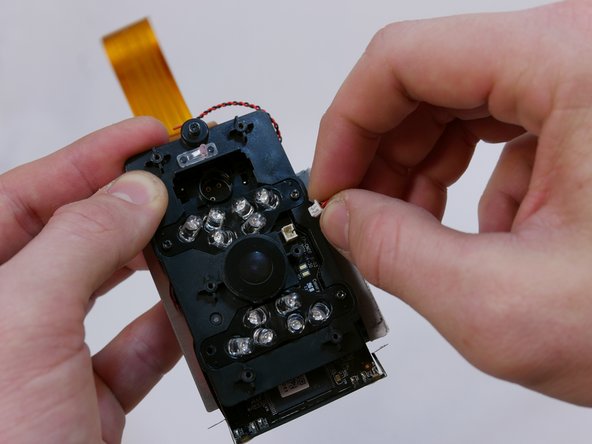
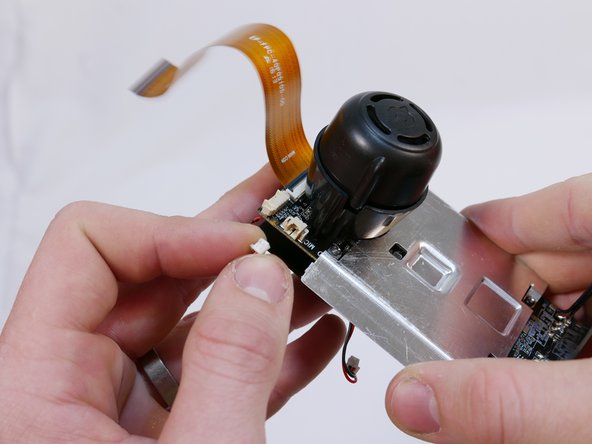
Use the pointed end of the spudger to flip up the small retaining flap on the ZIF (zero insertion force) connector.
-
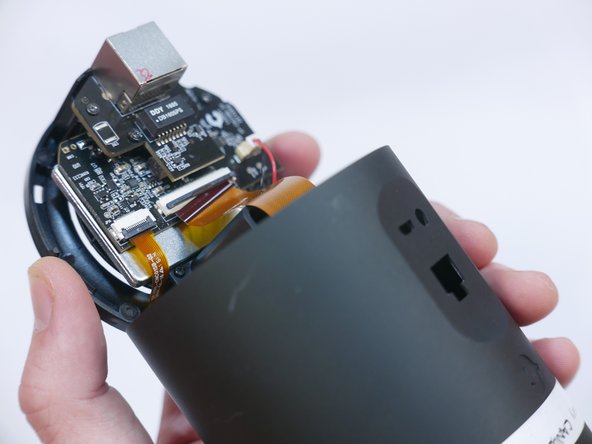
Pull the ribbon cable out towards the device.
-
-
-
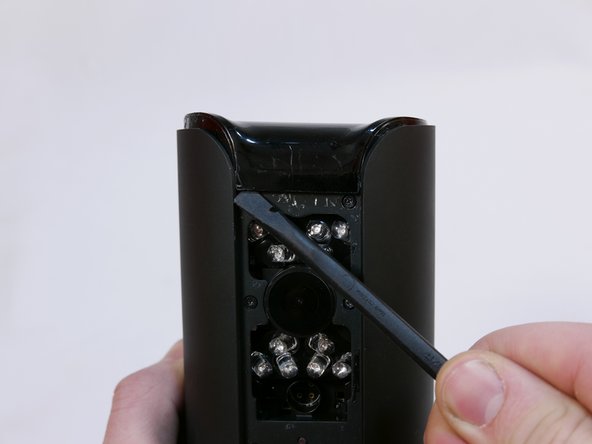
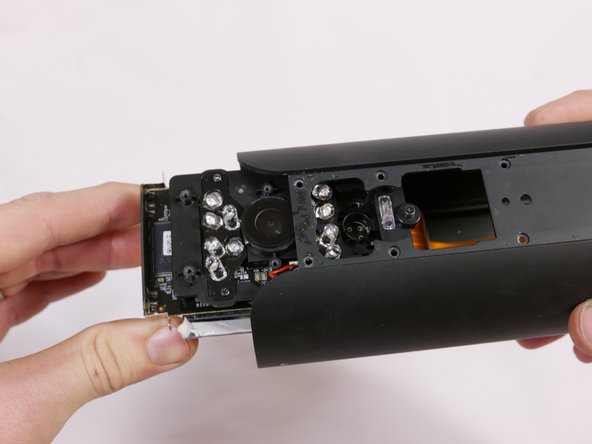
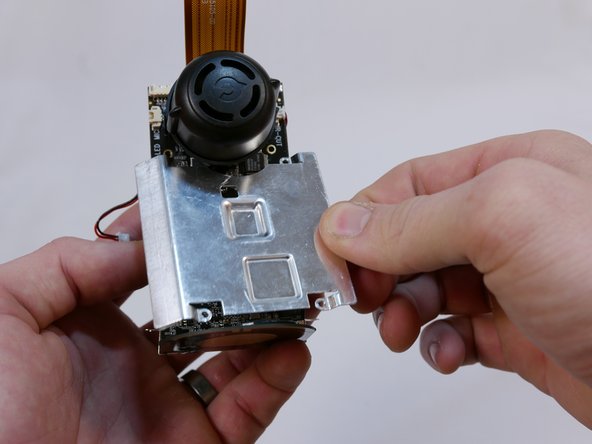
There are two empty nooks underneath the bottom of the panel close to each side of the case.
-
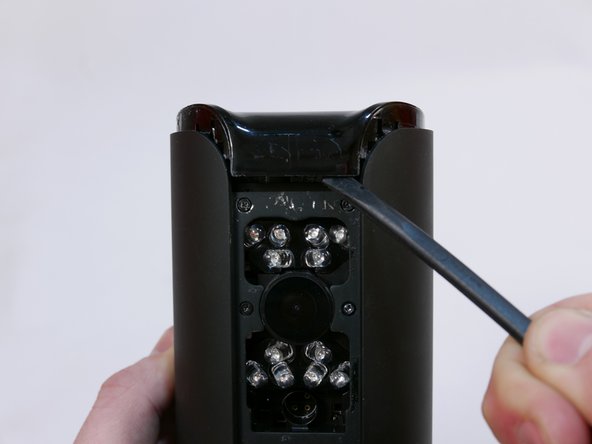
Place the pointed edge of the spudger in one of the nooks under the panel and pry upwards.
-
-
-
-
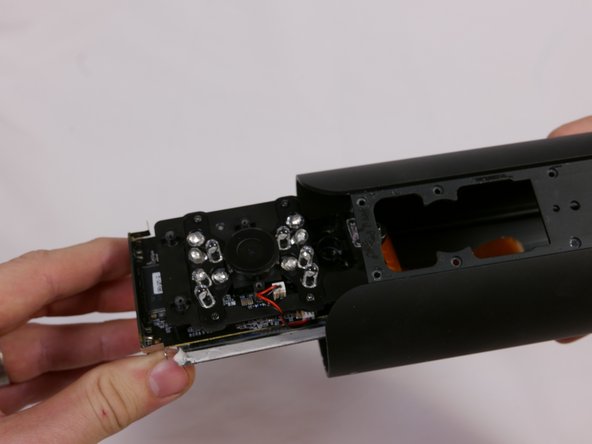
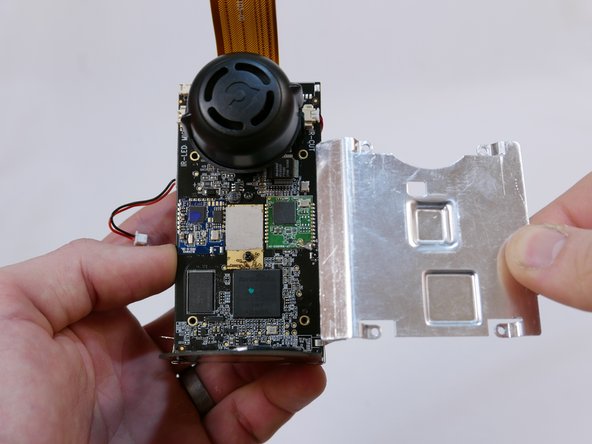
Use the flat end of the spudger to carefully pry off the top casing.
-
Alternate pushing up on the left and right sides until the inner clips are released.
-


To reassemble your device, follow these instructions in reverse order.
To reassemble your device, follow these instructions in reverse order.
Équipe

USF Tampa, Team S1-G2, Nance Spring 2017 Membre de l'équipe USF Tampa, Team S1-G2, Nance Spring 2017
USFT-NANCE-S17S1G2
4 membres
16 tutoriels rédigés