Cette version peut contenir des modifications incorrectes. Passez au dernier aperçu vérifié.
Ce dont vous avez besoin
-
Cette étape n’est pas traduite. Aidez à la traduire
-
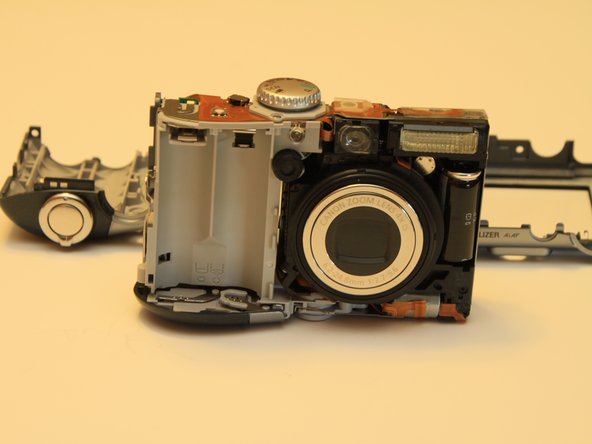
The case is held together with two types of screws: fine thread screws that attach the case to the metal parts below, and coarse thread screws that attach the case to the plastic battery compartment.
-
-
Cette étape n’est pas traduite. Aidez à la traduire
-
Remove the two coarse thread screws on the side of the device, to the left of the camera lens.
-
-
Cette étape n’est pas traduite. Aidez à la traduire
-
Remove the two fine thread screws on the side of the device, to the right of the camera lens.
-
-
-
Cette étape n’est pas traduite. Aidez à la traduire
-
Remove the two coarse thread screws and the single fine thread screw from bottom the camera.
-
-
Cette étape n’est pas traduite. Aidez à la traduire
-
Remove the one coarse thread screw underneath the battery cover.
-
-
Cette étape n’est pas traduite. Aidez à la traduire
-
Gently pry apart the two covers starting from the bottom. When there is a 1/4" gap, run your finger gently along the the top of the camera, on the back cover, to release the three catches that secure the shell.
-


Annulation : je n'ai pas terminé ce tutoriel.
2 autres ont terminé cette réparation.