Aller au contenu principal

Canon PowerShot SD850 IS Housing Replacement

Tutoriel Archivé
Ce tutoriel est conservé uniquement à des fins de suivis historiques. Utilisez la version actuelle du tutoriel pour effectuer votre réparation.

Ce dont vous avez besoin

  1. Canon PowerShot SD850 IS Housing Replacement, Housing: étape 1, image 1 de 3 Canon PowerShot SD850 IS Housing Replacement, Housing: étape 1, image 2 de 3 Canon PowerShot SD850 IS Housing Replacement, Housing: étape 1, image 3 de 3
    • To avoid severe electric shock do not remove or tamper with internal camera flash components. An electrical capacitor is attached to the flash that can discharge if contact is made.

    • Remove the two side screws, indicated by the red circles, using a Phillips #00 screwdriver.

    • Remove the screw in the battery port, indicated by the blue circle, again using a Phillips #00 screwdriver.

    • Remove the front face by gently peeling the housing away from the camera.

  2. Canon PowerShot SD850 IS Housing Replacement: étape 2, image 1 de 3 Canon PowerShot SD850 IS Housing Replacement: étape 2, image 2 de 3 Canon PowerShot SD850 IS Housing Replacement: étape 2, image 3 de 3
    • Remove the back face by using a spudger to lift the tab highlighted in yellow

    • Pivot the back face clockwise as seen in the second photo.

  3. Canon PowerShot SD850 IS Housing Replacement: étape 3, image 1 de 2 Canon PowerShot SD850 IS Housing Replacement: étape 3, image 2 de 2
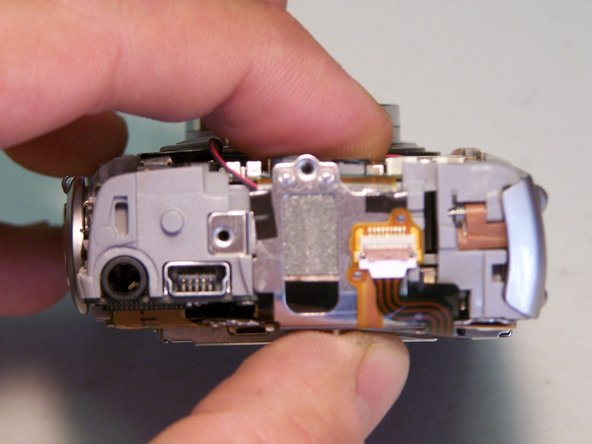
    • Remove the A/V port cover [no tools are necessary]

Conclusion

To reassemble your device, follow these instructions in reverse order.

iDeleted

Membre depuis le 07/07/10

2 101 Réputation

39 tutoriels rédigés

0 commentaires

Ajouter un commentaire

Nombre de vues :

Dernières 24 heures : 0

7 derniers jours : 0

30 derniers jours : 0

Total : 841