Ce tutoriel a des changements plus récents. Passer à la dernière version non vérifiée.
Introduction
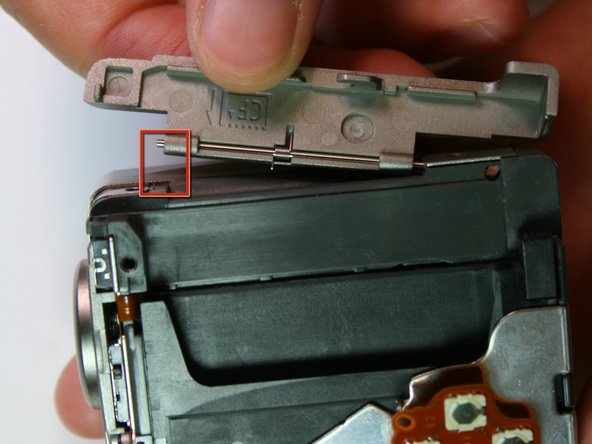
The motherboard connects all parts of the camera together. This guide will show you how to disassemble the Canon Powershot S200 in order to reach the motherboard.
Ce dont vous avez besoin


Presque terminé !
To reassemble your device, follow these instructions in reverse order.
Conclusion
To reassemble your device, follow these instructions in reverse order.
Équipe

Cal Poly, Team 20-70, Walters Spring 2011 Membre de l'équipe Cal Poly, Team 20-70, Walters Spring 2011
CPSU-WALTERS-S11S20G70
5 membres
4 tutoriels rédigés