Cette version peut contenir des modifications incorrectes. Passez au dernier aperçu vérifié.
Ce dont vous avez besoin
-
Cette étape n’est pas traduite. Aidez à la traduire
-
Remove the three 3.8 mm screws from the underside of the camera.
-
-
Cette étape n’est pas traduite. Aidez à la traduire
-
Remove the 3.2 mm screw from the right side of the camera.
-
Remove the 2.2 mm screw from the right side of the camera.
-
Lift the side panel off.
-
Remove the 1.8 mm screw from underneath the side panel.
-
-
-
Cette étape n’est pas traduite. Aidez à la traduire
-
Remove the two 2.2 mm screws from the left side of the camera.
-
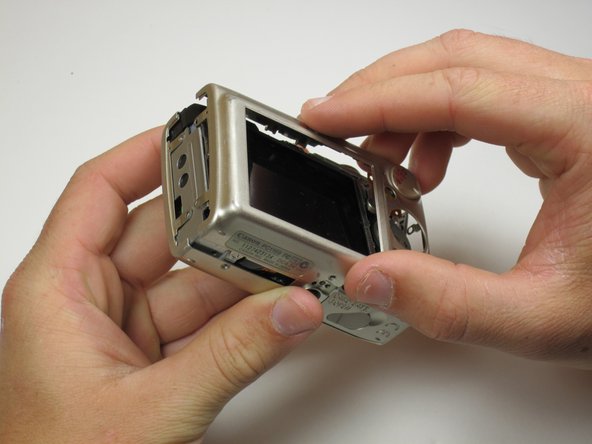
Lift the plate from the camera.
-
-
Cette étape n’est pas traduite. Aidez à la traduire
-
Gently lift the rear of the case to remove it from the camera.
-
-
Cette étape n’est pas traduite. Aidez à la traduire
-
Peel the navigation buttons from the button panel and set them aside.
-
To free the LCD display, remove the 2.9 mm screw in the top left corner.
-
Rotate the screen clockwise until it lifts away from the camera.
-
-
Cette étape n’est pas traduite. Aidez à la traduire
-
To unplug the ribbon cables, pull them straight out of their plugs. Do this gently to avoid damaging the connections.
-
After disconnecting both cables, pull the screen away from the camera to remove it.
-


Annulation : je n'ai pas terminé ce tutoriel.
Une autre personne a terminé cette réparation.
Équipe

Cal Poly, Team 18-23, Garner Spring 2011 Membre de l'équipe Cal Poly, Team 18-23, Garner Spring 2011
CPSU-GARNER-S11S18G23
5 membres
7 tutoriels rédigés