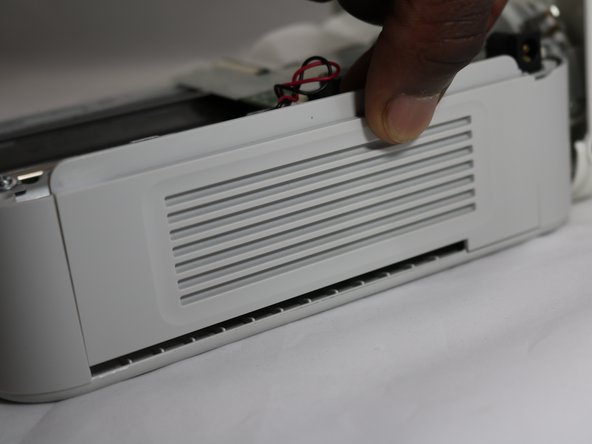
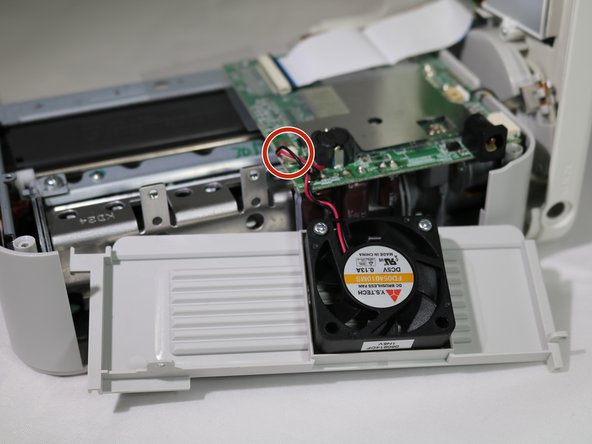
Aller au contenu principal

Canon Selphy CP720 Cooling Fan Replacement

Ce dont vous avez besoin

  1. Canon Selphy CP720 Cooling Fan Replacement, Cooling Fan: étape 1, image 1 de 2 Canon Selphy CP720 Cooling Fan Replacement, Cooling Fan: étape 1, image 2 de 2
    • Remove the four 8mm Phillips #1 screws from the bottom of the printer.

  2. Canon Selphy CP720 Cooling Fan Replacement: étape 2, image 1 de 1
    • Gently lift the top half of the printer off its base

    • A data ribbon attaches the two halves, so don't pull hard and keep the two halves close together.

  3. Canon Selphy CP720 Cooling Fan Replacement: étape 3, image 1 de 3 Canon Selphy CP720 Cooling Fan Replacement: étape 3, image 2 de 3 Canon Selphy CP720 Cooling Fan Replacement: étape 3, image 3 de 3
    • Remove the side panel by lifting it out.

  4. Canon Selphy CP720 Cooling Fan Replacement: étape 4, image 1 de 2 Canon Selphy CP720 Cooling Fan Replacement: étape 4, image 2 de 2
    • Unplug the fan from the circuit board by gently pulling on the wire connector at the base of the port.

    • Do not tug on the wires. Slowly increasing force as you pull is the best way to detach the wires.

  5. Canon Selphy CP720 Cooling Fan Replacement: étape 5, image 1 de 1
    • Unscrew the two 8mm Phillips #1 screws from the fan.

    • Remove the fan from the panel.

Conclusion

To reassemble your device, follow these instructions in reverse order.

Peter Ely

Membre depuis le 09/26/18

836 Réputation

5 tutoriels rédigés

0 commentaires

Ajouter un commentaire

Nombre de vues :

Dernières 24 heures : 0

7 derniers jours : 1

30 derniers jours : 3

Total : 297