Aller au contenu principal

Carlo Robelli CBW-4134CR Piezo Pickup Replacement

Ce dont vous avez besoin

  1. Carlo Robelli CBW-4134CR Piezo Pickup Replacement, Piezo Pickup: étape 1, image 1 de 3 Carlo Robelli CBW-4134CR Piezo Pickup Replacement, Piezo Pickup: étape 1, image 2 de 3 Carlo Robelli CBW-4134CR Piezo Pickup Replacement, Piezo Pickup: étape 1, image 3 de 3
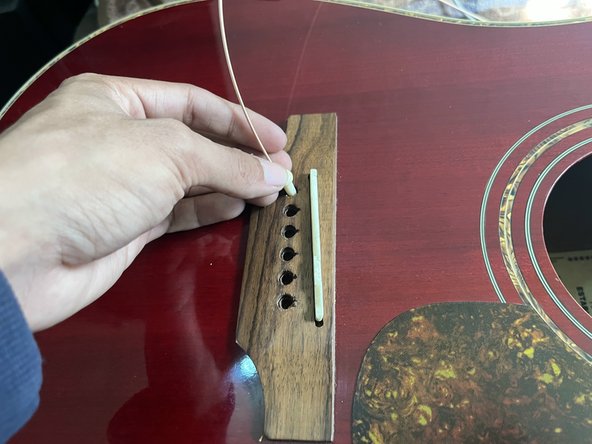
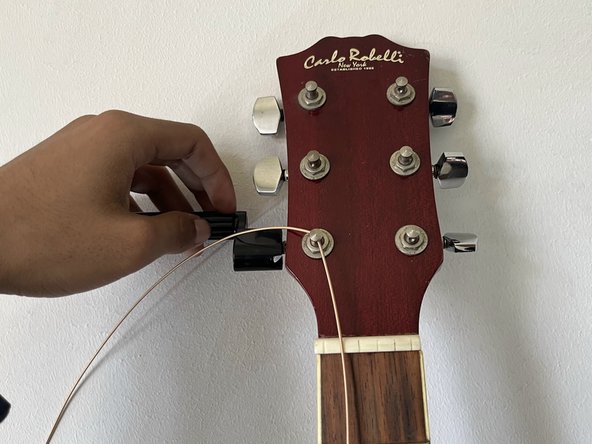
    • Unwind the low E guitar tuner with a guitar winder to loosen the string.

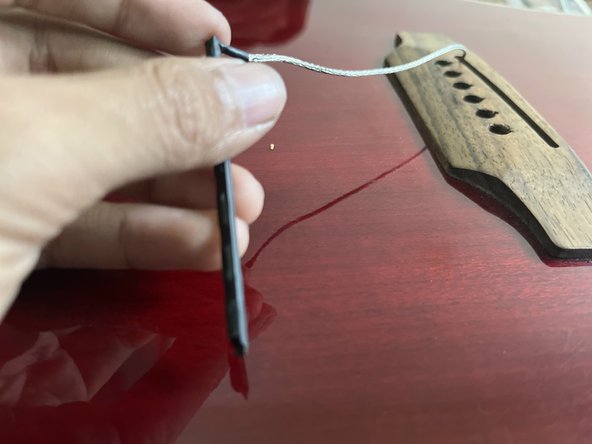
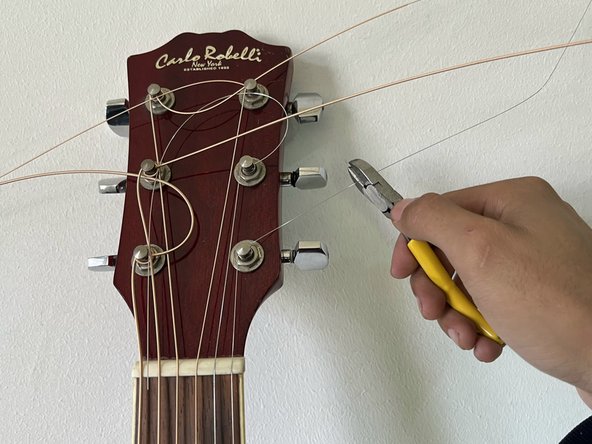
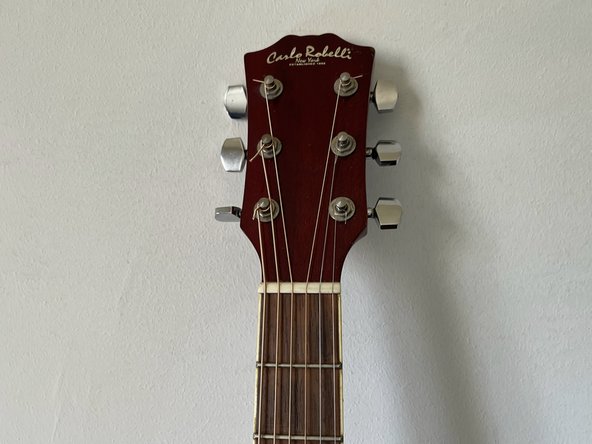
    • Cut the string above the sound hole using a string cutter.

  2. Carlo Robelli CBW-4134CR Piezo Pickup Replacement: étape 2, image 1 de 3 Carlo Robelli CBW-4134CR Piezo Pickup Replacement: étape 2, image 2 de 3 Carlo Robelli CBW-4134CR Piezo Pickup Replacement: étape 2, image 3 de 3
    • Remove the low E string from the guitar tuner and remove the bridge pin.

  3. Carlo Robelli CBW-4134CR Piezo Pickup Replacement: étape 3, image 1 de 3 Carlo Robelli CBW-4134CR Piezo Pickup Replacement: étape 3, image 2 de 3 Carlo Robelli CBW-4134CR Piezo Pickup Replacement: étape 3, image 3 de 3
    • Repeat Steps 1 and 2 for the rest of the guitar strings, removing all the pins and strings.

    • Remove the bridge saddle.

  4. Carlo Robelli CBW-4134CR Piezo Pickup Replacement: étape 4, image 1 de 3 Carlo Robelli CBW-4134CR Piezo Pickup Replacement: étape 4, image 2 de 3 Carlo Robelli CBW-4134CR Piezo Pickup Replacement: étape 4, image 3 de 3
    • Find the preamp box inside the guitar soundhole and disconnect the piezo pickup only.

  5. Carlo Robelli CBW-4134CR Piezo Pickup Replacement: étape 5, image 1 de 3 Carlo Robelli CBW-4134CR Piezo Pickup Replacement: étape 5, image 2 de 3 Carlo Robelli CBW-4134CR Piezo Pickup Replacement: étape 5, image 3 de 3
    • Inside the guitar, find the piezo pickup and push outward.

    • Once the pickup is sticking out, pull to remove it.

  6. Carlo Robelli CBW-4134CR Piezo Pickup Replacement: étape 6, image 1 de 3 Carlo Robelli CBW-4134CR Piezo Pickup Replacement: étape 6, image 2 de 3 Carlo Robelli CBW-4134CR Piezo Pickup Replacement: étape 6, image 3 de 3
    • Grab the new piezo pickup and insert it in the designated hole, pressing firmly and ensuring it is neatly tucked in.

  7. Carlo Robelli CBW-4134CR Piezo Pickup Replacement: étape 7, image 1 de 3 Carlo Robelli CBW-4134CR Piezo Pickup Replacement: étape 7, image 2 de 3 Carlo Robelli CBW-4134CR Piezo Pickup Replacement: étape 7, image 3 de 3
    • Once the piezo pickup is inside the guitar, connect the pickup to its proper input inside the guitar preamp.

  8. Carlo Robelli CBW-4134CR Piezo Pickup Replacement: étape 8, image 1 de 3 Carlo Robelli CBW-4134CR Piezo Pickup Replacement: étape 8, image 2 de 3 Carlo Robelli CBW-4134CR Piezo Pickup Replacement: étape 8, image 3 de 3
    • Place the bridge saddle back in place.

    • Insert a new set of strings with guitar pins to ensure that the line is not pulled out when winding the new guitar strings.

  9. Carlo Robelli CBW-4134CR Piezo Pickup Replacement: étape 9, image 1 de 3 Carlo Robelli CBW-4134CR Piezo Pickup Replacement: étape 9, image 2 de 3 Carlo Robelli CBW-4134CR Piezo Pickup Replacement: étape 9, image 3 de 3
    • Once all new strings are wound up, cut off the excess line for a neater look.

  10. Carlo Robelli CBW-4134CR Piezo Pickup Replacement: étape 10, image 1 de 1
    • This is how the bridge should look once everything is back into place.

Conclusion

Having a new piezo pickup will heavily improve the sound quality sent from your guitar to the guitar amplifier, recording interface, PA system, or headphones.

Bryant Castor

Membre depuis le 04/04/22

181 Réputation

1 tutoriel rédigé

Équipe

CSU Los Angeles, Team 8-88, Briggs Spring 2022 Membre de l'équipe CSU Los Angeles, Team 8-88, Briggs Spring 2022

CSULA-BRIGGS-S22S8G88

1 membre

1 tutoriel rédigé

0 commentaires

Ajouter un commentaire

Nombre de vues :

Dernières 24 heures : 0

7 derniers jours : 1

30 derniers jours : 16

Total : 348