Introduction
This guide shows how to removal the center chassis in your Xbox Series X (Digital Edition) gaming console. This guide has the power supply still attached, which reduces the amount of steps needed for a motherboard replacement or SSD removal.
Ce dont vous avez besoin
-
-
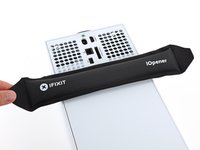
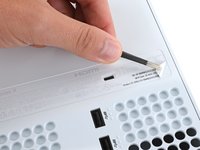
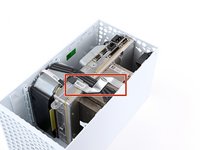
Heat an iOpener and lay it on the smaller sticker near the bottom of the back panel for two minutes.
-
-
-
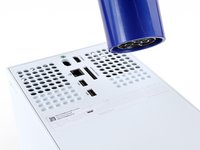
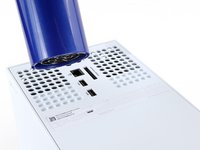
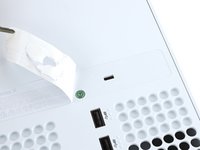
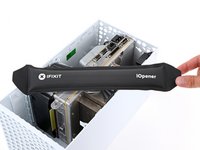
Use an iOpener or hair dryer to heat the larger sticker near the center of the back panel.
-
-
Outil utilisé dans cette étape :Magnetic Project Mat$19.95
-
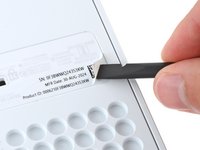
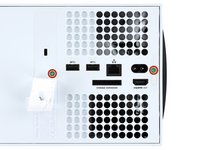
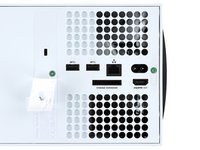
Use a T8 Torx driver to remove the two 7.4 mm‑long screws securing the back panel.
-
-
-
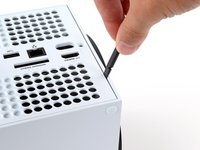
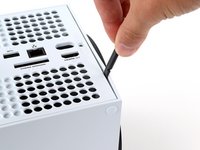
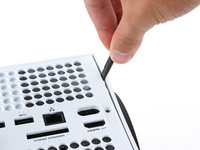
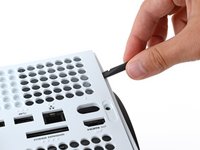
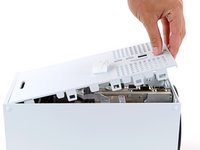
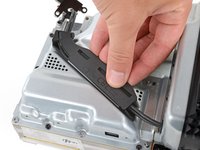
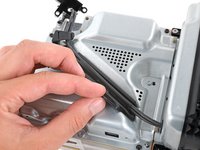
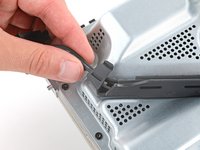
Insert the flat end of a spudger into the gap between the back panel and the shell, near the left side of the base.
-
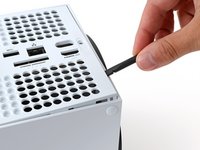
Pry up the back panel to release it from the locking clips.
-
-
-
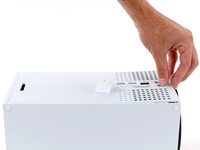
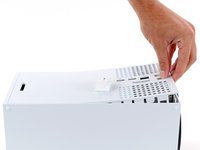
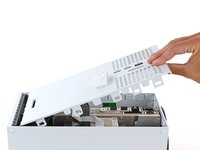
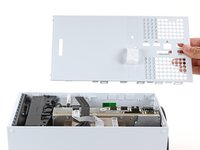
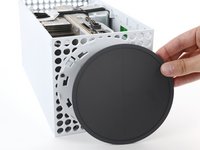
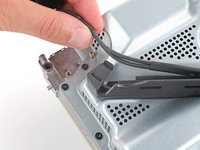
Grip the back panel at the opening you just created and pull it up and away from the shell to unclip the long edges.
-
-
-
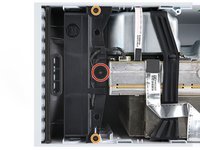
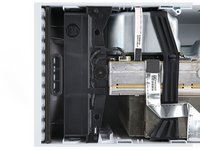
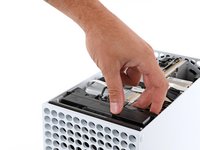
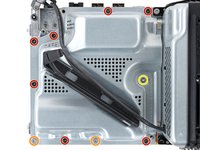
Use a T8 Torx driver to remove the three screws securing the fan to the center chassis:
-
One 10.3 mm‑long pancake screw
-
Two 9 mm‑long screws
-
-
-
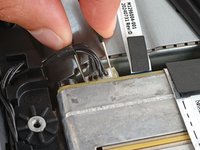
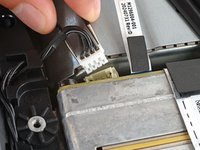
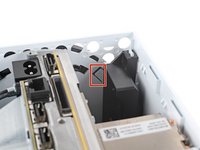
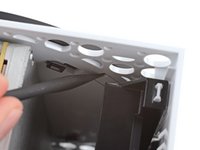
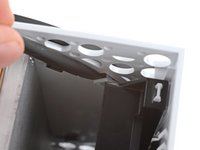
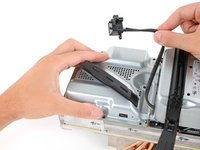
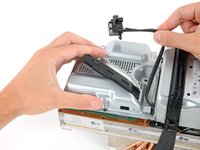
Use your fingernails or a pair of angled tweezers to firmly grip the edges of the fan cable connector.
-
Pull the connector straight out of the socket to disconnect it.
-
-
Outil utilisé dans cette étape :Dust Blower$18.99
-
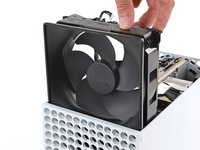
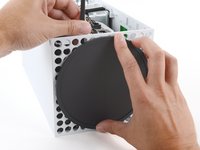
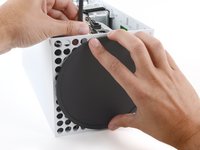
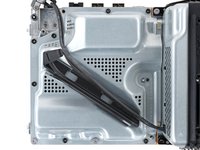
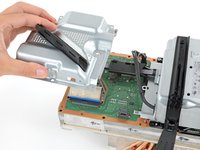
Slide the fan out of its slot to remove it.
-
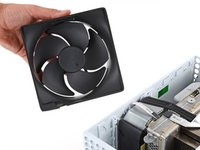
Before installing the fan, make sure it's clean! Use a dust blower or compressed air to blow off any dust or debris, and wipe the fan clean with a clean cloth.
-
Note that the fan can only be installed one way—make sure Master Chief is facing you.
-
-
-
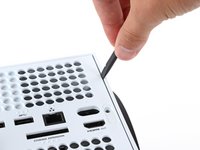
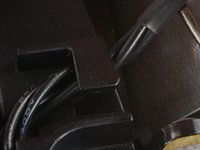
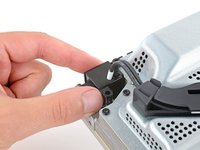
Use the flat end of a spudger to pry up the locking tab holding the base to the shell.
-
Keep the locking tab held open for the next step.
-
-
-
-
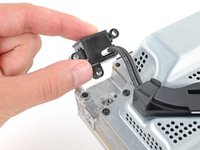
With the locking tab held open, grip the base and rotate it counterclockwise to unlock it from the shell.
-
Remove the base.
-
-
-
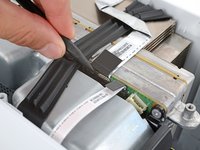
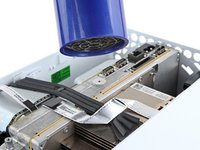
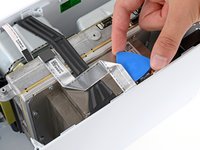
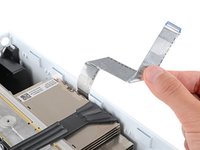
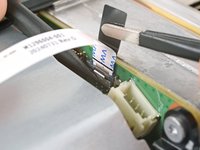
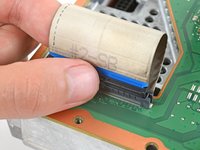
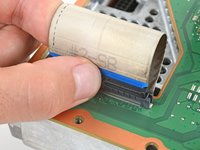
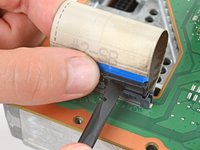
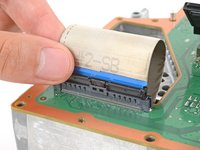
Use a spudger to flip open the metal locking tab on the USB port ribbon cable.
-
-
-
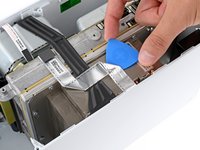
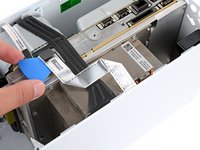
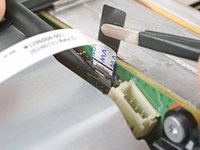
Use an iOpener or a hair dryer to heat the USB port cable.
-
-
Outil utilisé dans cette étape :Tesa 61395 Tape$2.99
-
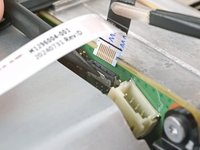
Slide an opening pick under the USB port cable to separate the adhesive securing it.
-
-
-
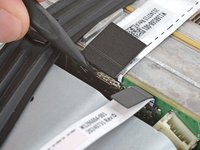
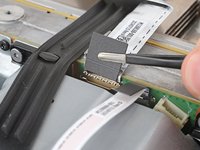
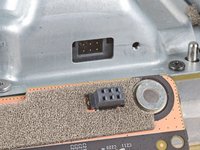
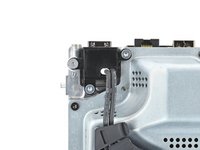
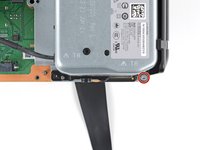
Use the pointed end of a spudger to depress the metal tab on the side of the power button cable's board connector.
-
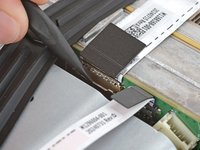
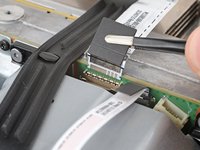
With the metal tab depressed, use a pair of tweezers to pull up on the pull tab to disconnect the power button cable from the center chassis.
-
-
-
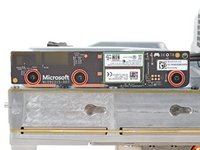
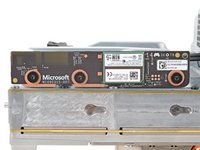
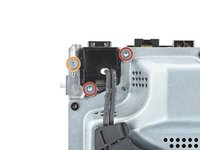
Use a T8 Torx driver to remove the three 7.4 mm‑long green screws securing the center chassis assembly to the shell.
-
-
-
-
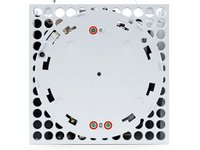
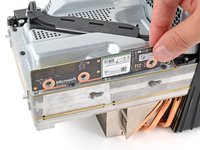
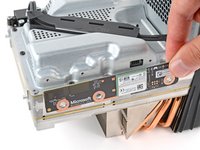
Use a T8 Torx driver to remove the three 9.6 mm‑long screws securing the antenna board to the center chassis.
-
-
-
Grip the top right corner of the antenna board and pull it directly away from the center chassis to disconnect it.
-
-
-
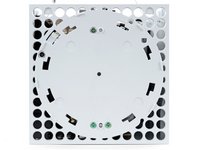
Use a T8 Torx driver to remove the three screws securing the power cable port to the chassis:
-
Two 13.1 mm‑long screws
-
One 35 mm‑long screw
-
-
-
Unlatch and open the lid on the power cable's plastic guide.
-
-
-
Use a T8 Torx driver to remove the ten screws securing the board shield:
-
Seven 8.7 mm‑long screws
-
Two 35 mm‑long screws
-
One 13 mm‑long screw
-
-
-
Open the lid on the power supply's plastic cable guide.
-
-
-
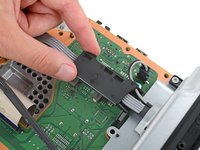
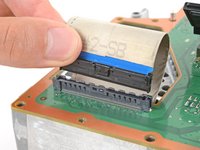
Use your fingers to pinch the locking tab in the center of the interconnect cable connector.
-
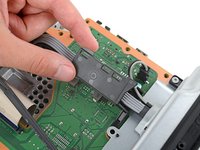
While pinching the tab, insert the flat end of a spudger between the top of the socket and the connector's tab.
-
Twist the spudger to lift the connector out of its socket until the clip in the center disengages.
-
-
-
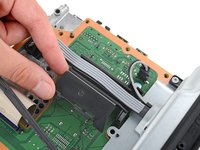
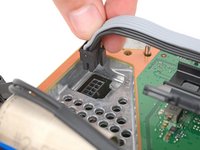
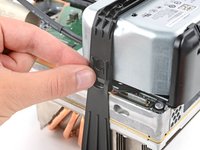
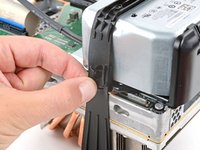
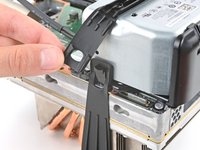
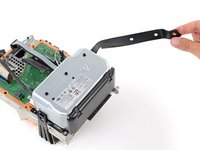
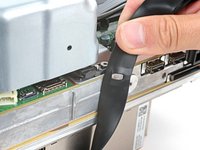
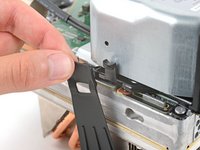
Pull the rubber strap down and away from the chassis to unlatch it.
-
-
-
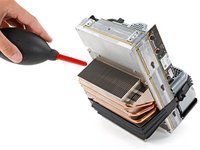
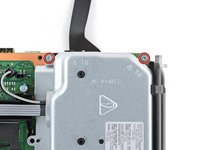
Use a T8 Torx driver to remove the three 35 mm‑long silver screws from the power supply—leave the fourth black screw in place.
-
-
-
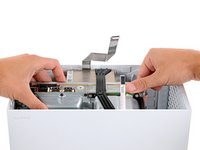
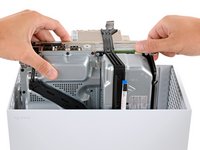
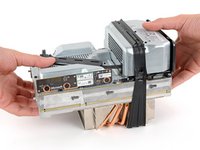
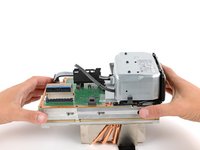
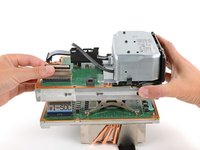
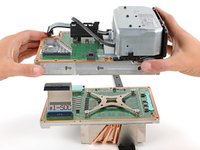
Grip the edges of the center chassis (not the power supply) and lift it off the motherboard and heatsink assembly, routing the interconnect cable through its cutout.
-