Cette traduction a été générée automatiquement et n’a pas encore fait l’objet d’une relecture humaine. Vous parlez cette langue ? Relisez-la.

Changement ventilateur Drobo FS DRDS2-A

Nicholas Serres et 4 autres contributeurs
Dernière mise à jour le 1 août 2026
Vues: 8,6 k
Afficher les statistiques :
- Dernières 24 heures :
- 2
- Sept derniers jours :
- 15
- Trente derniers jours :
- 100
- Total :
- 8 640
Commentaires: 7
3 commentaires d'étapes, 4 commentaires de tutoriel.
Aller aux commentaires de tutorielTerminé: 8 9
8 personnes ont marqué ce tutoriel comme « terminé ». Serez-vous la prochaine ?
9 personnes ont marqué ce tutoriel comme « terminé ». Dont vous — super travail !
Favoris: 1 2
1 personne a mis ce tutoriel en favori (et s'y est abonnée). Serez-vous la prochaine ?
2 personnes ont mis ce tutoriel en favori (et s'y sont abonnées) – dont vous !
Introduction
Passez à l'étape 1 ↓Ce tutoriel montre comment retirer le ventilateur du Drobo. Soyez prudent, car ce tutoriel implique de débrancher et rebrancher de très petits connecteurs situés dans des endroits difficiles d'accès.
Ce dont vous avez besoin
Outils


-
-
-
Pour commencer à retirer le boîtier, enlevez le panneau avant afin qu'il ne vous gêne pas.
 Demander à FixBot
-
-
-
Ensuite, retirez les vis situées sur les pieds du boîtier avec un tournevis cruciforme.
-
-
-
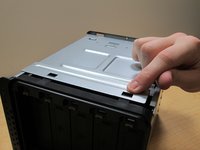
Pour retirer le boîtier, placez le Drobo sur le dos et faites glisser le boîtier pour le sortir.
-
-
-
-
-
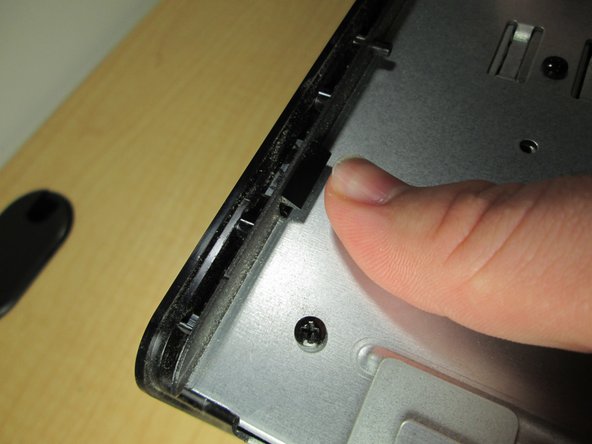
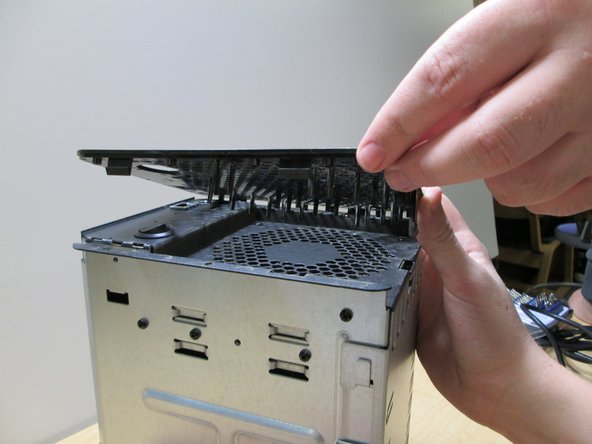
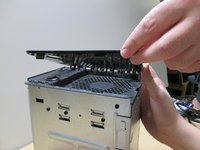
Une fois le boîtier retiré, poussez les languettes de la coque arrière pour la retirer. Vous pouvez le faire avec vos doigts ou avec un outil, tel qu'une spatule (spudger).
-
-
-
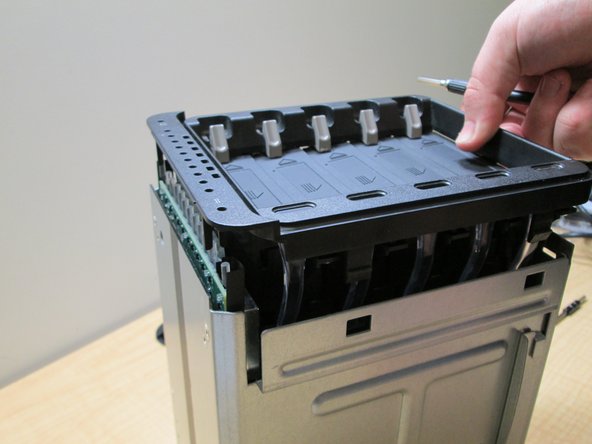
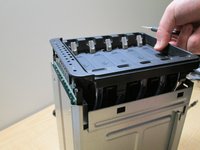
Faites de même de l'autre côté en poussant les goupilles vers le bas. Faites ensuite glisser les stations d'accueil de disque dur pour les retirer.
-
-
-
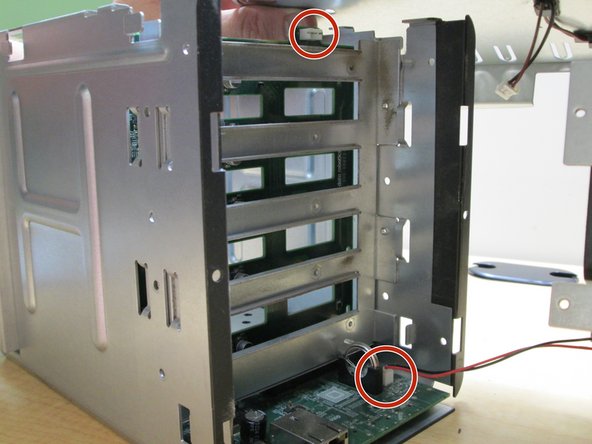
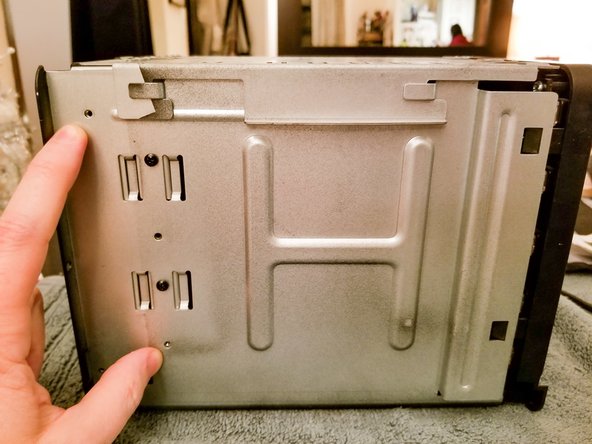
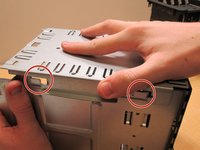
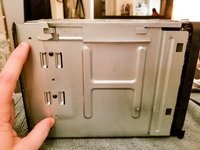
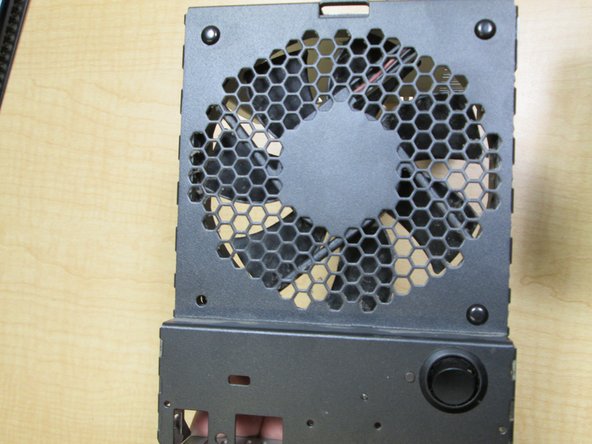
Maintenant, faites glisser les pièces métalliques l'une loin de l'autre pour passer les crochets, puis retirez-les délicatement. Au moment où les deux pièces se séparent, veillez à débrancher précautionneusement les deux câbles afin de ne pas endommager l'appareil.
-
-
-
-
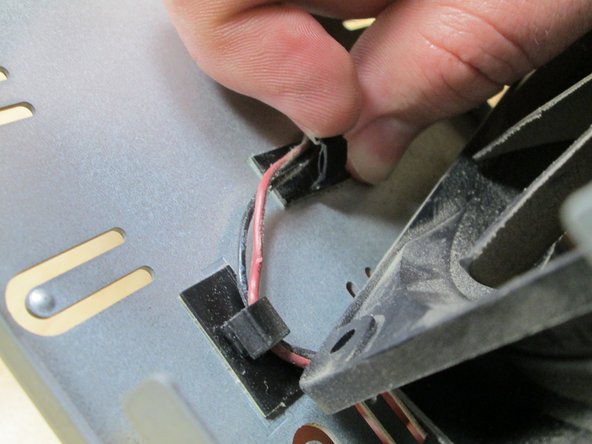
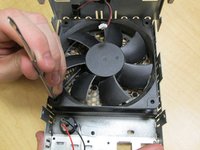
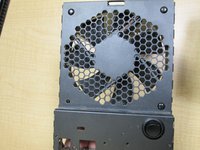
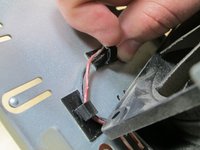
Retirez ensuite le ventilateur en insérant votre tournevis dans les orifices afin de pousser les petits rivets. Décrochez ensuite les fils pour enfin retirer le ventilateur.
-
-







Pour remonter votre appareil, suivez ces instructions en sens inverse.
Annulation : je n'ai pas terminé ce tutoriel.
8 autres ont terminé cette réparation.
Équipe

Cal Poly, Team 10-4, Banghart Winter 2017 Membre de l'équipe Cal Poly, Team 10-4, Banghart Winter 2017
CPSU-BANGHART-W17S10G4
3 membres
60 tutoriels rédigés
4 commentaires de tutoriel
What size fan is there in the Drobo FS?
What are the dimensions of the fan needed? I would like to order the fan before disassembling.
120mm 3 pin - I used the Noctua NF-A12x15 FLX. I had to use the screws that came with it instead of the original fixings as they didn’t fit the new fan. Also had to cut off the cable and solder the original one on as the connector is different. Red to red, black to black (and slide head shrink tubing over the join and then shrunk it by holding over steam from the kettle.
On my 5D I had to replace the rivets with 1 1/4 inch machine screws with loctite nuts. The rivets were so damaged in the removal that they would not hold the fan in place. Also, check after assembling the rear into place that the new cable is clear of the fan. I got the exact replacement fan from DigiKey - Part: 259-1472-ND SUNON FAN MEC0251V3-000U-A99 12VDC. It was like $25 including shipping.
The replacement fan came with bare leads so I had to splice the old connector on with solder and shrink tube. be careful to keep the leads the same length because longer leads will cause a problem in the tight clearance in front of the fan.
