Aller au contenu principal

Chocomaker Apple Dipper 9820 Disassembly

Ce dont vous avez besoin
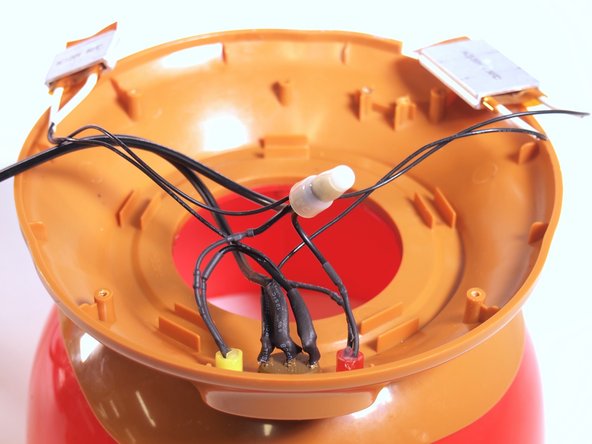
  1. Chocomaker Apple Dipper 9820 Disassembly, Chocomaker Apple Dipper 9820: étape 1, image 1 de 2 Chocomaker Apple Dipper 9820 Disassembly, Chocomaker Apple Dipper 9820: étape 1, image 2 de 2
    • Remove the Apple lid.

  2. Chocomaker Apple Dipper 9820 Disassembly: étape 2, image 1 de 2 Chocomaker Apple Dipper 9820 Disassembly: étape 2, image 2 de 2
    • Remove the red rim by twisting it counterclockwise.

  3. Chocomaker Apple Dipper 9820 Disassembly: étape 3, image 1 de 3 Chocomaker Apple Dipper 9820 Disassembly: étape 3, image 2 de 3 Chocomaker Apple Dipper 9820 Disassembly: étape 3, image 3 de 3
    • Unscrew the 4 screws around the exposed orange rim with a Phillips #1 screwdriver.

  4. Chocomaker Apple Dipper 9820 Disassembly: étape 4, image 1 de 2 Chocomaker Apple Dipper 9820 Disassembly: étape 4, image 2 de 2
    • Lift the white bowl and metal bowl (with orange rim) as far as they go, in order to access and unscrew two screws from the metal part.

    • Unscrew using the Phillips #1 screwdriver.

    • These screws have a white circumference and are attached to the metal.

  5. Chocomaker Apple Dipper 9820 Disassembly: étape 5, image 1 de 2 Chocomaker Apple Dipper 9820 Disassembly: étape 5, image 2 de 2
    • Remove the heat plates from under the metal plate holding them down.

    • This will allow you to completely remove the white bowl and metal bowl with the orange rim, leaving you with the red outer bowl and partially exposed circuit.

  6. Chocomaker Apple Dipper 9820 Disassembly: étape 6, image 1 de 3 Chocomaker Apple Dipper 9820 Disassembly: étape 6, image 2 de 3 Chocomaker Apple Dipper 9820 Disassembly: étape 6, image 3 de 3
    • Flip the apple.

    • Remove the bottom lid by using the Phillips #1 screwdriver to remove the four screws.

  7. Chocomaker Apple Dipper 9820 Disassembly: étape 7, image 1 de 3 Chocomaker Apple Dipper 9820 Disassembly: étape 7, image 2 de 3 Chocomaker Apple Dipper 9820 Disassembly: étape 7, image 3 de 3
    • Remove the 2 mm screws from the wire holder with a P106A screwdriver.

    • These screws are only holding the wire for it to come out of the apple in the right way. (They are two screws attached to a small orange thing)

  8. Chocomaker Apple Dipper 9820 Disassembly: étape 8, image 1 de 2 Chocomaker Apple Dipper 9820 Disassembly: étape 8, image 2 de 2
    • Circuitry is exposed.

    • This device is controlled by a switch which influences where voltage and current occurs within the circuit.

    • There is one are two loops: one accounts for the "warm" setting and the other accounts for the "melt" setting.

Conclusion

To reassemble your device, follow these instructions in reverse order.

Sophie

Membre depuis le 09/13/23

207 Réputation

1 tutoriel rédigé

0 commentaires

Ajouter un commentaire

Nombre de vues :

Dernières 24 heures : 0

7 derniers jours : 0

30 derniers jours : 1

Total : 53