Aller au contenu principal
Pour réparer ensemble - Je crée un compte

Cirago M9030 Screen Protector Replacement

Ce dont vous avez besoin

    1. Cirago M9030 Screen Protector Replacement, Cover: étape 1, image 1 de 1
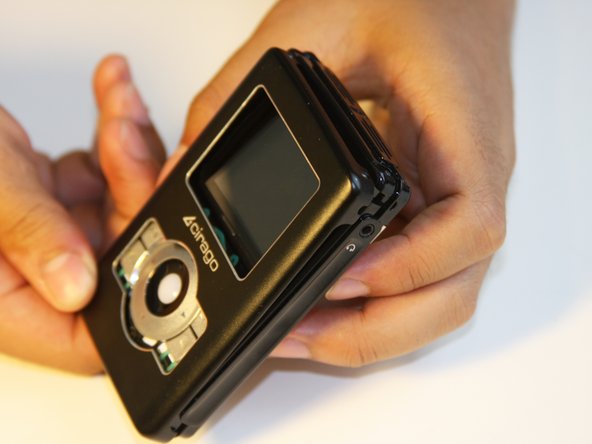
      • Use a Phillips #00 screwdriver to unscrew the four 1.1mm long screws on each corner located at the top of the cover.

      Demander à FixBot

      Ajouter un commentaire

    2. Cirago M9030 Screen Protector Replacement: étape 2, image 1 de 1
      • Similar to the last step, flip the cover over and use a Phillips #00 screwdriver to unscrew the four 1.1mm long screws on each corner located at the bottom of the cover.

      • Remove the warranty sticker across the bottom.

      Demander à FixBot

      Ajouter un commentaire

    3. Cirago M9030 Screen Protector Replacement: étape 3, image 1 de 2 Cirago M9030 Screen Protector Replacement: étape 3, image 2 de 2
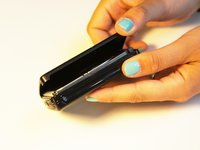
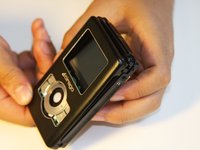
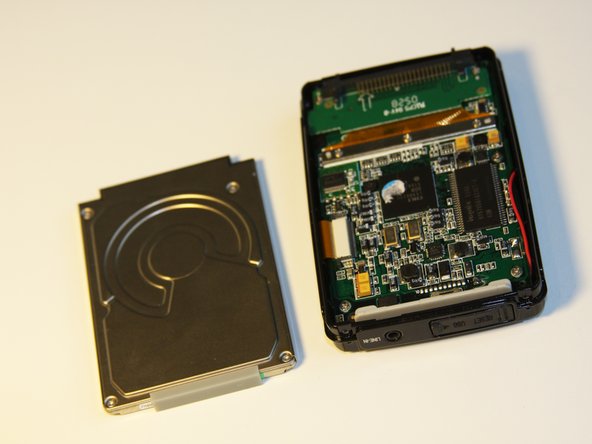
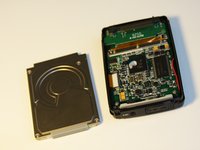
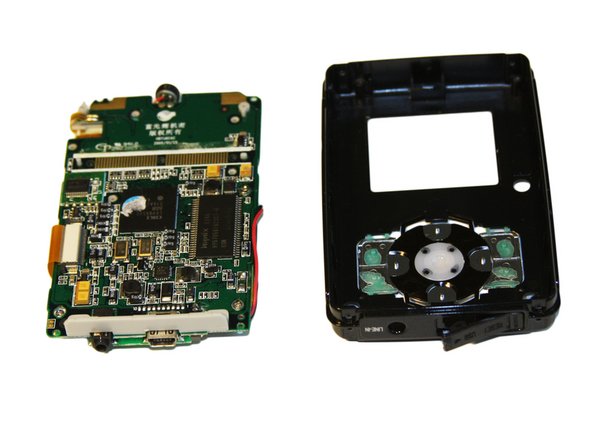
      • Gently take the cover apart using your hands separating the top and bottom.

      • The outer shell is expected to easily come apart.

      Demander à FixBot

      Ajouter un commentaire

    1. Cirago M9030 Screen Protector Replacement, Hard Drive: étape 4, image 1 de 1
      • Make sure that the screen of the device is facing down.

      Demander à FixBot

      Ajouter un commentaire

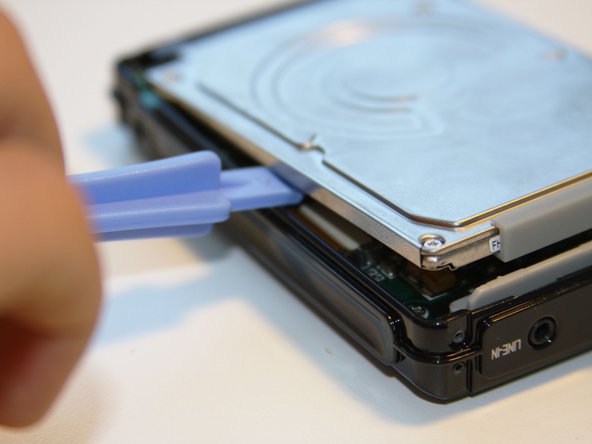
    2. Cirago M9030 Screen Protector Replacement: étape 5, image 1 de 3 Cirago M9030 Screen Protector Replacement: étape 5, image 2 de 3 Cirago M9030 Screen Protector Replacement: étape 5, image 3 de 3
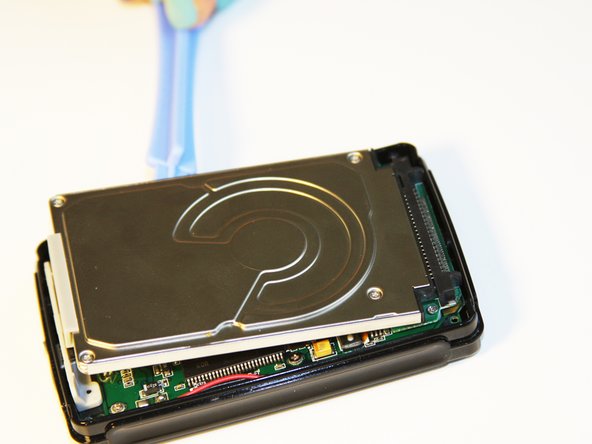
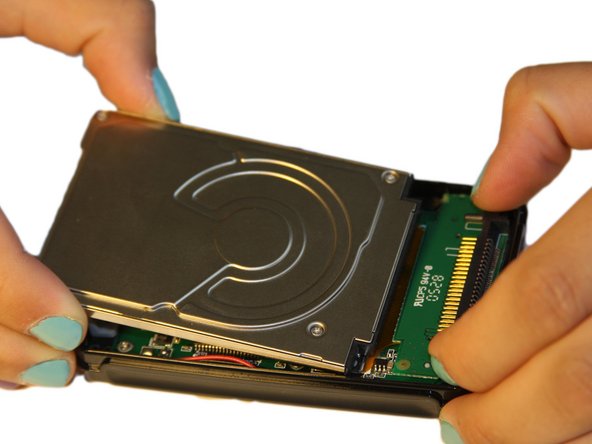
      • Using the plastic opening tool, wedge the tool underneath the bottom left edge of the hard drive.

      • Raise the bottom edge of the hard drive 15 degrees up from the device.

      Demander à FixBot

      Ajouter un commentaire

    3. Cirago M9030 Screen Protector Replacement: étape 6, image 1 de 3 Cirago M9030 Screen Protector Replacement: étape 6, image 2 de 3 Cirago M9030 Screen Protector Replacement: étape 6, image 3 de 3
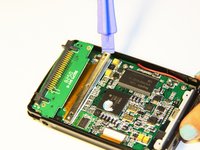
      • Place fingers on the IDE connectors gently picking up and sliding the hard drive out from the IDE module.

      Demander à FixBot

      Ajouter un commentaire

    1. Cirago M9030 Screen Protector Replacement, IDE Connector: étape 7, image 1 de 2 Cirago M9030 Screen Protector Replacement, IDE Connector: étape 7, image 2 de 2
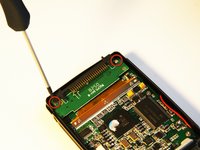
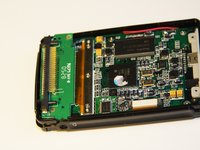
      • Using the Phillips #00 screwdriver, unscrew the two 1.5mm long screws holding the IDE connector to the motherboard located at the top.

      Demander à FixBot

      Ajouter un commentaire

    2. Cirago M9030 Screen Protector Replacement: étape 8, image 1 de 1
      • Using the Phillips #00 screwdriver, unscrew the three 1.5mm long screws on the metal bracket.

      Demander à FixBot

      Ajouter un commentaire

    3. Cirago M9030 Screen Protector Replacement: étape 9, image 1 de 2 Cirago M9030 Screen Protector Replacement: étape 9, image 2 de 2
      • Using the plastic opening tool, completely lift the metal bracket off of the motherboard.

      • Using the plastic opening tool, completely lift the rubber insulator off of the motherboard.

      Demander à FixBot

      Ajouter un commentaire

    4. Cirago M9030 Screen Protector Replacement: étape 10, image 1 de 1
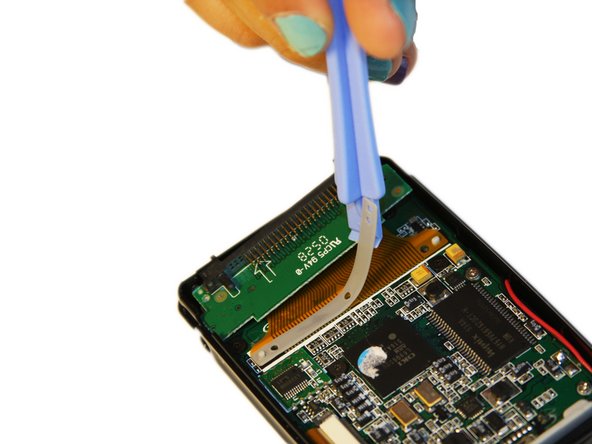
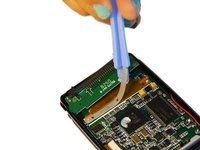
      • Using the plastic opening tool, completely lift the ribbon off of the motherboard.

      Demander à FixBot

      Ajouter un commentaire

    5. Cirago M9030 Screen Protector Replacement: étape 11, image 1 de 2 Cirago M9030 Screen Protector Replacement: étape 11, image 2 de 2
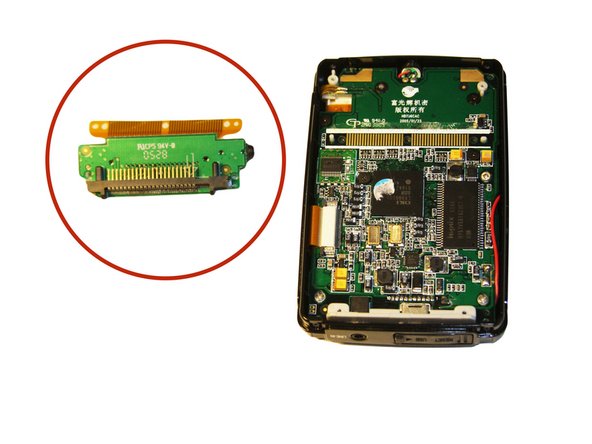
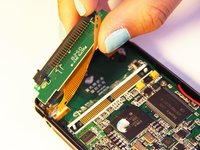
      • The audio jack is attached to the IDE connector. Pull at a 45 degree angle from the audio jack.

      • Completely remove the IDE connector from the device.

      Demander à FixBot

      Ajouter un commentaire

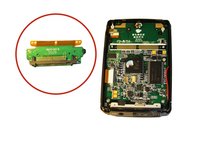
    1. Cirago M9030 Screen Protector Replacement, Motherboard: étape 12, image 1 de 2 Cirago M9030 Screen Protector Replacement, Motherboard: étape 12, image 2 de 2
      • Using the plastic opening tool, wedge the tool underneath the top edge of the motherboard.

      • Completely remove the motherboard.

      • The motherboard should slide out easily.

      Demander à FixBot

      Ajouter un commentaire

    1. Cirago M9030 Screen Protector Replacement, Screen Protector: étape 13, image 1 de 1
      • Locate the plastic screen protector on the front cover.

      Demander à FixBot

      Ajouter un commentaire

    2. Cirago M9030 Screen Protector Replacement: étape 14, image 1 de 1
      • Grasping the sides of the cover, gently press on screen protector from the inside of the front cover to pop out the screen protector.

      Demander à FixBot

      Ajouter un commentaire

Conclusion

To reassemble your device, follow these instructions in reverse order.

Annulation : je n'ai pas terminé ce tutoriel.

Une autre personne a terminé cette réparation.

Ryan Sutardji

Membre depuis le 06/29/12

171 Réputation

7 tutoriels rédigés

Équipe

Cal Poly, Team 1-4, Regan SU 2012 Membre de l'équipe Cal Poly, Team 1-4, Regan SU 2012

CPSU-REGAN-SU12S1G4

4 membres

56 tutoriels rédigés

0 commentaires de tutoriel

Ajouter un commentaire

Nombre de vues :

Dernières 24 heures : 0

7 derniers jours : 7

30 derniers jours : 27

Total : 1,236