Aller au contenu principal

Coolpad 3300A Screen Replacement

Ce dont vous avez besoin

  1. Coolpad 3300A Screen Replacement, Coolpad 3300A Disassembly: étape 1, image 1 de 1
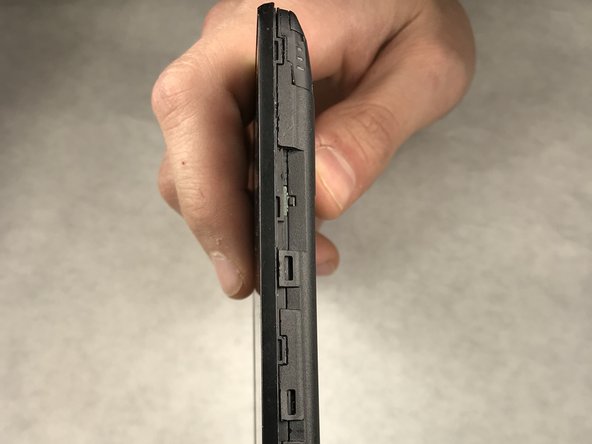
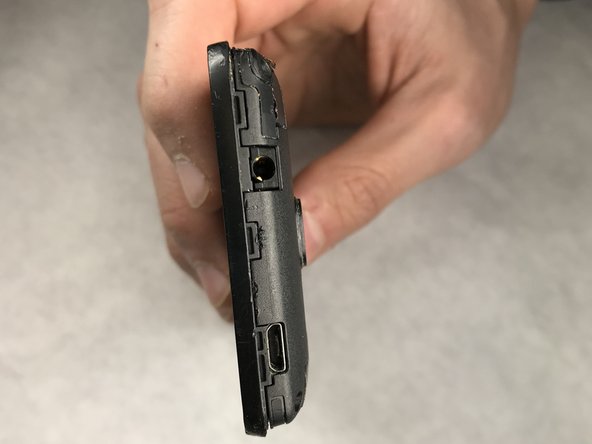
    • After removing the back of the phone (not pictured), remove the battery by lifting up from the bottom with your thumb. There will be a groove that allows you to remove the battery with your thumb.

  2. Coolpad 3300A Screen Replacement: étape 2, image 1 de 3 Coolpad 3300A Screen Replacement: étape 2, image 2 de 3 Coolpad 3300A Screen Replacement: étape 2, image 3 de 3
    • Remove the four screws (30 mm long) which hold the front and back half of the unit together using a Phillips #000 screwdriver. There will be one screw in each corner.

  3. Coolpad 3300A Screen Replacement: étape 3, image 1 de 3 Coolpad 3300A Screen Replacement: étape 3, image 2 de 3 Coolpad 3300A Screen Replacement: étape 3, image 3 de 3
    • Use a metal spudger to release all of the clips around the phone. These clips are used to hold the front and back panel on the phone together.

  4. Coolpad 3300A Screen Replacement: étape 4, image 1 de 1
    • After the clips are released, carefully separate the back housing from the phone. Notice the sticker that appears in the red box holds the phone together, but can be peeled apart.

  5. Coolpad 3300A Screen Replacement, Screen: étape 5, image 1 de 2 Coolpad 3300A Screen Replacement, Screen: étape 5, image 2 de 2
    • Remove the ribbon cable by flipping up the connector.

  6. Coolpad 3300A Screen Replacement: étape 6, image 1 de 1
    • Remove second ribbon cable shown in red box. To do this repeat step 5.

  7. Coolpad 3300A Screen Replacement: étape 7, image 1 de 3 Coolpad 3300A Screen Replacement: étape 7, image 2 de 3 Coolpad 3300A Screen Replacement: étape 7, image 3 de 3
    • Use the nylon spudger to gently pry/release clips to remove motherboard from the screen.

Conclusion

To reassemble your device, follow these instructions in reverse order.

6 autres ont terminé cette réparation.

Cordell Miller

Membre depuis le 03/26/18

318 Réputation

2 tutoriels rédigés

Équipe

IUPUI, Team S1-G3, Harley Spring 2018 Membre de l'équipe IUPUI, Team S1-G3, Harley Spring 2018

IUPUI-HARLEY-S18S1G3

6 membres

8 tutoriels rédigés

Un commentaire

How do I replace the screen? You just told me how to take it apart.

Computer User - Réponse

Ajouter un commentaire

Nombre de vues :

Dernières 24 heures : 0

7 derniers jours : 0

30 derniers jours : 9

Total : 2,149