Introduction
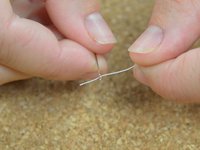
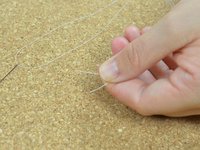
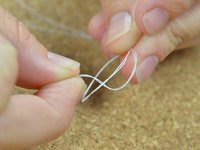
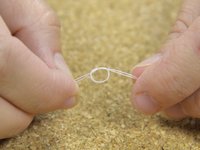
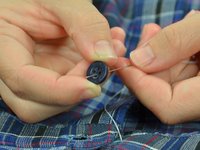
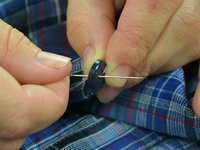
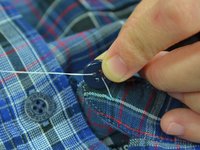
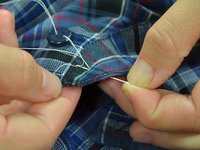
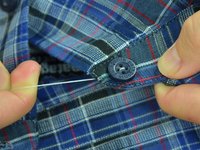
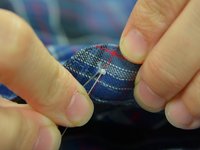
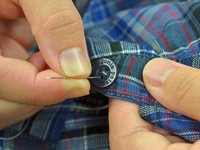
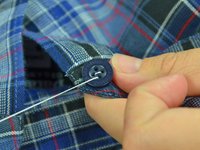
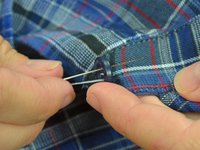
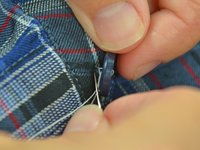
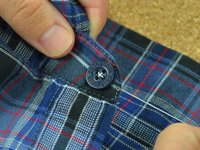
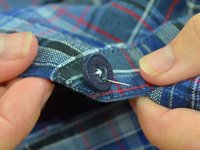
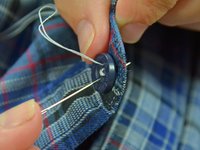
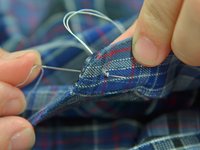
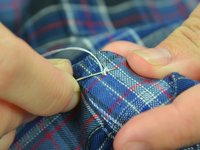
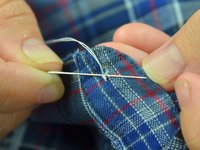
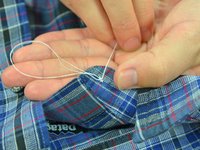
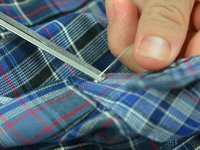
Remplacer un bouton perdu sur un vêtement est l’une des réparations les plus courantes. C’est aussi l’une des plus simples. Dans ce guide, vous apprendrez à recoudre à la main un bouton classique à quatre trous. Pour vous aider à suivre plus facilement les différentes étapes, nous avons utilisé un fil de couleur contrastante. Bien entendu, pour votre projet, vous devrez choisir un fil assorti au tissu.
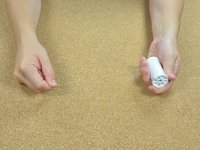
Ce dont vous avez besoin


Annulation : je n'ai pas terminé ce tutoriel.
57 autres ont terminé cette réparation.
Merci à ces traducteurs :
100%
Maike nous aide à réparer le monde ! Vous voulez contribuer ?
Commencez à traduire ›


5 commentaires
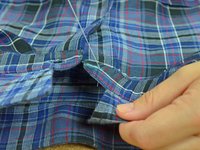
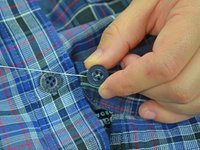
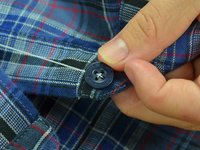
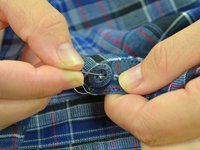
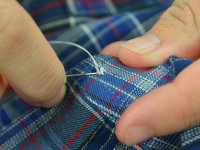
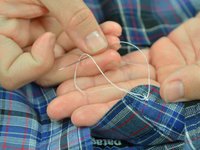
What helps after the last step 14 is to wrap the thread around and around a few times underneath the button itself (binding all the threads together) and making one last pass through the cloth before the final knot. This makes the repair much more durable.
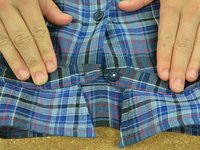
Wrapping the threads underneath the button to create a shank is useful for coat buttons where the fabric is thick and you don’t want the fabric to pucker. As noted, it adds durability to the button attachment. On a shirt collar, as seen here, it would create too much bulk where you need the button to lie quite flat, so this method is quite sufficient.
Thanks Jonathan. Great insight.