Aller au contenu principal

Craftsman 944.360480 Carburetor O-Ring Replacement

Ce dont vous avez besoin

  1. Craftsman 944.360480 Carburetor O-Ring Replacement, Carburetor O-Ring: étape 1, image 1 de 1
    • Make sure your engine is completely shut down and cooled off prior to starting this repair.

    • Put gloves on, so you don’t get any oil or gasoline on your skin.

  2. Craftsman 944.360480 Carburetor O-Ring Replacement: étape 2, image 1 de 1
    • Use a flathead screwdriver and remove the 40 mm screw that secures the air filter and the case to the lawn mower.

  3. Craftsman 944.360480 Carburetor O-Ring Replacement: étape 3, image 1 de 1
    • Carefully remove the air filter and set it aside.

  4. Craftsman 944.360480 Carburetor O-Ring Replacement: étape 4, image 1 de 1
    • Slowly remove the air filter case from the hinges by tilting it slightly and pulling it out.

  5. Craftsman 944.360480 Carburetor O-Ring Replacement: étape 5, image 1 de 1
    • Use the socket wrench and put the 5/16” inch hex bit on to remove the three 20 mm bolts located behind the air filter.

  6. Craftsman 944.360480 Carburetor O-Ring Replacement: étape 6, image 1 de 1
    • Pull the plastic backing off which will expose the carburetor.

  7. Craftsman 944.360480 Carburetor O-Ring Replacement: étape 7, image 1 de 2 Craftsman 944.360480 Carburetor O-Ring Replacement: étape 7, image 2 de 2
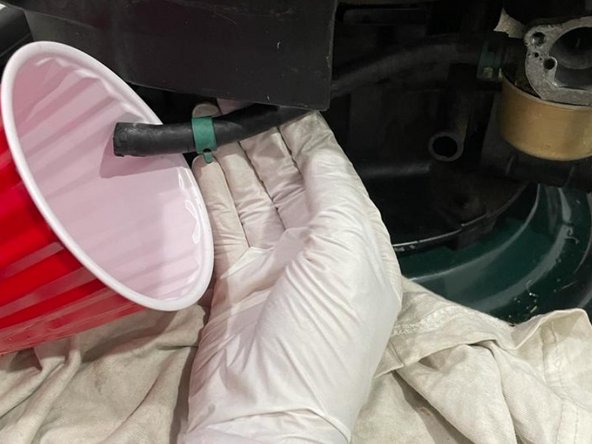
    • Use utility pliers to pull out the fuel line slowly by wiggling it up and down.

    • Have a container ready to pour out any extra fuel left in the mower.

    • Be sure to put a cloth or rag under if you don’t want it spilling anywhere.

  8. Craftsman 944.360480 Carburetor O-Ring Replacement: étape 8, image 1 de 1
    • Use the socket wrench with a ½” inch hex bit to remove the 11 mm screw on the bottom of the tank.

  9. Craftsman 944.360480 Carburetor O-Ring Replacement: étape 9, image 1 de 2 Craftsman 944.360480 Carburetor O-Ring Replacement: étape 9, image 2 de 2
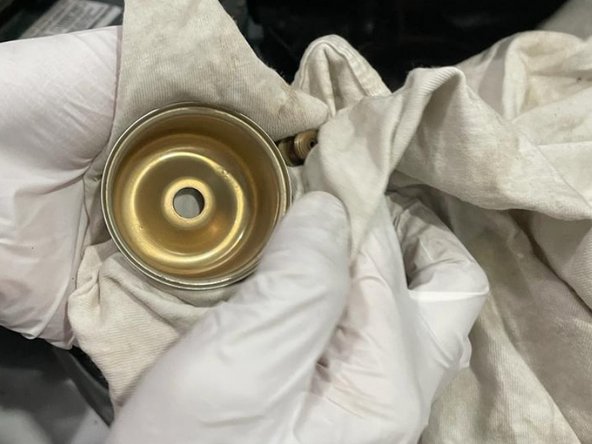
    • Pull the carburetor tank down slowly.

    • Empty any extra gasoline and use a rag to clean it out.

  10. Craftsman 944.360480 Carburetor O-Ring Replacement: étape 10, image 1 de 1
    • Remove the O-Ring from the carburetor tank and replace it with a new one. You are ready to reassemble your lawnmower!

Conclusion

To reassemble your device, follow these instructions in reverse order.

Priyum Mistry

Membre depuis le 01/10/22

181 Réputation

1 tutoriel rédigé

Équipe

York University, Team R-16, Melo-Thaiss Winter 2022 Membre de l'équipe York University, Team R-16, Melo-Thaiss Winter 2022

YORK-MELO-THAISS-W22SRG16

1 membre

1 tutoriel rédigé

0 commentaires

Ajouter un commentaire

Nombre de vues :

Dernières 24 heures : 2

7 derniers jours : 11

30 derniers jours : 31

Total : 526