Aller au contenu principal
Pour réparer ensemble - Je crée un compte

Cuisinart DCC-1200 Toggle Switch Replacement

Ce dont vous avez besoin

    1. Cuisinart DCC-1200 Toggle Switch Replacement, Toggle Switch: étape 1, image 1 de 2 Cuisinart DCC-1200 Toggle Switch Replacement, Toggle Switch: étape 1, image 2 de 2
      • Using the metal spudger, gently pry out the two plastic plugs located on top.

      • Too much pressure with the spudger may cause damage to plugs.

      Demander à FixBot

      Ajouter un commentaire

    2. Cuisinart DCC-1200 Toggle Switch Replacement: étape 2, image 1 de 3 Cuisinart DCC-1200 Toggle Switch Replacement: étape 2, image 2 de 3 Cuisinart DCC-1200 Toggle Switch Replacement: étape 2, image 3 de 3
      • Remove the two 11 mm long screws from the top of the coffee maker underneath the cover using the bit driver with the extension with the PH1 Phillips bit.

      Demander à FixBot

      Ajouter un commentaire

    3. Cuisinart DCC-1200 Toggle Switch Replacement: étape 3, image 1 de 2 Cuisinart DCC-1200 Toggle Switch Replacement: étape 3, image 2 de 2
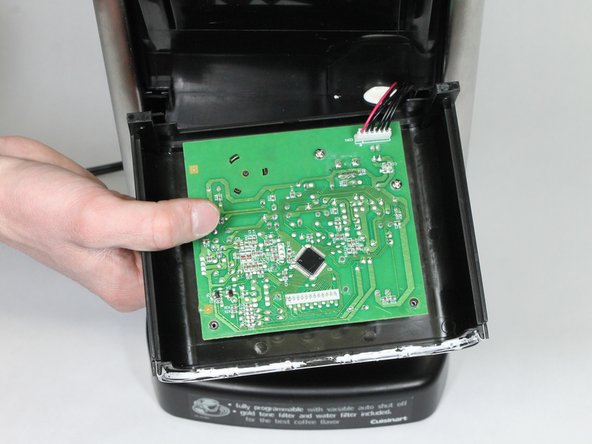
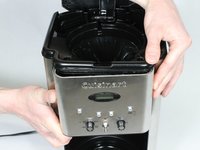
      • Once the screws are removed, take the coffee maker face plate off by pulling it down and away from the rest of the coffee maker.

      • Use care when handling the face plate once it is removed from the rest of the coffee maker as the electrical connection is still intact.

      Demander à FixBot

      Ajouter un commentaire

    4. Cuisinart DCC-1200 Toggle Switch Replacement: étape 4, image 1 de 2 Cuisinart DCC-1200 Toggle Switch Replacement: étape 4, image 2 de 2
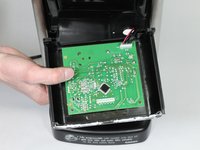
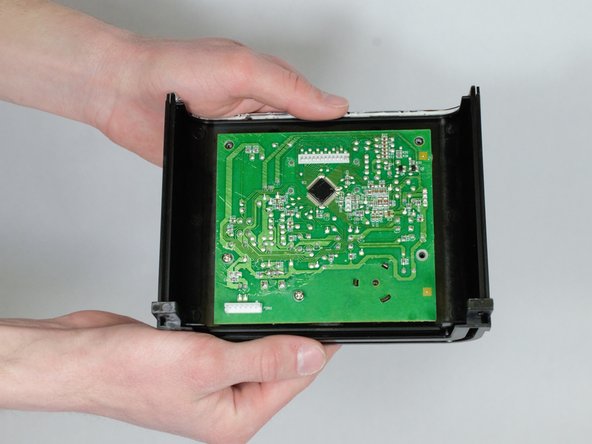
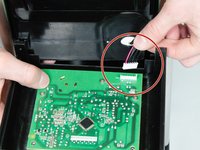
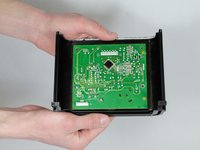
      • Remove the electrical connection to the circuit board by carefully removing the connection by pulling straight up and away from the circuit board.

      • Once the electrical connection is removed, separate the face plate from the rest of the coffee maker.

      Demander à FixBot

      Ajouter un commentaire

    5. Cuisinart DCC-1200 Toggle Switch Replacement: étape 5, image 1 de 3 Cuisinart DCC-1200 Toggle Switch Replacement: étape 5, image 2 de 3 Cuisinart DCC-1200 Toggle Switch Replacement: étape 5, image 3 de 3
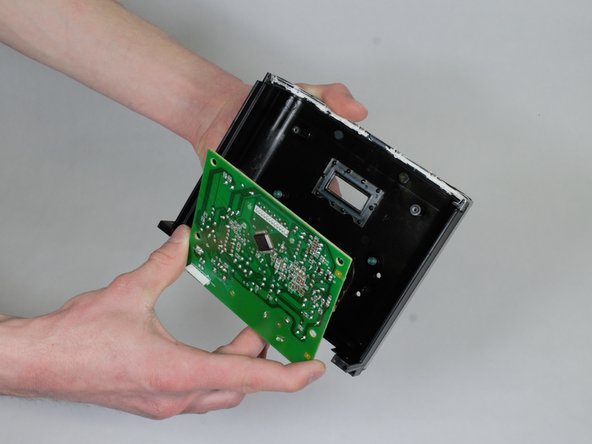
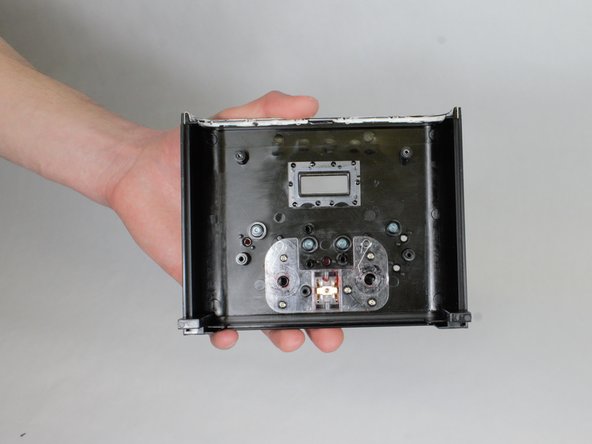
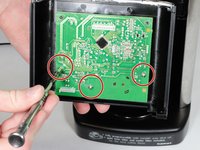
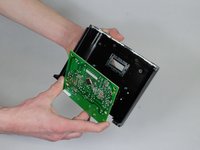
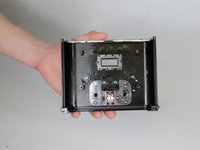
      • Use the bit driver with the PH1 Philips bit to remove the three 11 mm long screws holding the circuit board to the face plate.

      • Once the circuit board screws are removed, carefully remove the circuit board from the face plate revealing the inside of the face plate.

      Demander à FixBot

      Ajouter un commentaire

    6. Cuisinart DCC-1200 Toggle Switch Replacement: étape 6, image 1 de 2 Cuisinart DCC-1200 Toggle Switch Replacement: étape 6, image 2 de 2
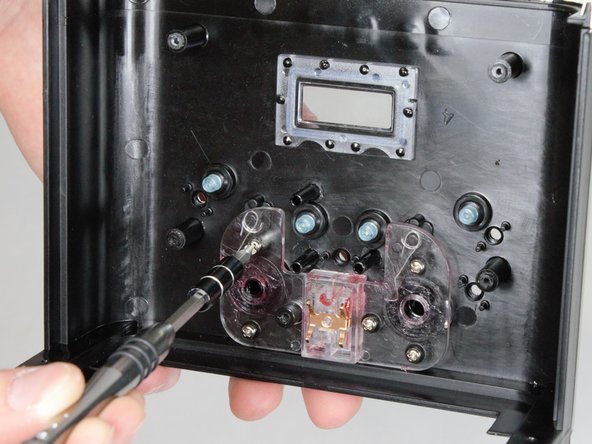
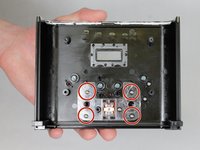
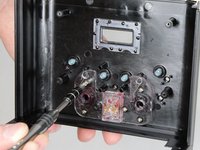
      • Remove the four 10 mm long screws with the bit driver with the PH1 Phillips bit driver from the toggle switch plate.

      • Once the screws are removed, remove the toggle switch plate from the face plate.

      Demander à FixBot

      Ajouter un commentaire

    7. Cuisinart DCC-1200 Toggle Switch Replacement: étape 7, image 1 de 2 Cuisinart DCC-1200 Toggle Switch Replacement: étape 7, image 2 de 2
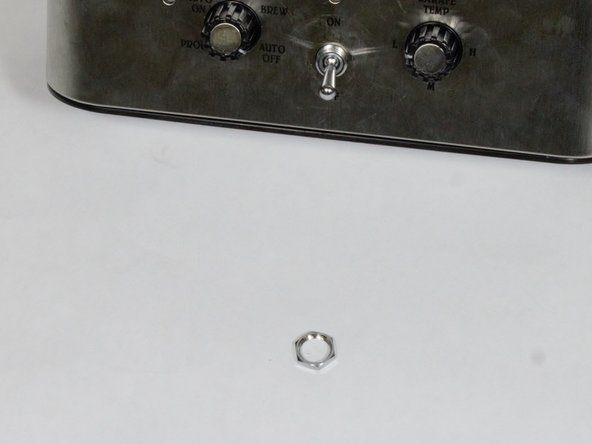
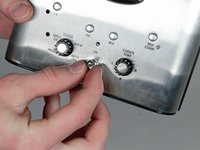
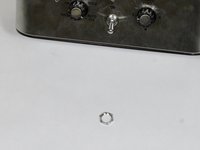
      • Remove the hex nut from behind the toggle switch on the front of the face plate.

      Demander à FixBot

      Ajouter un commentaire

    8. Cuisinart DCC-1200 Toggle Switch Replacement: étape 8, image 1 de 1
      • Remove toggle switch by pulling it out from inside the face plate.

      Demander à FixBot

      Ajouter un commentaire

Conclusion

To reassemble your device, follow these instructions in reverse order.

Annulation : je n'ai pas terminé ce tutoriel.

6 autres ont terminé cette réparation.

Lauren Miller

Membre depuis le 02/15/18

467 Réputation

1 tutoriel rédigé

Équipe

UW Stout, Team S8-G1, Ogden Spring 2018 Membre de l'équipe UW Stout, Team S8-G1, Ogden Spring 2018

UWSTOUT-OGDEN-S18S8G1

4 membres

60 tutoriels rédigés

10 commentaires de tutoriel

It seems to me that the defective part would be the switch plate, not the switch itself. Where would one get replacement parts?

Daniel Thaler - Réponse Partager

Where do I get the new toggle switch?

Anne Crawford - Réponse Partager

Pretty clear instructions. The only thing missing is the responses to the previous two questions.

Paul Patterson - Réponse Partager

Very nice instructions. However without a part number they are useless.

Renee Schultz - Réponse Partager

The only problem is that the faceplate on mine seemed to be very solidly glued (maybe silicone sealant) in place.

It resisted every effort to budge down and outwards, as indicated here. Adding more pressures, noi matter how carefully, resulted in a warped cover -followed by an order for a replacement Cuisinart, same model, as I still believe this is the best in the market.

Pat Day - Réponse Partager

Ajouter un commentaire

Nombre de vues :

Dernières 24 heures : 1

7 derniers jours : 33

30 derniers jours : 160

Total : 18,699