Introduction
Does the on/off switch on the front of your Cuisinart coffee maker not work? This guide shows the steps to accessing the toggle switch to replace it. To complete this task, you will need a bit driver with the PH1 bit and the metal spudger.
Ce dont vous avez besoin
-
-
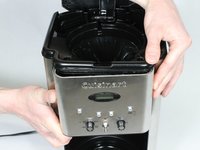
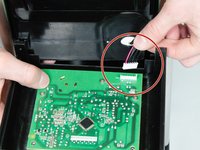
Using the metal spudger, gently pry out the two plastic plugs located on top.
-
-
-
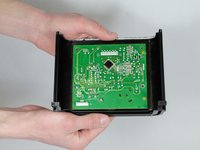
Remove the two 11 mm long screws from the top of the coffee maker underneath the cover using the bit driver with the extension with the PH1 Phillips bit.
in your guide, you omit to tell us to remove the top of the machine first and then remove the 4 internal screws that retain the faceplate before attenting to pull it out - otherwise faceplate will break and will no more be fixable
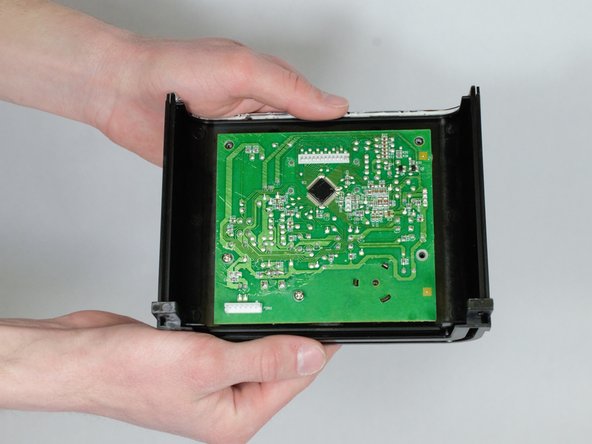
Amen. This VERY IMPORTANT STEP was completely ignored in this presentation. It is impossible to remove the faceplate until you have removed the top of the coffee maker and at least the top two screws, holding in the faceplate and extending through the top of the circuit board. Not having gotten that far, since I have not been able to remove the top, I'm not sure whether the bottom two screws actually have to be removed to remove the faceplate. In the photos below, you will note that there are two top holes and metal threaded inserts in the top of the circuit board, but I cannot see two similar receivers for the bottom two screws. Taking off the top of the machine without destroying the sidewalls, is a puzzle that we have not yet solved.
-
-
-
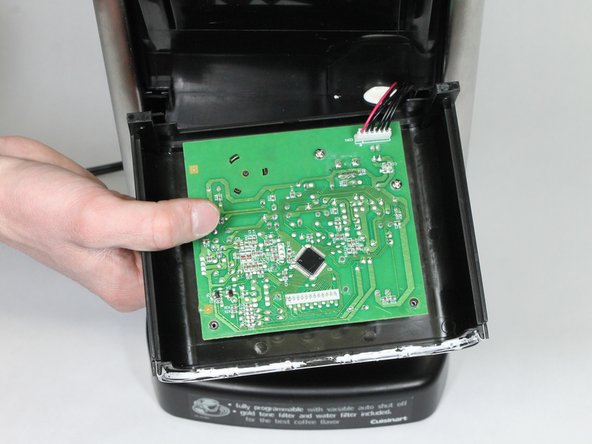
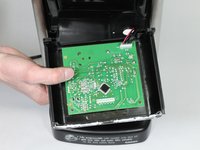
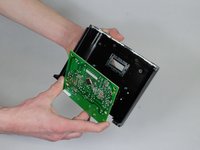
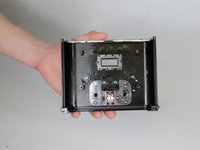
Once the screws are removed, take the coffee maker face plate off by pulling it down and away from the rest of the coffee maker.
the photo show the top of the machine still in place when pulling out faceplate….impossible - you want us breaking the faceplate because 4 internal screws are still in place - better see this video before - it show how to remove top and faceplate https://www.youtube.com/watch?v=HypmCh_s...
Agree with previous comment. Follow that video to properly open since for at least some models of Cuisinart, after removing the two covered screws as shown, you must pry up at 6 points around the top edge and remove the entire top straight upward to access four more internal screws which must be removed before the front control panel can pull straight outward (not downward). By the way with those two covered screws with a cap over them, you want to keep prying at their edge to dislodge them .. dig in then pry up as the caps are thick and need to come straight up.
Agree with above comments. There needs to be a step added to this guide to remove the top black plastic lid assembly before attempting to remove the faceplate. The previously mentioned video below shows it somewhat:
https://www.youtube.com/watch?v=HypmCh_s...
The best places to work off the lid assembly were on the rear. There were two notches in which I jammed a flat screwdriver head and that helped gradually work the lid assembly off. Also I counted a total of 6 tabs holding the lid assembly in - one each on the rear corners and two each on the left and right edges. Removing this was the hardest part of the job.
-
-
-
-
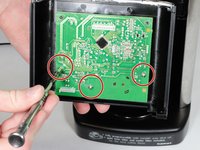
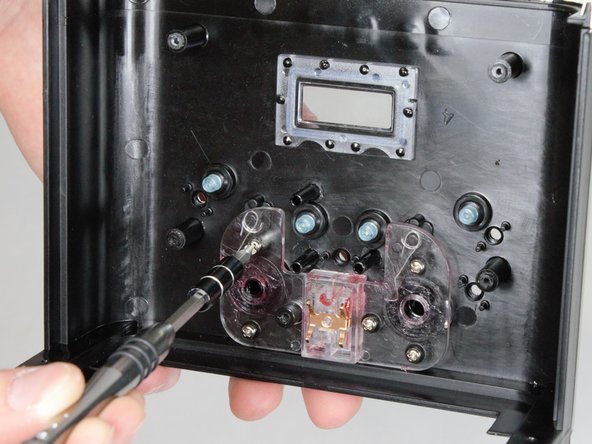
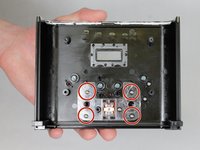
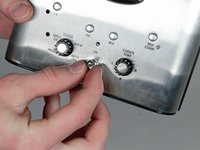
Remove the four 10 mm long screws with the bit driver with the PH1 Phillips bit driver from the toggle switch plate.
-
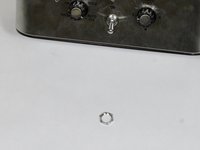
Once the screws are removed, remove the toggle switch plate from the face plate.
Beau site,bonne explications, mais comme les commentaires précédents, où trouver la plaque avec la switch?
-
-
-
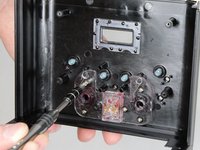
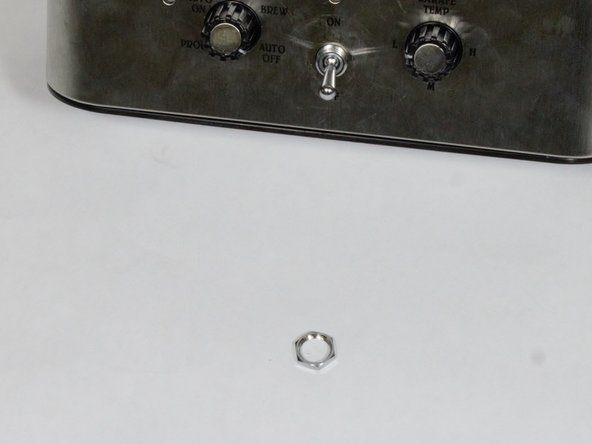
Remove toggle switch by pulling it out from inside the face plate.
I think this guide belongs on the “itakeitapart.com” site instead of here. There is a good video on how to fix the toggle switch problem of no light turning on on youtube. (Hint: it has nothing to do with replacing the toggle switch, and you don’t need to buy any new parts.) I’ll certainly try the video’s fix before I invest in any new parts. I don’t know if fixit will let me link the address, but here it is: https://www.youtube.com/watch?v=HypmCh_s...
Just use tape or a rubber band. Otherwise to need to buy a new control board.
-


To reassemble your device, follow these instructions in reverse order.
To reassemble your device, follow these instructions in reverse order.
Annulation : je n'ai pas terminé ce tutoriel.
6 autres ont terminé cette réparation.
Équipe

UW Stout, Team S8-G1, Ogden Spring 2018 Membre de l'équipe UW Stout, Team S8-G1, Ogden Spring 2018
UWSTOUT-OGDEN-S18S8G1
4 membres
15 tutoriels rédigés
9 commentaires
It seems to me that the defective part would be the switch plate, not the switch itself. Where would one get replacement parts?
Where do I get the new toggle switch?
Pretty clear instructions. The only thing missing is the responses to the previous two questions.
Very nice instructions. However without a part number they are useless.
The only problem is that the faceplate on mine seemed to be very solidly glued (maybe silicone sealant) in place.
It resisted every effort to budge down and outwards, as indicated here. Adding more pressures, noi matter how carefully, resulted in a warped cover -followed by an order for a replacement Cuisinart, same model, as I still believe this is the best in the market.
Missing as to where to we get the replacement switch and no part number for the switch
I tried to source a toggle switch from 2 sources on line. Neither of them had the on/off toggle switch. If you supply us with detailed removal/reinstall instructions but don't give us a source for the parts, your wonderful instructions are useless.
I unplugged my machine because red light wouldn't turn off. I really thought the switch was defective BUT when I plugged the machine in 90 min later, light was off and when I tested the brewer, the toggle switch worked. Coffee brewed and switching off manually worked. All it needed was a reset? Sure seems like it.
Prior to removing the faceplate, the top black lid assembly should be removed. Underneath it are four screws holding the faceplate in. It’s shown in this video: https://www.youtube.com/watch?v=HypmCh_s...
On mine the problem was solved by adding some solder to the switch contacts as seen in this video. But it sounds like others had success just by slightly bending the switch contacts rather than applying solder.