Aller au contenu principal
Pour réparer ensemble - Je crée un compte

Cuisinart TOA-60FR Lightbulb Replacement

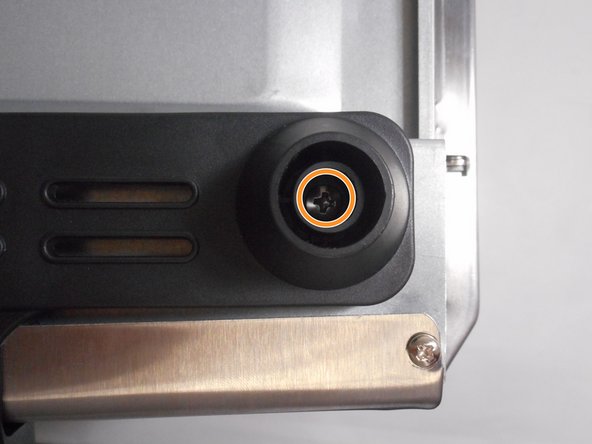
Ce dont vous avez besoin

    1. Cuisinart TOA-60FR Lightbulb Replacement, Outside removal: étape 1, image 1 de 1
      • Using a 25-hexagon head screwdriver, unscrew these three 7.31 mm screws.

      Demander à FixBot

      Ajouter un commentaire

    2. Cuisinart TOA-60FR Lightbulb Replacement: étape 2, image 1 de 2 Cuisinart TOA-60FR Lightbulb Replacement: étape 2, image 2 de 2
      • Using a Phillips #1 screwdriver, remove all of these 7.31 mm screws.

      • Pull off the back panel.

      Demander à FixBot

      Ajouter un commentaire

    3. Cuisinart TOA-60FR Lightbulb Replacement: étape 3, image 1 de 3 Cuisinart TOA-60FR Lightbulb Replacement: étape 3, image 2 de 3 Cuisinart TOA-60FR Lightbulb Replacement: étape 3, image 3 de 3
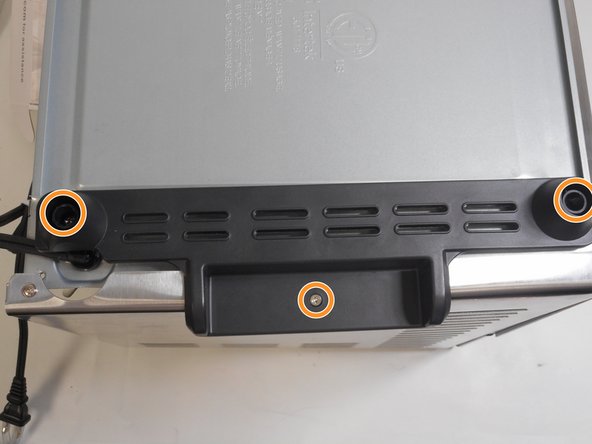
      • Flip the oven upside down.

      • Use a spudger to pull out the grey stoppers.

      • Use a Phillips #1 screwdriver to remove all three 11 mm screws.

      Demander à FixBot

      Ajouter un commentaire

    4. Cuisinart TOA-60FR Lightbulb Replacement: étape 4, image 1 de 2 Cuisinart TOA-60FR Lightbulb Replacement: étape 4, image 2 de 2
      • Unscrew all of the 11.05 mm screws that connect the outer shell to the interior device.

      Demander à FixBot

      Ajouter un commentaire

    5. Cuisinart TOA-60FR Lightbulb Replacement: étape 5, image 1 de 3 Cuisinart TOA-60FR Lightbulb Replacement: étape 5, image 2 de 3 Cuisinart TOA-60FR Lightbulb Replacement: étape 5, image 3 de 3
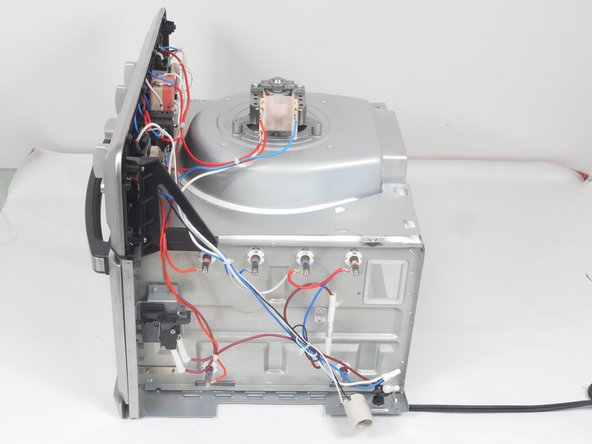
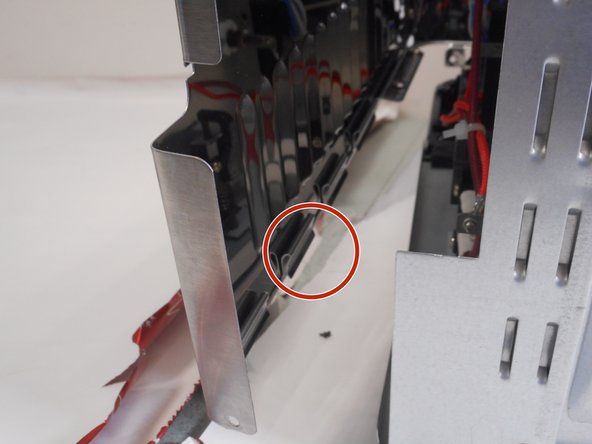
      • Push down with a screw driver between the tabs, then pull up to release the tabs. Pull the top piece off.

      Demander à FixBot

      Ajouter un commentaire

    1. Cuisinart TOA-60FR Lightbulb Replacement, Lightbulb: étape 6, image 1 de 2 Cuisinart TOA-60FR Lightbulb Replacement, Lightbulb: étape 6, image 2 de 2
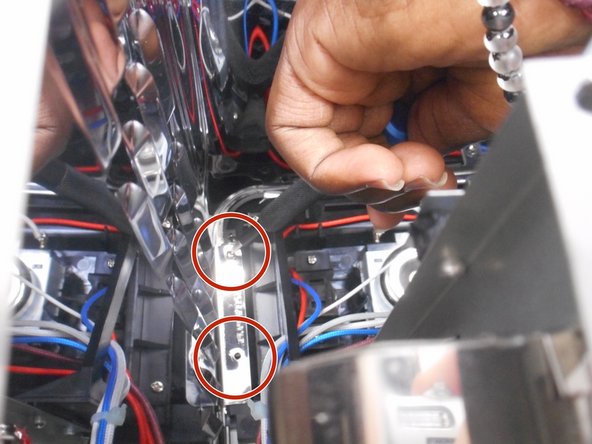
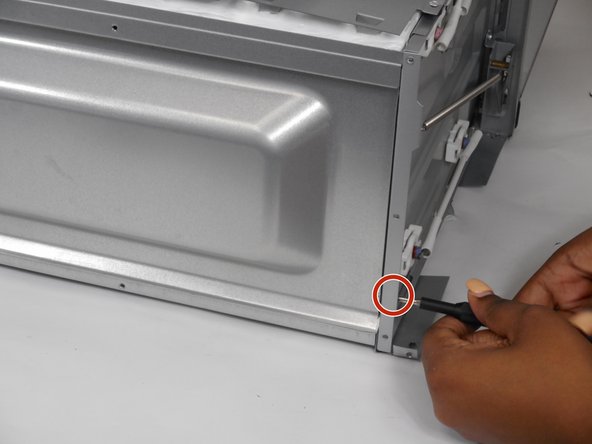
      • Remove these two 12.8 mm screws at the top on each side.

      • Remove two 12.8 mm screws at the bottom, as demonstrated in the first picture.

      • You should now be able to push the back out with the four screws removed to see the light bulb.

      Demander à FixBot

      Ajouter un commentaire

    2. Cuisinart TOA-60FR Lightbulb Replacement: étape 7, image 1 de 1
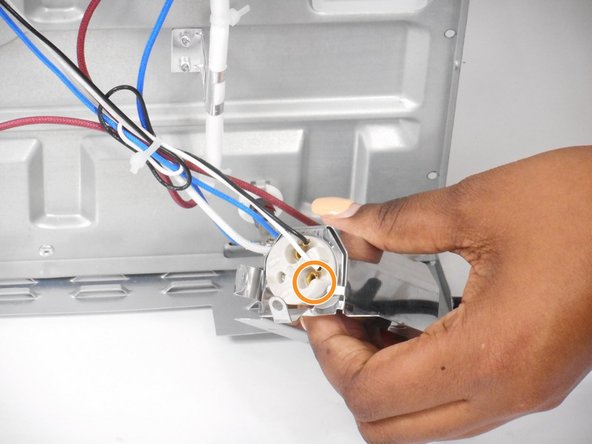
      • Remove these four screws.

      • Pull the light away from it's window.

      Demander à FixBot

      Ajouter un commentaire

    3. Cuisinart TOA-60FR Lightbulb Replacement: étape 8, image 1 de 2 Cuisinart TOA-60FR Lightbulb Replacement: étape 8, image 2 de 2
      • Using a wrench, remove the washer.

      • Pull the silver casing off the lightbulb.

      Demander à FixBot

      Ajouter un commentaire

    4. Cuisinart TOA-60FR Lightbulb Replacement: étape 9, image 1 de 2 Cuisinart TOA-60FR Lightbulb Replacement: étape 9, image 2 de 2
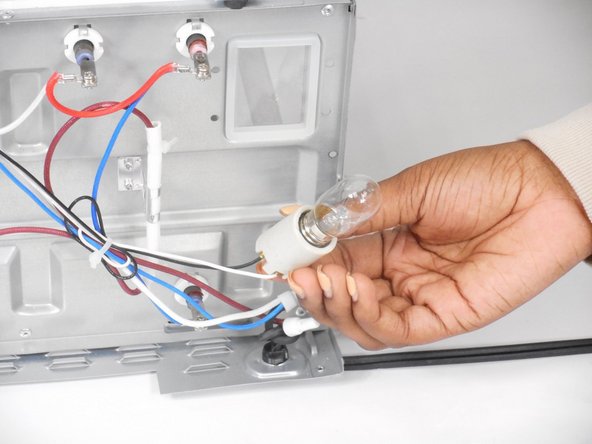
      • Now unscrew the lightbulb to replace it with a new one.

      Demander à FixBot

      Ajouter un commentaire

Conclusion

To reassemble your device, follow these instructions in reverse order.

Annulation : je n'ai pas terminé ce tutoriel.

Une autre personne a terminé cette réparation.

Anastasia Hopkins

Membre depuis le 09/08/23

395 Réputation

2 tutoriels rédigés

Équipe

1 commentaire de tutoriel

You don't tell the information about the bulb! I'd like to buy one before I tear this oven apart.

Gary Richard Coulter - Réponse Partager

Ajouter un commentaire

Nombre de vues :

Dernières 24 heures : 1

7 derniers jours : 8

30 derniers jours : 57

Total : 1,585