Introduction
This guide will instruct you on how to properly disassemble your Cuisinart-140BK toaster. It will also help your properly replace the knobs on your toaster, while further preventing any damage to the device.
Ce dont vous avez besoin
-
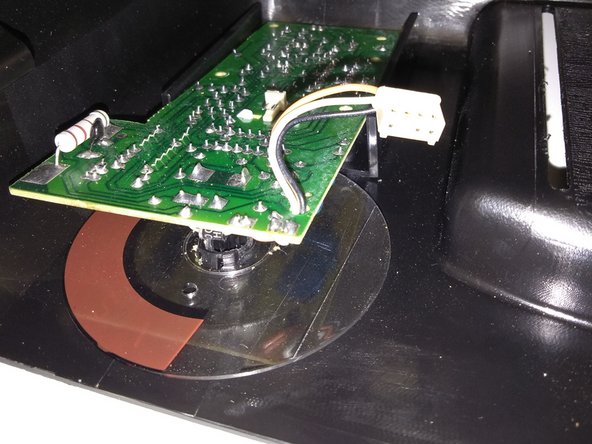
Étape 1 Circuit Board
Attention : les étapes 1 à 6 sont issues d'un tutoriel marqué comme étant en cours.
-


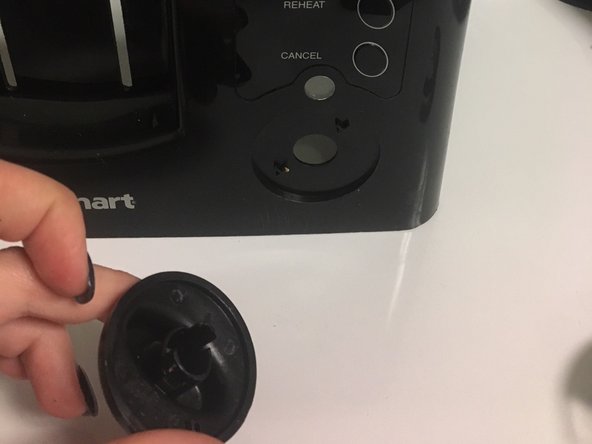


Presque terminé !
To reassemble your device, follow these instructions in reverse order.
Conclusion
To reassemble your device, follow these instructions in reverse order.
Équipe

University of North Texas, Team S7-G3, Thomas Fall 2017 Membre de l'équipe University of North Texas, Team S7-G3, Thomas Fall 2017
UNT-THOMAS-F17S7G3
3 membres
3 tutoriels rédigés