Introduction
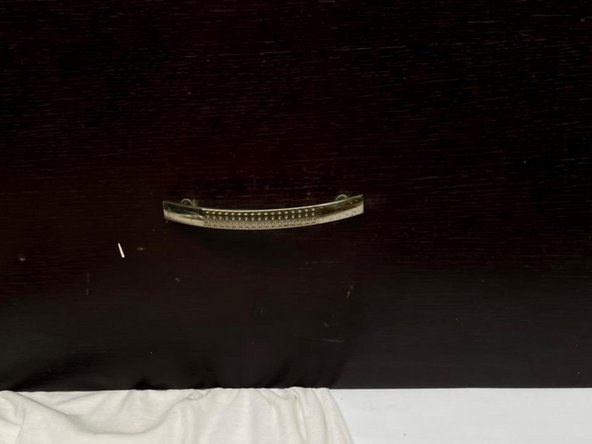
Most handles get broken or wobbly after a while. The handles on drawers in desks, cabinets, and other furniture may break off when a substantial object hits them. Moving furniture from one building to another can also cause this damage if the drawers are not properly secured. In this guide, I will be demonstrating how to repair a broken handle of a wooden cupboard.
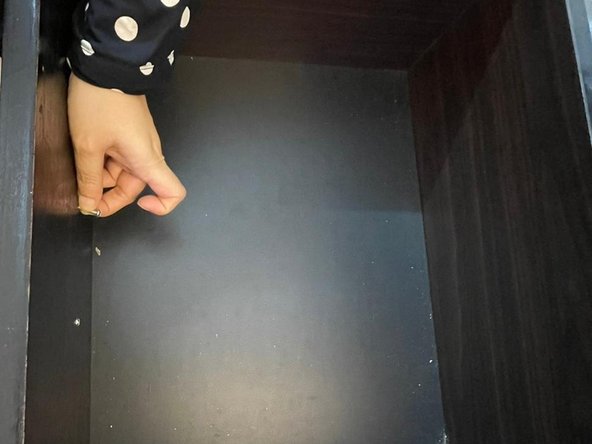
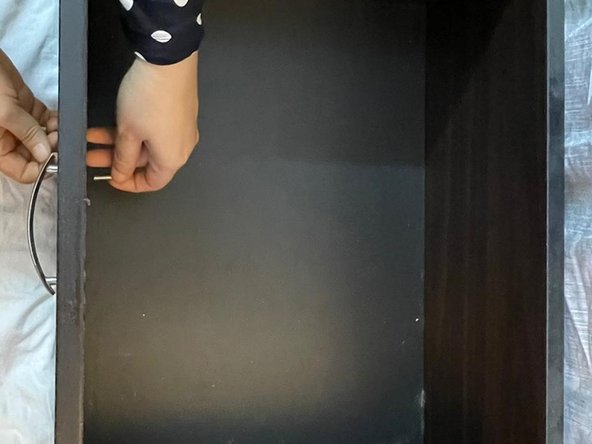
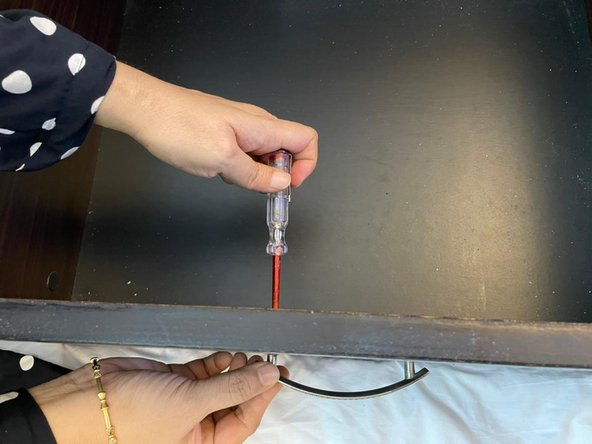
In step 1 of the guide, you will need to take out the drawer out of the cupboard .Remove the belongings of the drawer before taking out the drawer.
Ce dont vous avez besoin


To reassemble your device, follow these instructions in reverse order.
To reassemble your device, follow these instructions in reverse order.
Annulation : je n'ai pas terminé ce tutoriel.
Une autre personne a terminé cette réparation.

Équipe

York University, Team S17-G1, Allen Summer 2021 Membre de l'équipe York University, Team S17-G1, Allen Summer 2021
YORK-ALLEN-SU21S17G1
1 membre
1 tutoriel rédigé