Aller au contenu principal

Cyberpower Elite M1-131 Cord Replacement

Ce dont vous avez besoin

  1. Cyberpower Elite M1-131 Cord Replacement, Cord: étape 1, image 1 de 3 Cyberpower Elite M1-131 Cord Replacement, Cord: étape 1, image 2 de 3 Cyberpower Elite M1-131 Cord Replacement, Cord: étape 1, image 3 de 3
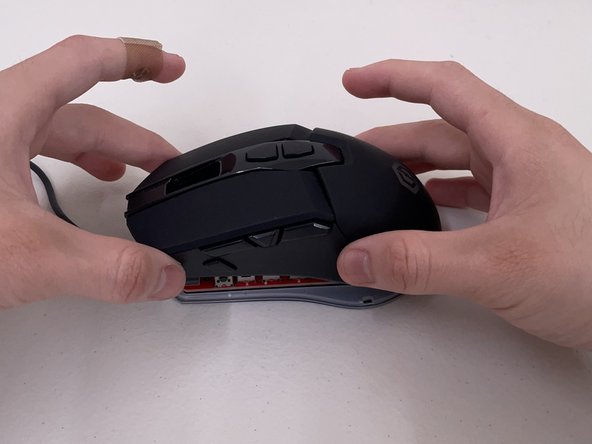
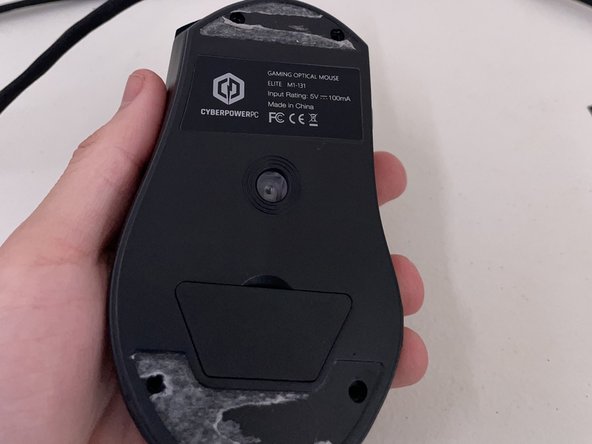
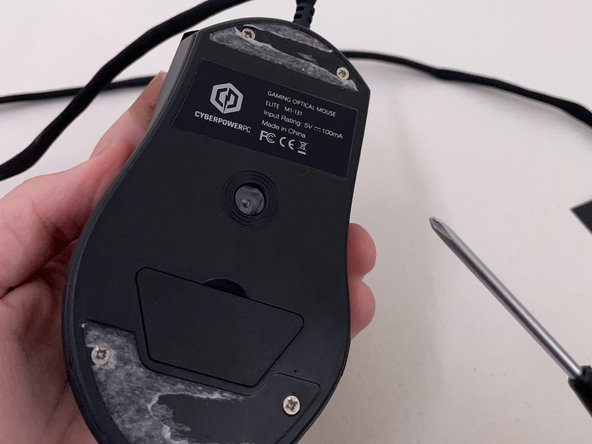
    • Hold the mouse in a position where the feet are facing you.

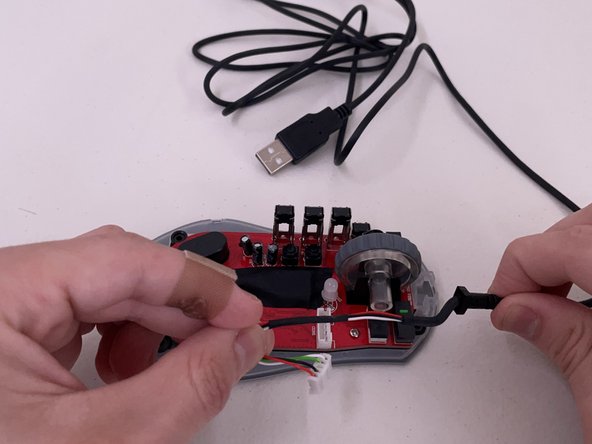
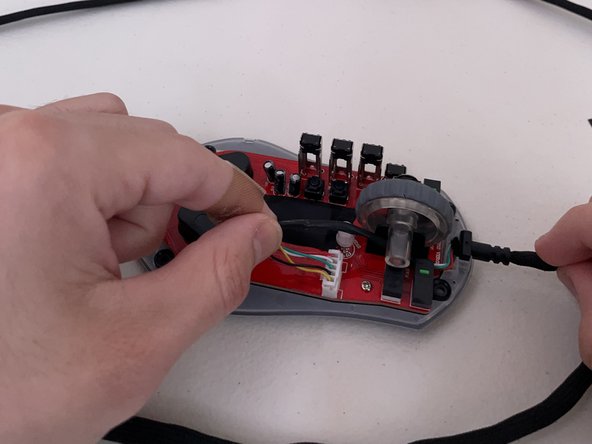
    • With a plastic anti-static tweezer or a Spudger, take off the mouse feet carefully.

    • The feet will need to be reapplied during reassembly.

  2. Cyberpower Elite M1-131 Cord Replacement: étape 2, image 1 de 2 Cyberpower Elite M1-131 Cord Replacement: étape 2, image 2 de 2
    • Use a Phillips #0 screwdriver to remove the four 2 mm screws on the back.

    • Do not remove the white part on the mouse feet. They are sticky and will help put your mouse feet back on.

  3. Cyberpower Elite M1-131 Cord Replacement: étape 3, image 1 de 3 Cyberpower Elite M1-131 Cord Replacement: étape 3, image 2 de 3 Cyberpower Elite M1-131 Cord Replacement: étape 3, image 3 de 3
    • Gently put the mouse down with the sensor facing down and carefully pull the top shell from the mouse.

  4. Cyberpower Elite M1-131 Cord Replacement: étape 4, image 1 de 3 Cyberpower Elite M1-131 Cord Replacement: étape 4, image 2 de 3 Cyberpower Elite M1-131 Cord Replacement: étape 4, image 3 de 3
    • Grasp the 5-pin plastic white pin connector from both sides and gently pull it up.

    • Do NOT pull on the wires.

  5. Cyberpower Elite M1-131 Cord Replacement: étape 5, image 1 de 2 Cyberpower Elite M1-131 Cord Replacement: étape 5, image 2 de 2
    • Unwrap the old cable, pull it out, and remove it from sight.

  6. Cyberpower Elite M1-131 Cord Replacement: étape 6, image 1 de 3 Cyberpower Elite M1-131 Cord Replacement: étape 6, image 2 de 3 Cyberpower Elite M1-131 Cord Replacement: étape 6, image 3 de 3
    • With your new cable, place the 5-pin connector into the connector socket.

    • Do NOT push down on the wires.

    • Tuck in the cable.

    • Place the plastic cube in front of the mouse wheel. There will be a perfect fit for that cube to hold the cable in place.

  7. Cyberpower Elite M1-131 Cord Replacement: étape 7, image 1 de 2 Cyberpower Elite M1-131 Cord Replacement: étape 7, image 2 de 2
    • Place the top shell back on top of the mouse and press down until you hear a small click.

    • Lift the mouse so the sensor is facing you.

  8. Cyberpower Elite M1-131 Cord Replacement: étape 8, image 1 de 2 Cyberpower Elite M1-131 Cord Replacement: étape 8, image 2 de 2
    • Screw back in the four 2 mm screws that you removed earlier with your Phillips screwdriver.

  9. Cyberpower Elite M1-131 Cord Replacement: étape 9, image 1 de 2 Cyberpower Elite M1-131 Cord Replacement: étape 9, image 2 de 2
    • Reapply the mouse feet that you carefully took off earlier.

    • You can also apply new ones if you have any.

Conclusion

To reassemble your device, follow these instructions in reverse order.

Nathaniel A

Membre depuis le 09/19/23

169 Réputation

1 tutoriel rédigé

Équipe

Austin Community College, Team 1-1, Meigs Fall 2023 Membre de l'équipe Austin Community College, Team 1-1, Meigs Fall 2023

AUSTINCC-MEIGS-F23S1G1

1 membre

1 tutoriel rédigé

0 commentaires

Ajouter un commentaire

Nombre de vues :

Dernières 24 heures : 2

7 derniers jours : 9

30 derniers jours : 47

Total : 170