Ce dont vous avez besoin
-
-
Commencez par retirer les piles ou la batterie et exposez la vis de sécurité T8. La vis doit être cachée derrière un autocollant de garantie.
-
-
-
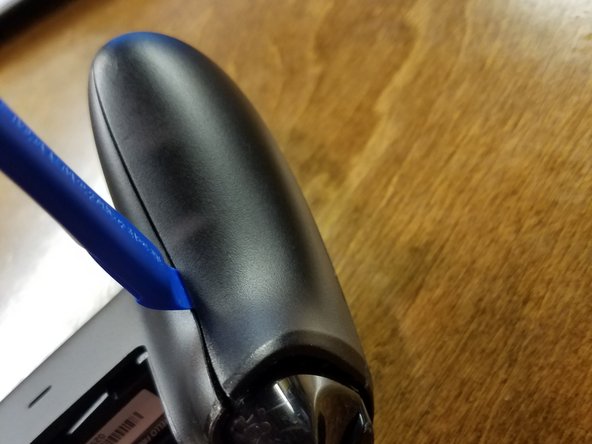
Retirez les panneaux latéraux exposant la deuxième vis de sécurité T8 à l'aide d'un spudger, d'un outil d'ouverture iFixit ou de vos ongles, chaque choix est amusant.
-
-
-
-
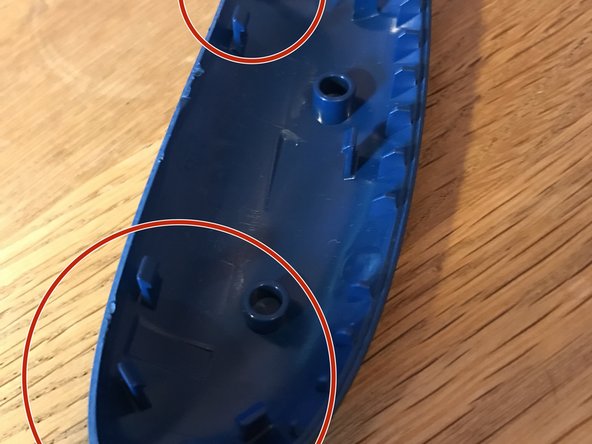
En retirant les deux panneaux latéraux, les 5 vis de sécurité T8 sont apparues !
-
-
-
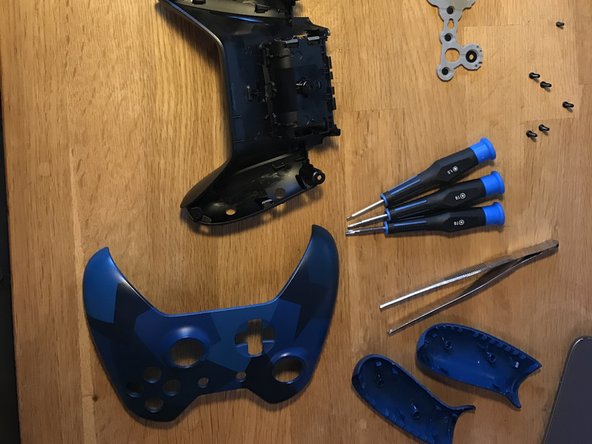
Une fois que vous avez retiré les vis de sécurité T8, retirez la coque frontale.
-
-
-
Retirez les vis T6 pour retirer les PCB.
-
Il faut légèrement tirer pour séparer les connecteurs.
-
Regardez les fils ! Vous ne pouvez pas retirer complètement la carte de circuit imprimé sans retirer les fils, cela nécessite une soudure.
-
-
-
Retirez le capot supérieur, il se bascule.
-
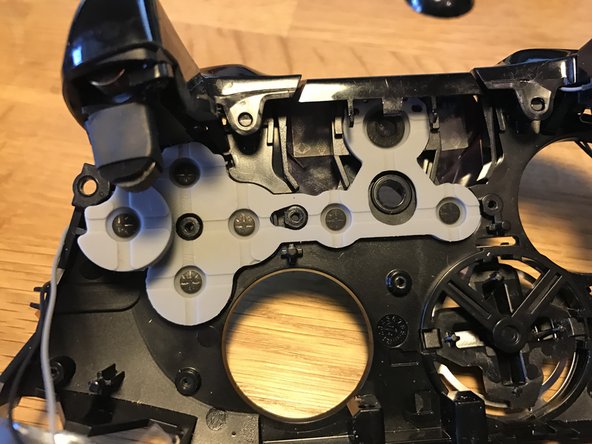
Il y a 5 vis T6 et une vis 6 pans de 1,5 mm à retirer.
I an attempting to reassemble the controller now but getting stuck at this step, i cant figure out how the sync button fits back in, everything i’ve tried seems to cause it to either turn once the cover is back on or lose it’s ‘spring’ so it stays pressed in.
I was having trouble with this too, I think i figured it out. The sync button itself has two tabs, the really long tab should fit into a slot next to the Xbox button that keeps it in place.
https://i.imgur.com/NGU6oUl.jpg
there's also a cross shaped protrusion underneath that should make contact with a white button on the pcb, as well as an adhesive strip that goes over the sync button once it's in. (The shiny gray thing in the pic)
legonro -
-
-
-
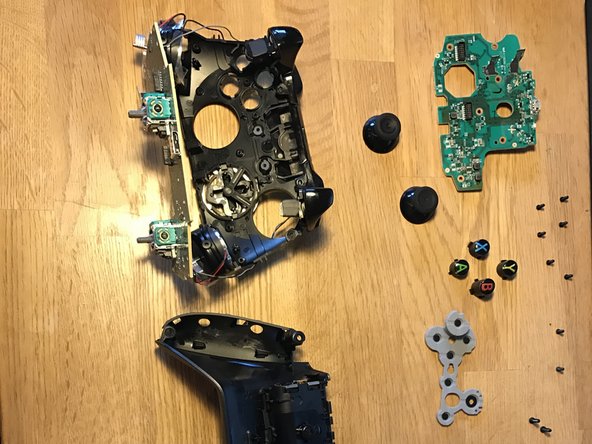
Suivez les instructions en sens inverse pour tout remettre en place :D
do you know were the wireless chip is located?
-


Merci à ces traducteurs :
83%
Tchoun nous aide à réparer le monde ! Vous voulez contribuer ?
Commencez à traduire ›
15 commentaires
Very good instructions...
Do you think that you can label the internals of the controller.
How do you put the sync buttom back in? Which way does it face?
The little tab on the sync button faces inward (Facing the Xbox Home button)
thanks a lot for the kick guide, help me a lot.
i did this and my batteries don’t fit anymore l
i did this and now the batteries don’t fit in the thing lol
xbox 360 was the best + ez bec rumble motor was two pins just like GPU fan u can remove it and work on ur controller without soldering
Excellent instructions. I was able to fix my analog sticks not returning to center because of too much pressure.
How is the placement of the small button on top for syncing the controller placed for reassembly?
This guide did not appear to show this.
The two wide "legs" of the X are down, and the smallest gap is up.
My son spilled soda all over his controller, and this guide helped me pull it apart, clean it up and got it non-sticky-buttony again with my excellent Essential Electronics Toolkit! Thanks, excellent guide! :)