Introduction
Démontage pour retirer le disque dur de 5 To d'un boîtier externe Seagate (et pouvoir réutiliser le boîtier)
STEB5000200
Ce dont vous avez besoin
-
-
Utilisez le spudger en métal pour ouvrir doucement l'appareil, puis insérez une carte de crédit et travaillez doucement autour du lecteur en faisant levier (poussez la carte pour enfoncer les clips et les empêcher de se casser)
-
-
-
-
Vous trouverez quatre œillets bleus de chaque côté du disque dur. Ceux-ci sont attachés avec de la colle à faible bâton afin que vous puissiez les retirer doucement.
-
Vous trouverez maintenant 4 vis que vous pouvez retirer. Ils étaient assez serrés, alors soyez gentil de ne pas dépouiller les têtes.
-


Pour remonter votre appareil, suivez ces instructions dans l'ordre inverse.
Pour remonter votre appareil, suivez ces instructions dans l'ordre inverse.
Annulation : je n'ai pas terminé ce tutoriel.
6 autres ont terminé cette réparation.
Merci à ces traducteurs :
100%
[deleted] nous aide à réparer le monde ! Vous voulez contribuer ?
Commencez à traduire ›
6 commentaires
Does the SATA to USB control board do encryption at all like the awful Western Digital ones do? The drive works perfectly fine out of the enclosure?
I've used these drives on many of my builds, upgrades, make sure your MB BIOS can recognize the full capacity of the drive, or chances are you will run into size issues or data corruption within windows. I had an HP 8100 Elite, that only recognized 585 GB of the drive, I deleted the partitions in Windows Pro x64 and converted it to a GPT. After formatting it Windows recognized it as a legit 5 TB, and I started using it for storage, after a while maybe a month or so, the drive started acting funny, slow access speeds, errors saying not enough space when transferring or copying large files. Then one day the drive just disappeared, I could still see the 585 GB drive in the BIOS but not in Windows. I thought it was DOA. I used recovery software to try to get may data back but most of it was corrupted. I figured I did something wrong or a virus. until it happened again. I used Gparted and drive came back, put it in a different PC that BIOS see's all and it has worked ever since. I may be wrong... But it worked.
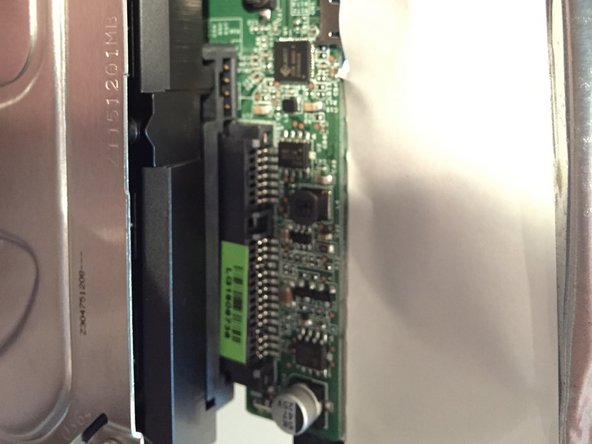
Later models don’t have the white square and the foil is only wrapped around a from the controller, over the part of the board where the SATA connector is, and a little bit of the drive. “Minimum Viable EMI protection” would be my guess :-) The rest of the process is unchanged.
@superjames no encryption - however, USB/Sata adapters vary about reporting 4096-byte sectors vs. 512-byte sectors - in my case, the Seagate enclosure reported 512 so the GPT was based on that, but when I stuck it into a Sabrent desktop enclosure, it reported 4096 byte sectors so the operating system couldn’t even *find* the partition table. (Since my goal was to move a bunch of these into a MediaSonic Probox to conserve USB channels, and *that* correctly reported 512, it worked fine - but superuser.com has a bunch of answers about “4k emulation” and “advanced format” if you end up trying to straighten that out. (If you’re not trying to preserve the data, just reformat.)
Easier way to pop the clips:
* start near the usb port with the thin metal spudger
* once you have seperation, “dig down” - don’t try to “pry the top off”, try to pop the *sides* out. This releases the force on the clips, and you can just start lifting up the top with a pointy stick to keep them from going back in.